How to Make Cut Files Out of Digital Elements – Nikki Kehr
Posted on under Hybrid Projects, INSPIRATION
Hello Lovelies,
Today I will show you how to make Cut Files Out of Digital Elements. This way you will be able to create individual and creative pages.
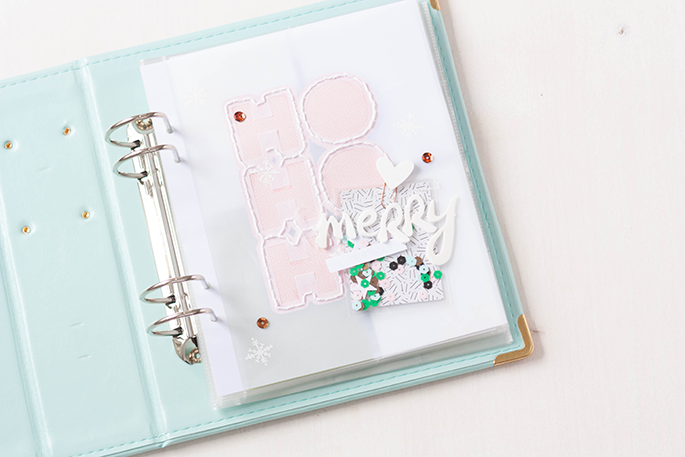
On this page, I needed a title page for my December Daily Album. For this project I decided to play around with the “Outline Alphabet” alpha, and a vellum and pattern Ppaper from the “Me and You” Collection and some Embellishments from my stock. So let´s get started 🙂
Getting our Silhouette Cut Lines
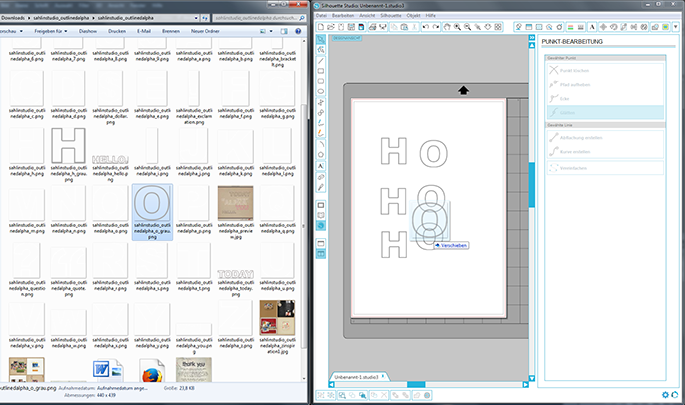
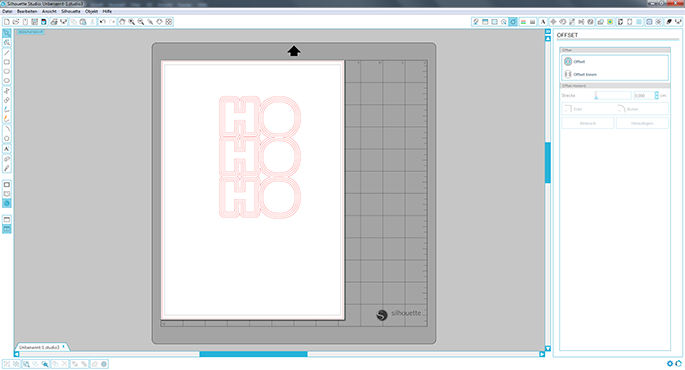
First you have to choose the elements you want to use. Here you can see the “Outline Alphabet”, and drag and drop it into Silhouette Studio.
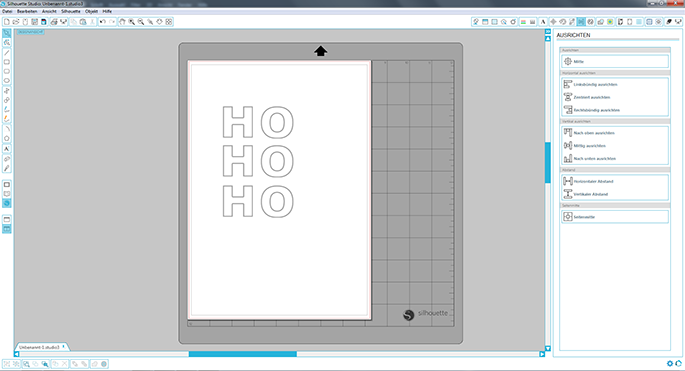
The next step is to sort and align the Elements as you want them to be.
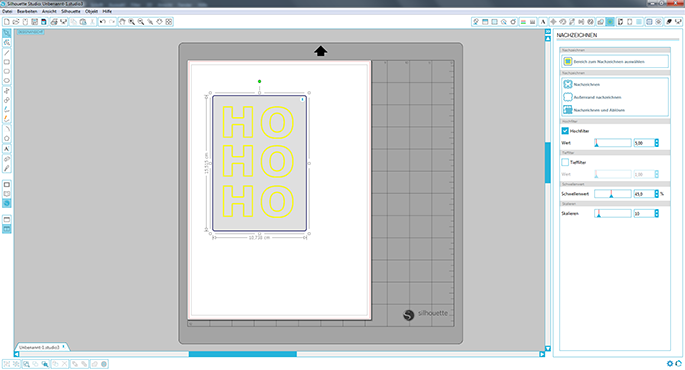
Now you take the trace tool and mark the things you want to cut out. Here you will see that the elements turn yellow where it will trace. Click on “trace”, then a red cut line will show up (this is for the vellum sheet).
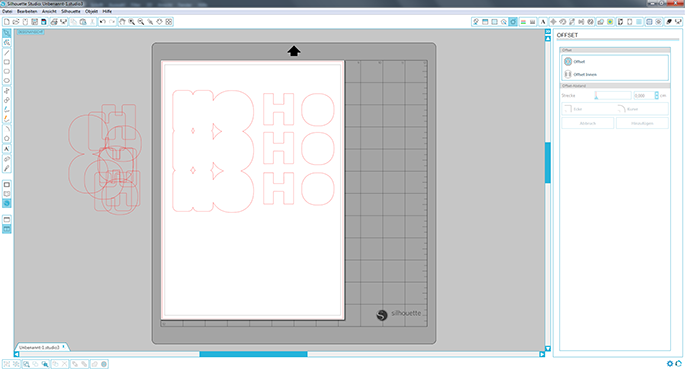
I am planning on stacking the papers, where the pattern paper will be a little bit bigger than the cut out of the vellum. To get these cut lines, select the “HoHoHo” and click “Offset” at the left bottom (I did it 3 times).
Selecting our Pattern for the Cut
Now that we have the cut lines completed, it’s time to add the patterns and papers to the cuts. For this project, I was doing two separate cuts.
1) Using vellum paper (on the original cuts) – Just select your original “HoHoHo”, so you can cut out only these marks on the Vellum
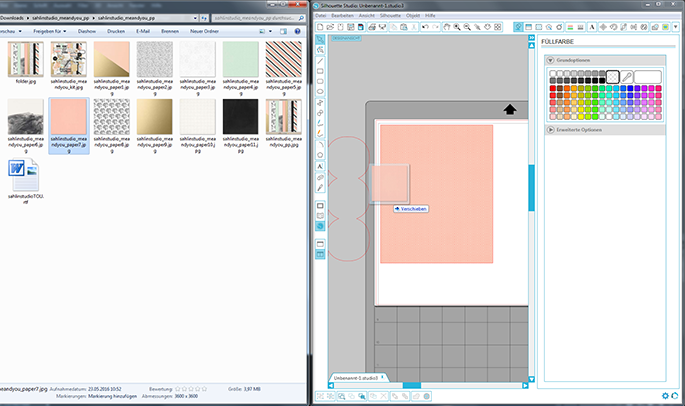
2) Using Pattern Paper from the “Me and You” Collection. First we need print the pattern paper of your choice. To do this, draw a square, then fill it with the pattern paper by using the “drag and drop” feature. After printing you are ready to cut out your second “matte” layer. Grab your extreme line of the “HoHoHo”, so you will cut out only these marks
After printing and cutting, glue the pattern paper to the vellum paper.
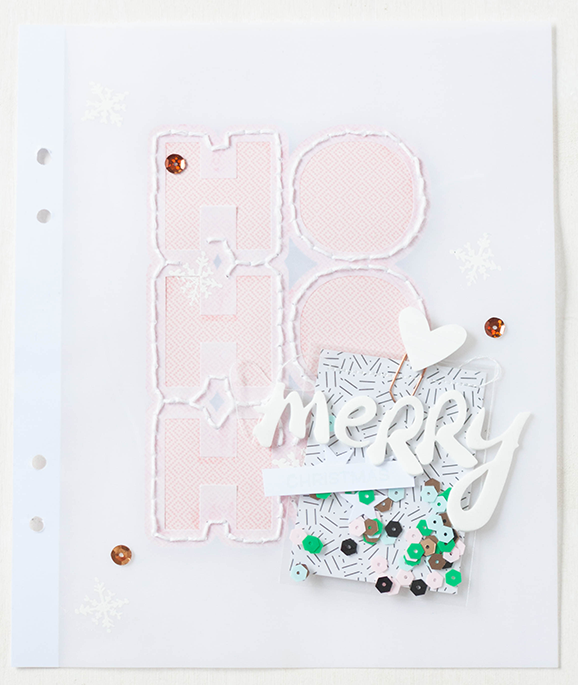
I went one step further and stitched the paper to the vellum. I LOVE how it came out, and the break between the different papers.
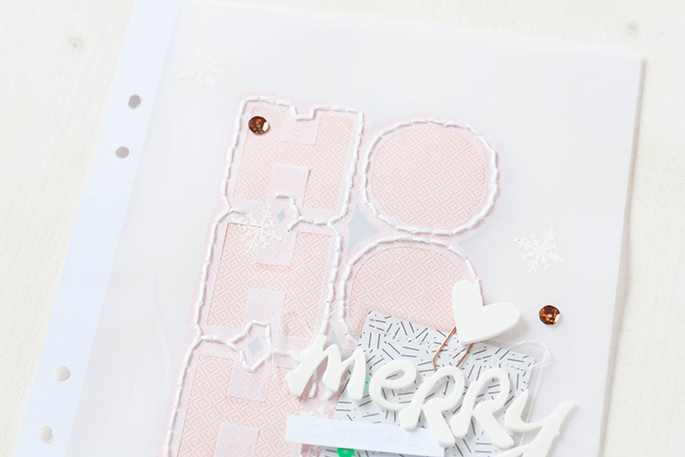
Decorate with all the embellishments you like… and there you have it… a fun personalized layout.
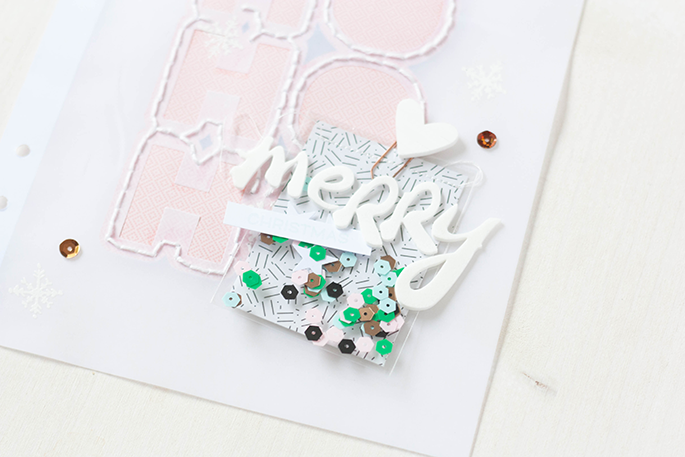
I hope you had fun and if you have any questions let me know in the comments bellow 🙂
XO Nikki
Hi, I am Nikki, a german scrapbooker with heart, baking bookworm, civil engineer student, in love with memory keeping and have a lot of fun in life.
