Disney Project Life Album – #3 CINDERELLA’S CASTLE
Posted on under Hybrid Projects, Project Life, Project Mouse
Theresa Moxley here with the next layout in my Disney album. Feel free to follow along on my journey each week! To look back on my Project Life / Project Mouse layouts, find my other posts here.
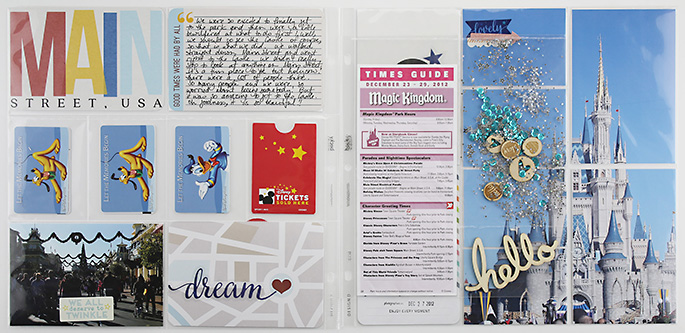
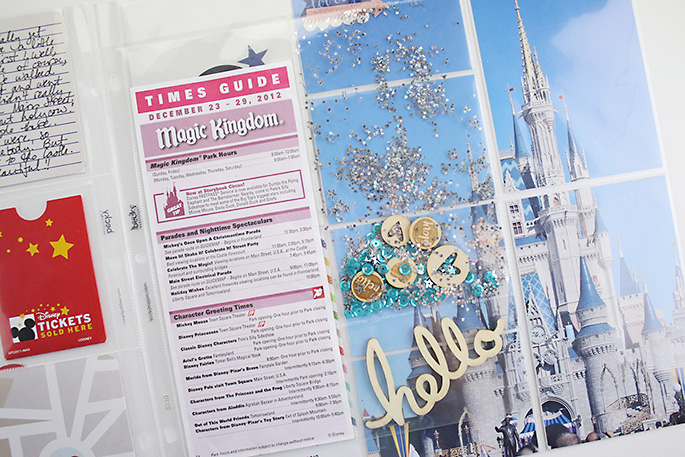
So far in the album we have “Announced the Trip” and “Driven to Florida“, and now we are arriving at Magic Kingdom. Of course the first thing you have to go see at Magic Kingdom is the Castle! Now I have to admit that I took a page straight from the inspiration article “Photos in Multiple Pockets” (right here on the Sahlin Studio blog). There was inspiration using an image of Cinderella’s Castle enlarged it to fit across the pocket pages. I love how this looks, every single time!
Once I have chosen my photos, I select my cards from the Project Mouse collection, print, and cut them right at home.
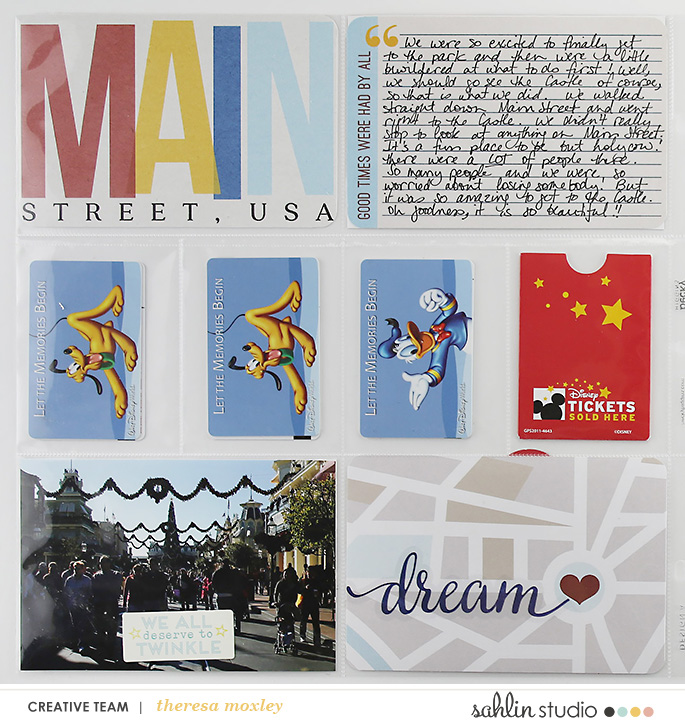
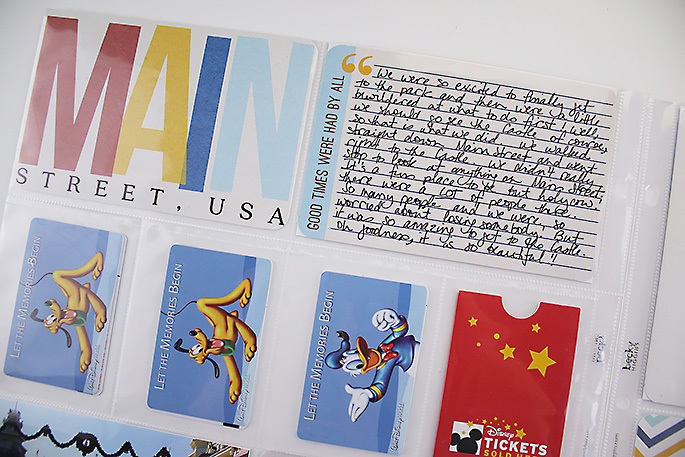
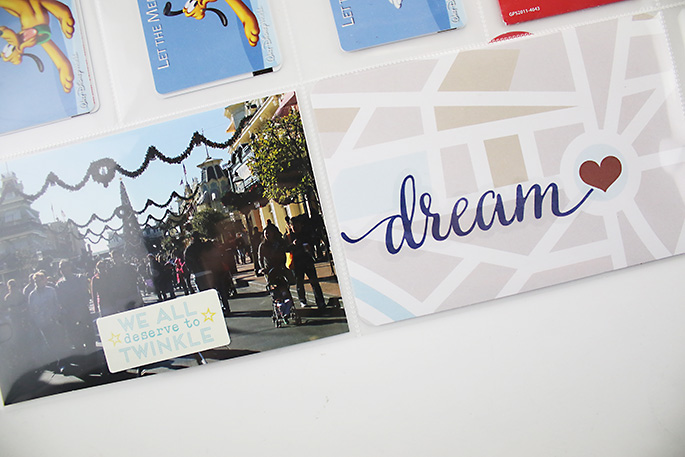
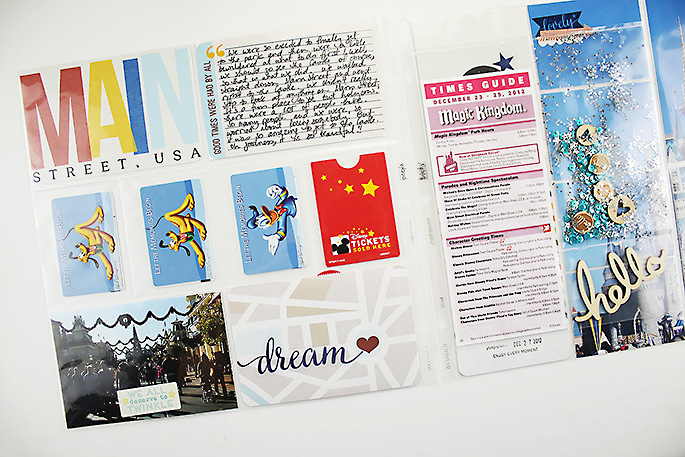
On the left hand side of the layout I began with three cards from the Project Mouse: Main Street kit. These cards tie in perfectly with the colors in our Passes and the hotel key pocket. My journaling is pretty simple, and no embellishment needed to the top two cards. For the bottom card I added the dream sticker which is from Shimelle’s Starshine collection.
The Project Mouse cards are so easy to use because they don’t require any embellishing whatsoever. Only if you wish. Here I chose to simply journal about our arrival at the park. We were somewhat overwhelmed for a few minutes! We made our way straight to the Castle and spent a little time just taking it in! I absolutely love including a layout about these moments.
The heart on this card is perfectly placed at the end of the Dream sticker. I call this scrapbooking serendipity, when things just fall onto the page like magic.
One more look at this side of the layout here:
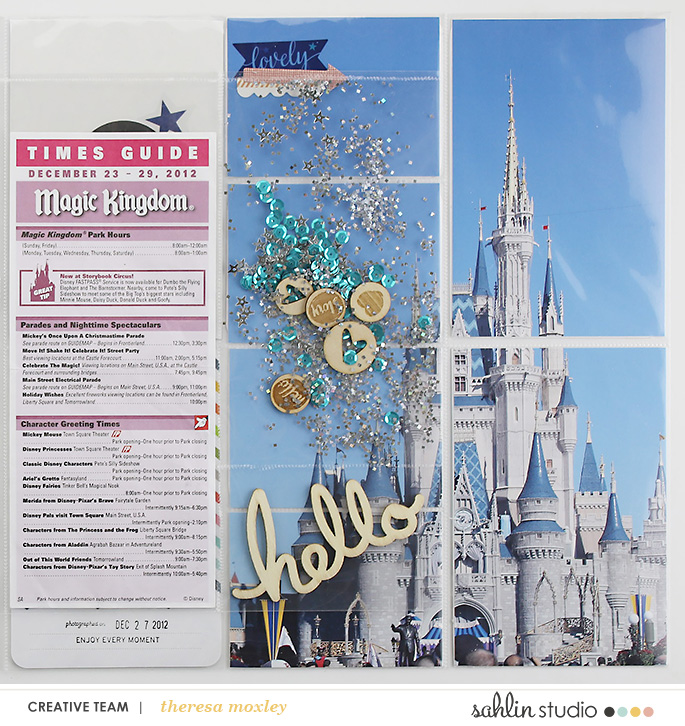
For the right hand side I decided to create a really fun sequin pocket. The park gave us this Times Guide, which of course needed a home in the album, so I placed it in a 8.5″ x 11″ page protector and sealed it in place using my Fuse tool. On the other is this really fun pocket that I filled with sequins, chunky glitter, a wooden hello, and other miscellaneous wood pieces I thought were fun.
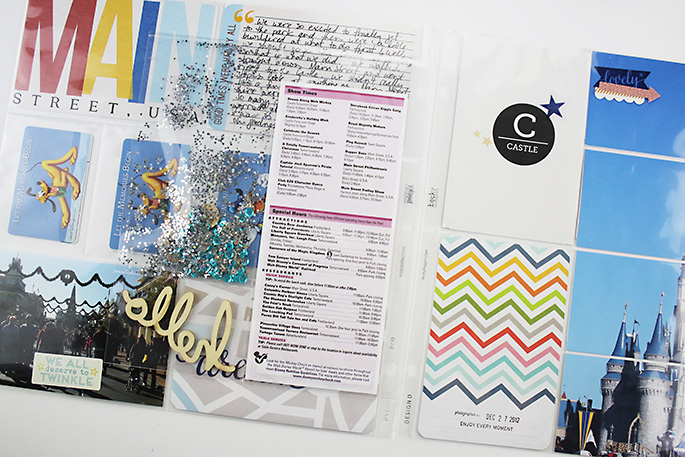
This is what the back of the insert looks like. I love including these ephemera in my albums so much.
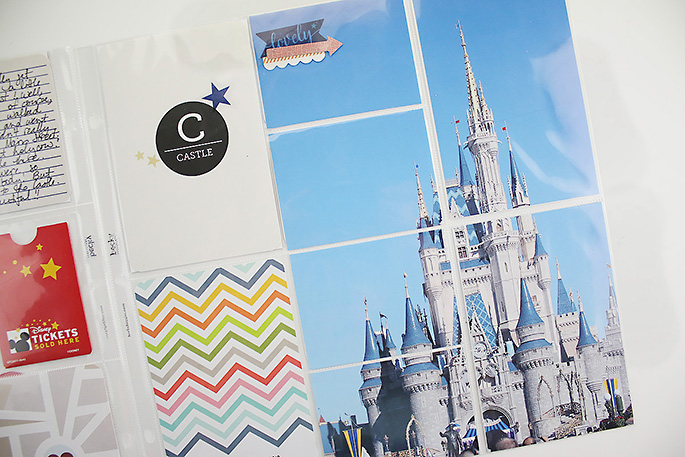
For the castle layout I included two filler cards, the Castle card from Project Mouse and the chevron card from Becky Higgins’ Honey Edition for Project Life. A very few, simple embellishments is all this page needed: the stars, banner, arrow, and cloud die cuts are all Shimelle, and the stamped images are Dear Lizzy and Becky Higgins roller stamps.
Just one more look at this side, with the sequin pocket. So lovely.
Thanks so much for following along! I hope you are feeling inspired to grab those beautiful Castle photos and go big! See you soon!
~Theresa
Products Used:
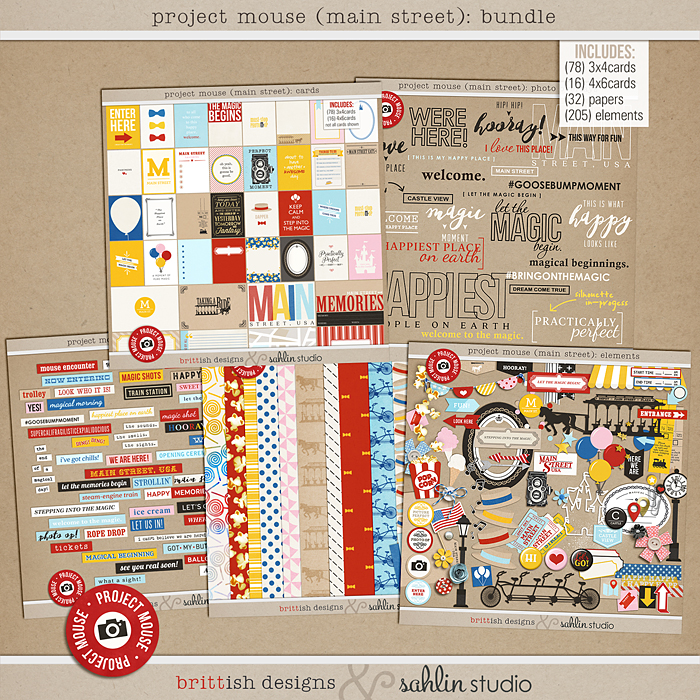
Project Mouse Main Street Bundle
Sahlin Studio: Project Mouse: Main Street; Other Products: Shimelle Starshine stickers and die cuts; Becky Higgins Project Life roller stamp and Honey Core Edition journal card; Dear Lizzy roller stamp; miscellaneous sequins and wood pieces from my stash.
**This layout previously appeared on Theresa’s personal blog, which can be viewed here: Disney Layout 03. There is also a process video which can be viewed here: larkindesign on YouTube.
Hi, I’m Theresa of Larkindesign from Kernersville, NC where I live with my four kids, one awesome husband, two cats, a dog, and a bunny. And occasionally our cat brings us pet salamanders. When I am not calming chaos I am in my studio, playing with photos and colors and embellishments. This scrapbooking thing is my passion and I love inspiring others to feel the same way!

September 29, 2016 at 7:04 am
Yar says:
This is absolutely beautiful!!! TFS
November 5, 2016 at 12:27 pm
Jaratzed says:
I like the middle page where u add glitters-scatters/guide.
November 9, 2016 at 11:25 am
Krista says:
That’s my favorite too!!! Isn’t it such a neat addition to the page?