Disney Project Life Album – #2 GETTING THERE
Posted on under Hybrid Projects, Project Life, Project Mouse
Theresa Moxley here with the next layout in my Disney album. Feel free to follow along on my journey each week! To look back on my Project Life / Project Mouse layouts, find my other posts here.
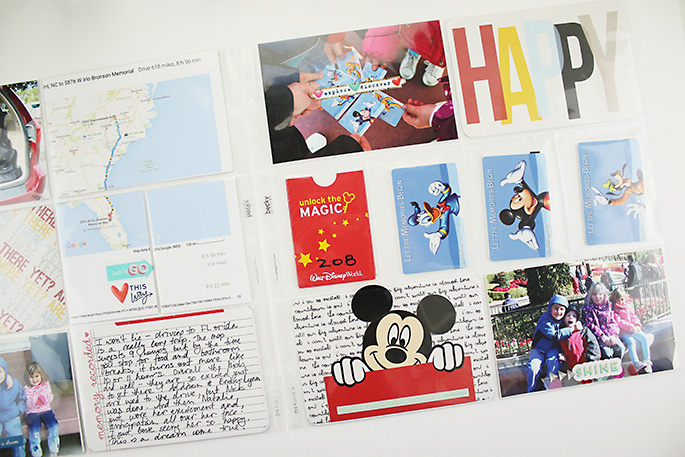
Last week, I showed you the “Surprise” layout I did about how we told our kids we were going to Disney. Today I am documenting how we got there. My process always begins with printing the photos + journaling cards, and today I added a map to show our journey down the east coast from NC to FL. My journaling cards were chosen from the Project Mouse On Our Way, Basic, and Reveal kits. I knew I wanted to use cards from several different kits, so I brought the ones I wanted into a blank Photoshop canvas. Then I printed them on my home printer, cut them apart, and add them to my layout!
Documenting | The Journey
Left Side Page
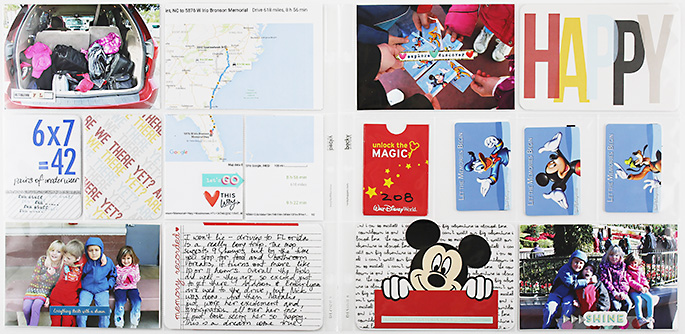
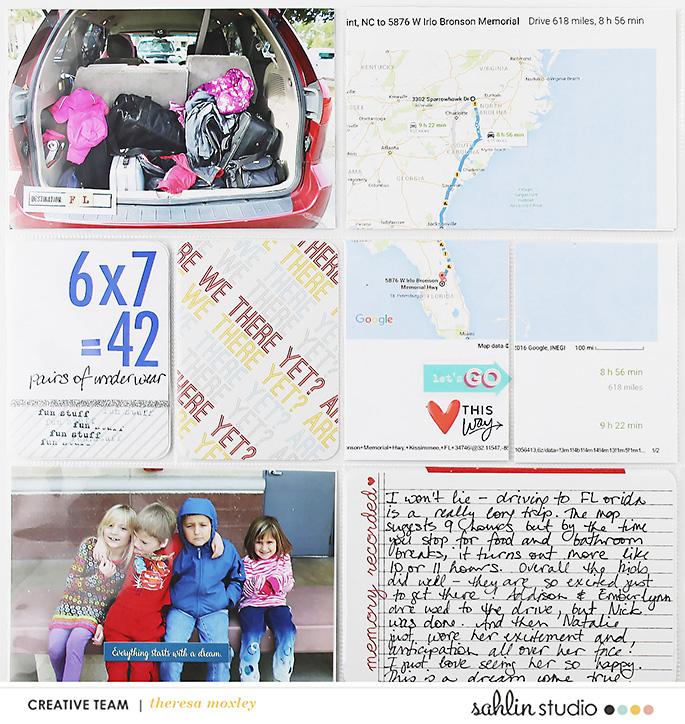
The left hand side tells the story of our 11 hour drive to get there. This trip was taken four years ago, when our family was first brought together. We are a blended family and this is our first trip we all took as a family of six! I thought it was important to show what our car looked like, what the journey looked like, and even this adorable photo of the kids at one of the rest stations along the way.
Let’s Look at the Details!!
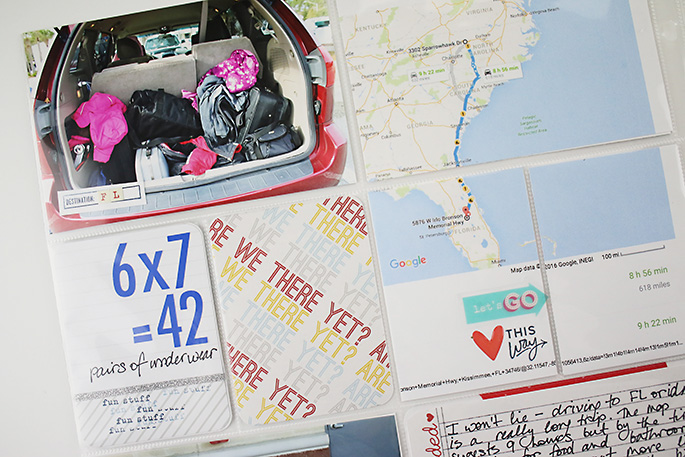
Google maps makes it so easy to include the details of the journey, just like I did here. Once the map is in place, it is easy to place photos and journaling cards to tell the whole story.
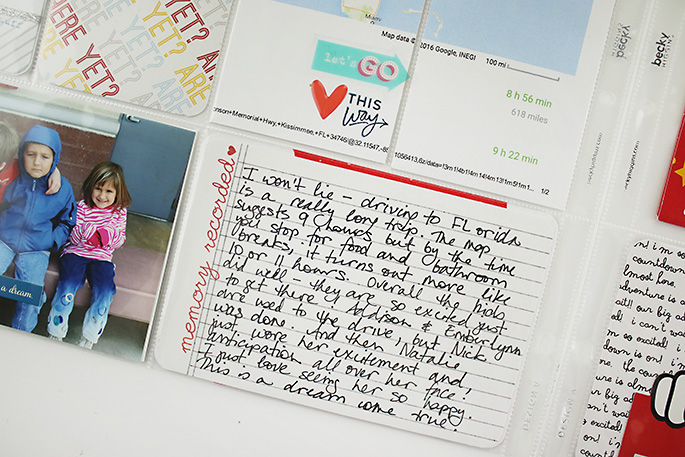
Underneath the map I included my journaling. The Memory Recorded card from the Basic Project Mouse kit is perfect and allows just the right amount of space for a paragraph. I love the pop of red in the text and I added a tiny touch of red washi tape as well.

There was room for (2) 3×4 cards here, so it was time for a fun fact about the trip and also the classic “Are We There Yet?” card from the On Our Way kit. That card did not need any embellishment at all! The mathematical equation just adds a tiny bit of humor in our situation. We were a tiny bit overwhelmed with packing for six, but only in the best way.
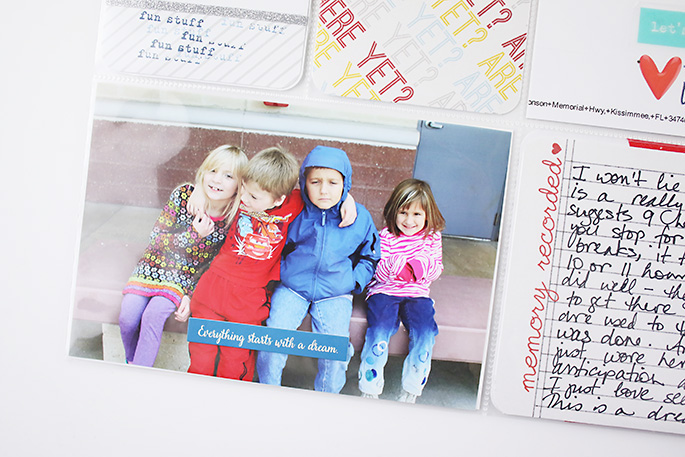
This photo tells such a story of each of their personalities, especially looking back and knowing each one of them so well now! From left to right is Emberlynn, who is full of vibrant energy. Addison next to her, is also incredibly bright and fun and so very cool with being in the car and going places. Then Nick, in his hoodie, is slightly miserable. Ha. I think we were somewhere in Georgia at this point, and you can tell he is done. Then on the far right is Natalie, who is five and is just so excited there is not a thing that will dampen her spirits. Not even a long car ride. She was like this the whole trip – so excited and happy and thrilled! Isn’t this why we do this?!
Right Side Page
Let’s Look at the Details!!
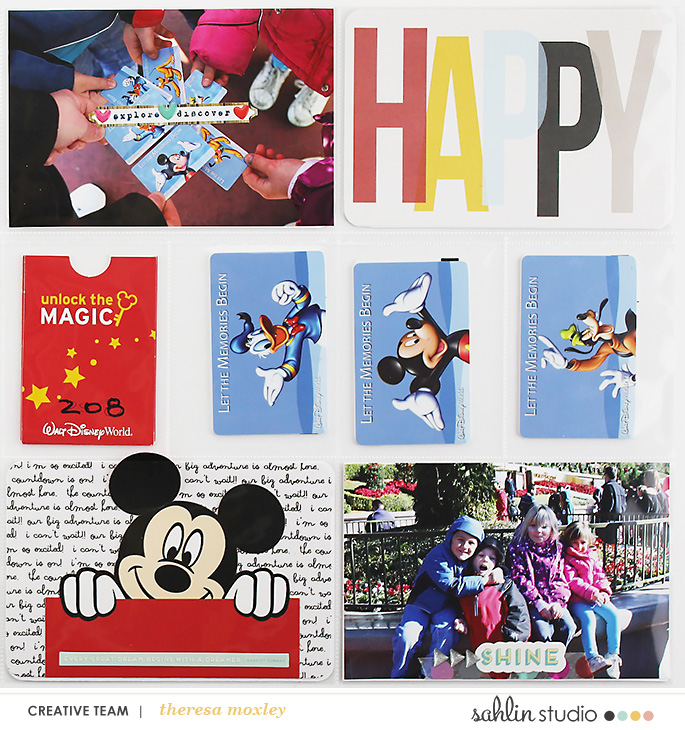
On the right hand side I began with my FAVORITE Project Mouse card of all, the “HAPPY” card from the Basics kit. I have to tell you that one of the reasons I held off creating my Disney album for so long was because I had a really hard time finding Disney products that I felt were tastefully not-over-the-top Disney. Project Mouse is a great solution because so many of the cards are neutral with bright pops of color!
Project Mouse title cards are definitely some of my favorites!
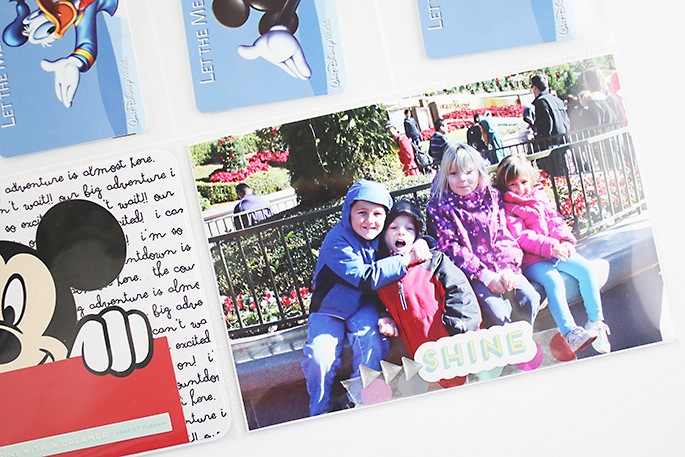
Photos at the entrance of the park are an absolute necessity!! Their joy and excitement could not be contained, but it could be captured in this photo.
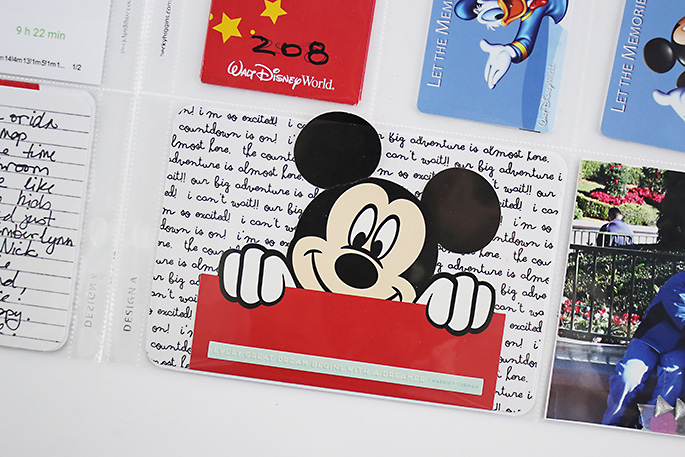
This Mickey icon is one of the ephemera we got from our hotel. I decided to layer it on top of the handwritten card that is included in the Reveal kit. How perfect!
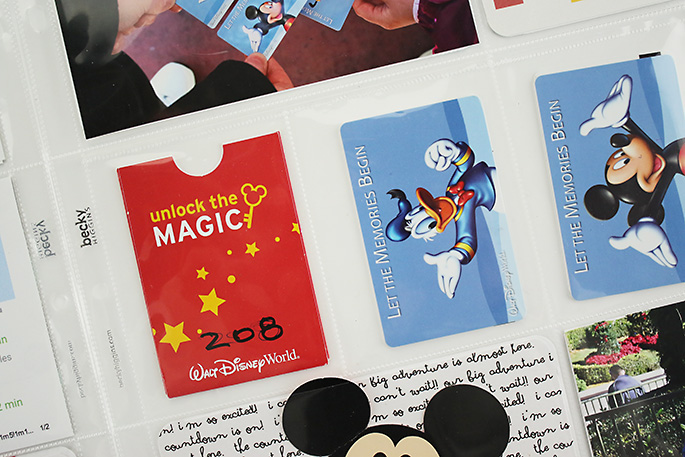
I know things are a bit different now, but this was 2012 when Magic Kingdom sent these cards to give you access to the parks and dining. If your trip included these cards, most definitely include them in your album! I have simply placed them back to back to show the different characters, and then sealed into place using my Fuse tool. The red pocket is also from our hotel room – this is the little pocket the hotel key came in. It is also sealed in place with the Fuse.
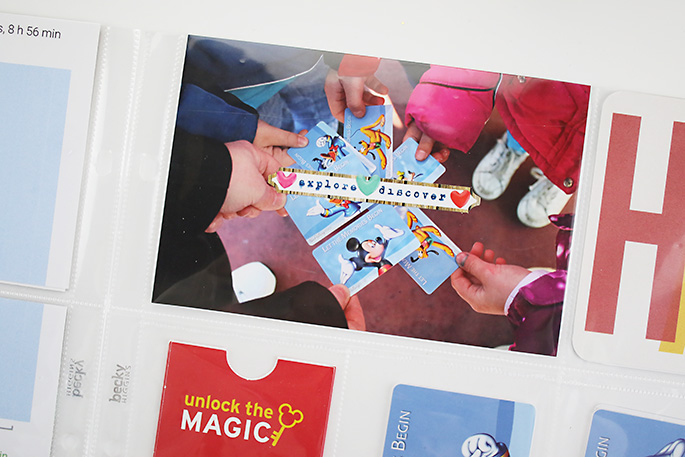
I will leave you with this photo, taken right before we entered the park. We all held our cards in the center of our group and I snapped the photo. Now Disney sends arm bands (oh how I want some of those now!) and you could absolutely do the same pose with your arm bands!
Thanks so much for taking a look at this layout in my Disney album today!
I do hope you have found some inspiration for your photos and albums!
Project Mouse #1- Surprise!
Products Used:

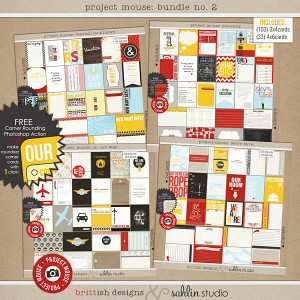
Sahlin Studio: Project Mouse On Our Way, Basics, and Reveal/Countdown kits; Other products: Doodlebug washi tape, glitter arrows, enamel hearts, number stickers; Shimelle Starshine roller stamp and photopolymer stamp, clear stickers, cardstock stickers; Heidi Swapp woodgrain label; Ali Edwards silver glitter tape; Becky Higgins Project Life Midnight Edition 3×4 card & Page Protector Design A.
**This layout previously appeared on Theresa’s personal blog, which can be viewed here: Disney Layout 02. There is also a process video which can be viewed here: larkindesign on YouTube.
Hi, I’m Theresa of Larkindesign from Kernersville, NC where I live with my four kids, one awesome husband, two cats, a dog, and a bunny. And occasionally our cat brings us pet salamanders. When I am not calming chaos I am in my studio, playing with photos and colors and embellishments. This scrapbooking thing is my passion and I love inspiring others to feel the same way!
