A Project Mouse Story: A Printed Book (AmberR)
Posted on under A Project Mouse Story, Photo Books & Albums, Project Mouse
One of the BEST parts of creating a Project Mouse album is… finishing it!! Yes, having a scrapbook that is completed and in your hands is the best feeling. (Not to mention all of the many moments to come reliving your memories) Check out how one of my creative team members, AmberR has documented her recent Disneyland vacation, using Project Mouse. She created a digital version of a Project Mouse album and had it printed into a bound book album. I can’t WAIT to share how amazing it turned out!
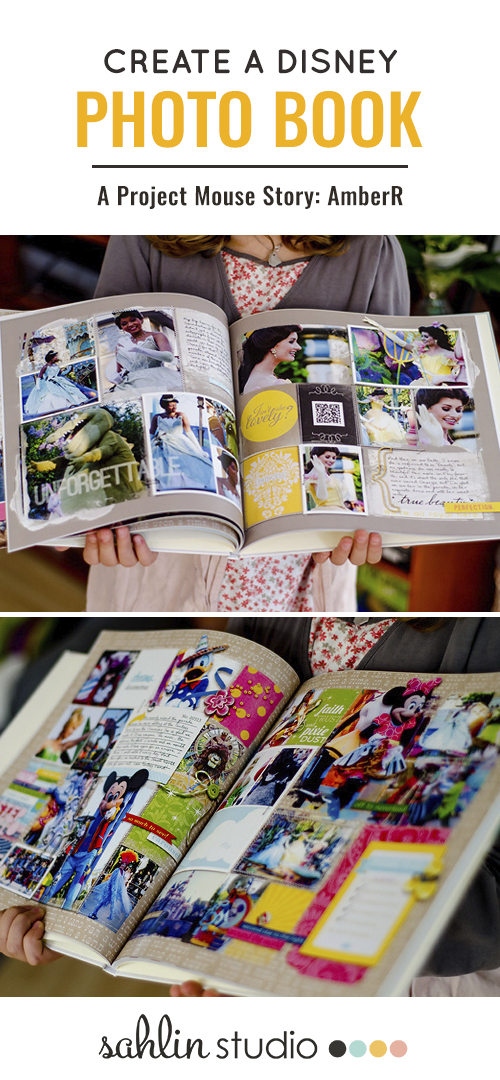
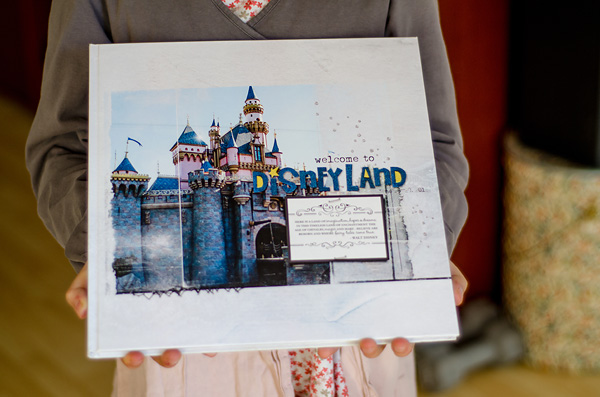
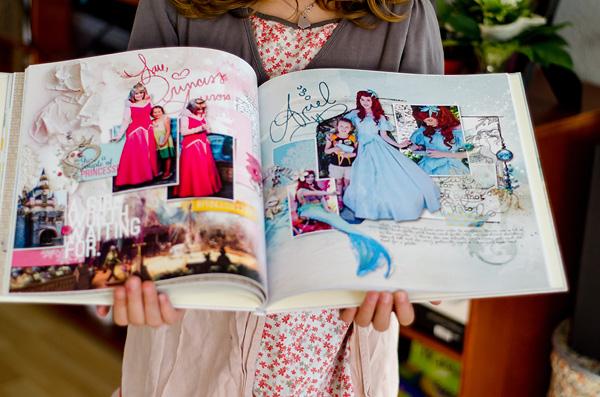
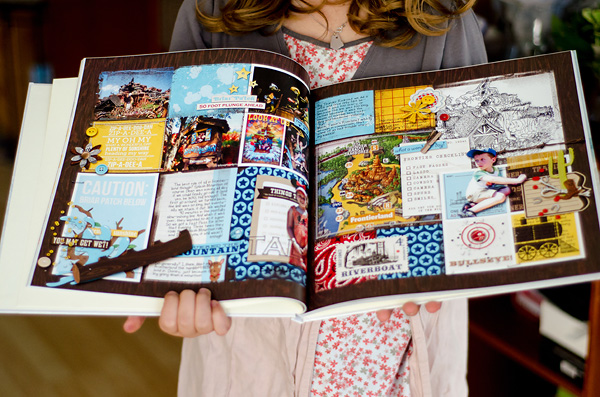
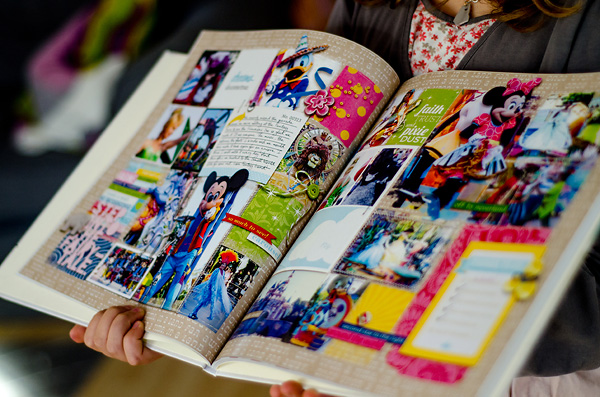
I finally finished scrapping the photos from our Disneyland trip so that I could give the album to my parents for Christmas. We went to Disneyland in June of 2012 and the book was finally finished in December of 2014! I was thrilled with the finished project! Here is my daughter kindly modeled the book for photos:
(COVER)
▲ We Are Going!!
Where I Order My Photobooks:
I order all of my photo books from Pixum, which is a European company that offers a variety of photobooks, prints, calenders etc. They provide free software for your computer, which you download and install. You can then create your book offline and upload it all at once as a saved file. The program is easy to use (I insert all my layouts as background images so they bleed from left to right) and the final quality has never let me down.
The books cost a set price for the first 26 pages and then a further set price for each additional 8 pages. The books are 26 – 74 pages in length. This has only been a problem for me when I didn’t have an even number of pages in my books, then I have had to create another one, just to fill in that last page…Pixum also often has coupon codes and sales.
Comparing: Digi to Printed Pages:
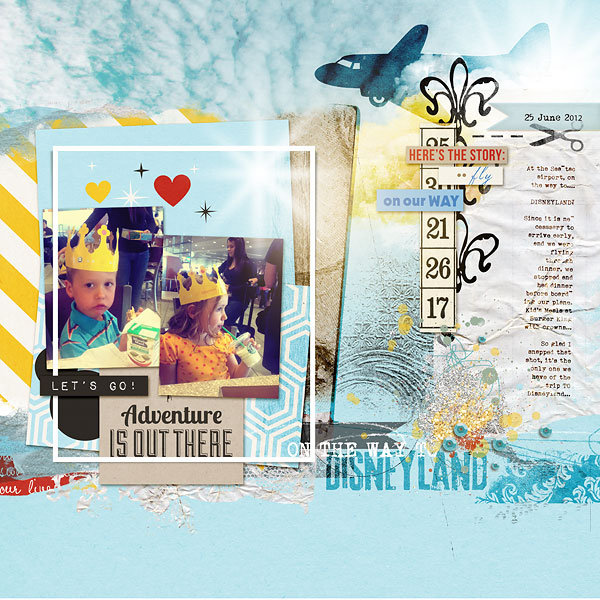
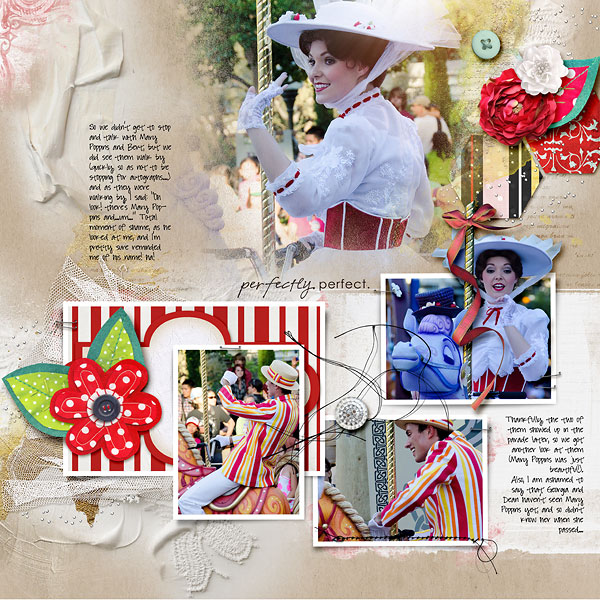
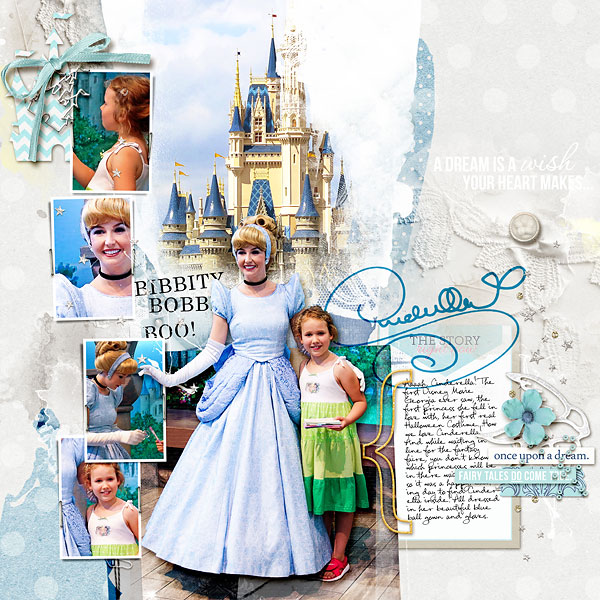
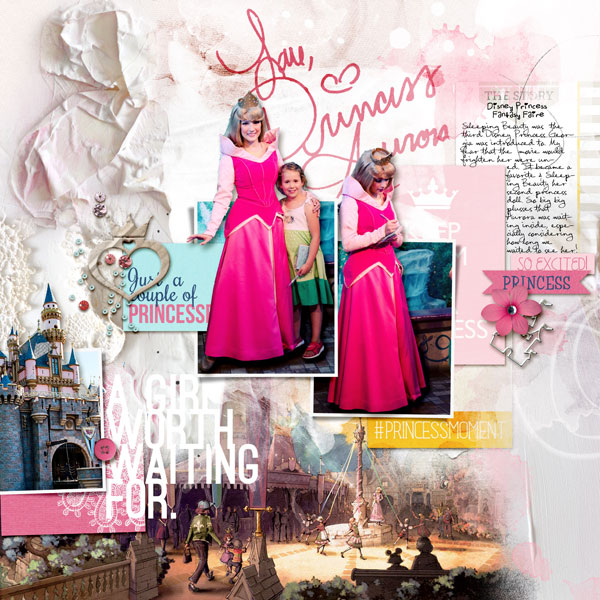
There is almost no difference between the printed page and the digi page! The colors on screen are slightly brighter, but only noticeable when one is comparing the two side by side, and there is a tiny bit of the layout lost in the center. For this reason, I try not to let photos, text or elements cross the center of my pages. I also add a border around all four sides of my layouts so that I don’t lose anything on the edges. In photoshop, I run an action I made that reduces the total size of the layout by 97.8%.
There is an option of having your pages printed on a 200 g/m2 photo paper, which is a stable, thick paper and does lie completely flat. I used this option for my son’s friendship book, as it is handled regularly by little fingers! The nice thing about this: if you upload 24″x 12″ layouts, you lose nothing from the middle of the layout at all.
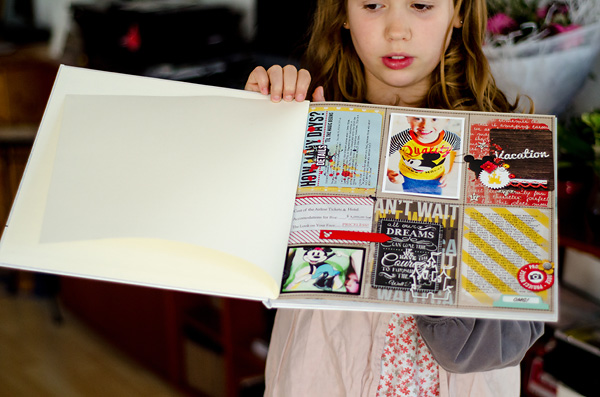
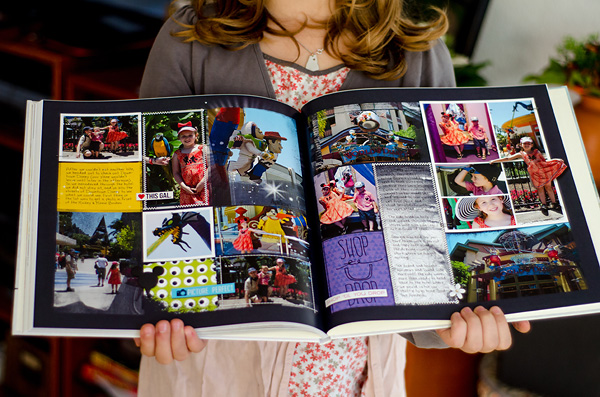
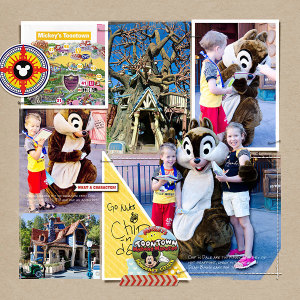
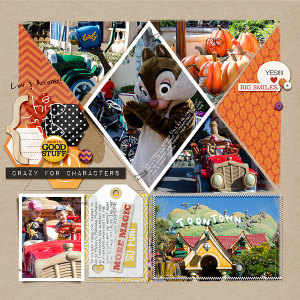
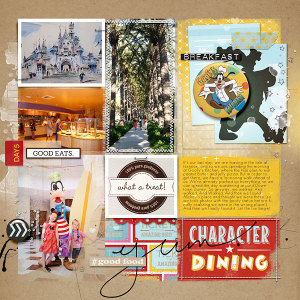
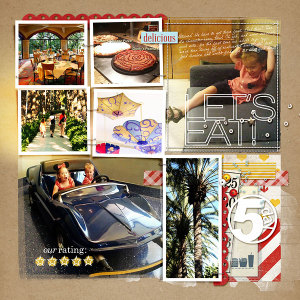
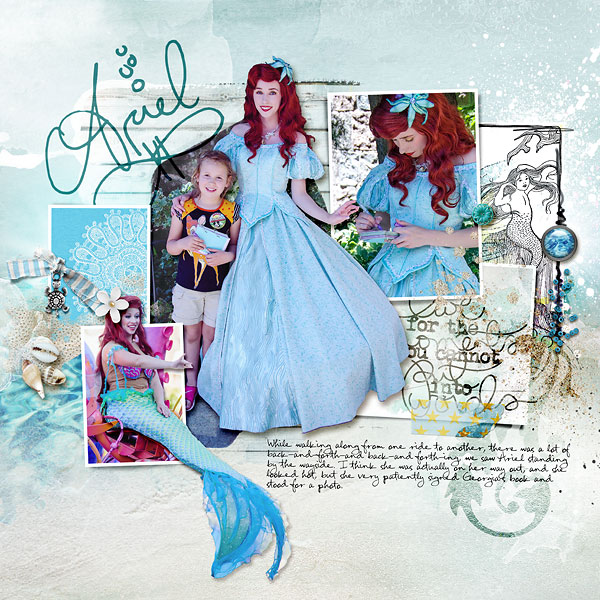
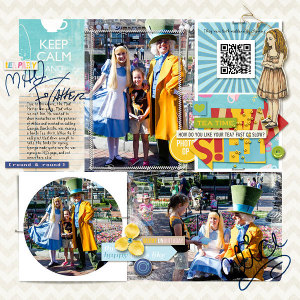
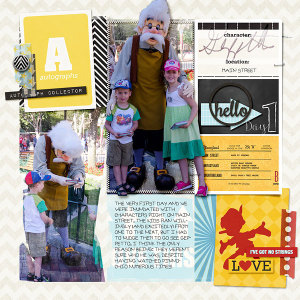
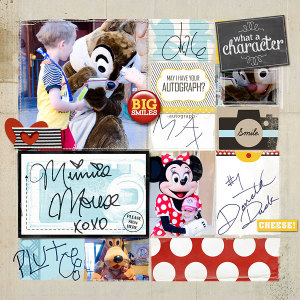
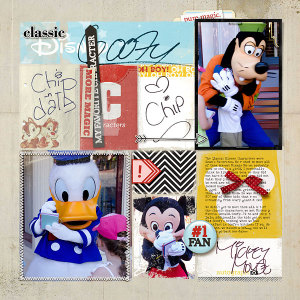
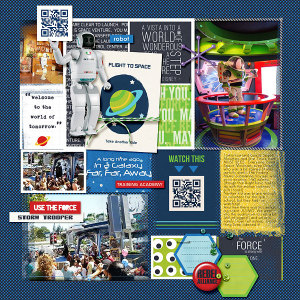
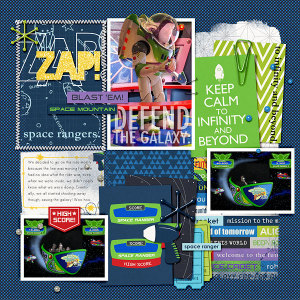
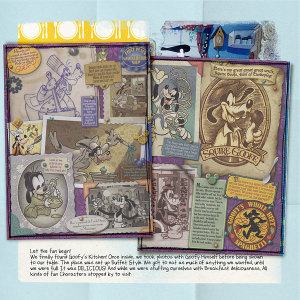
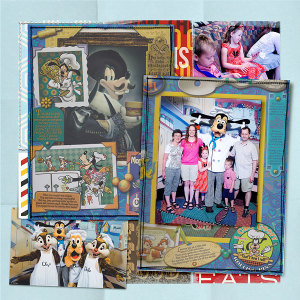
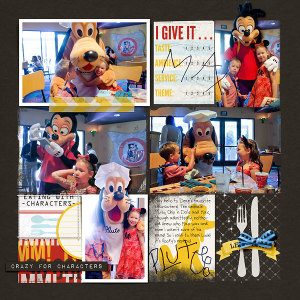
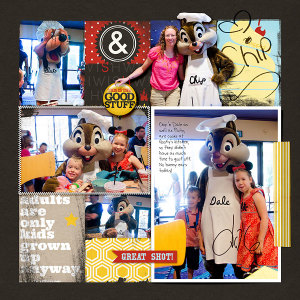
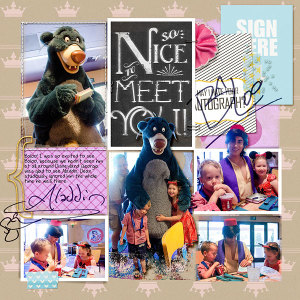
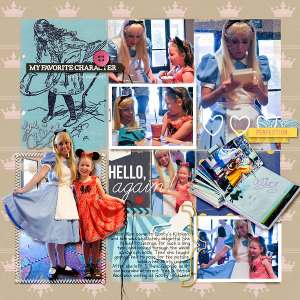
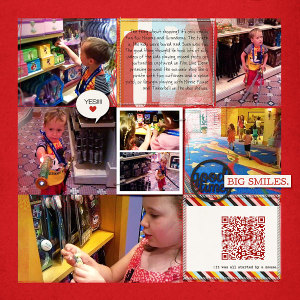
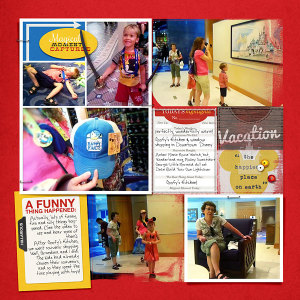
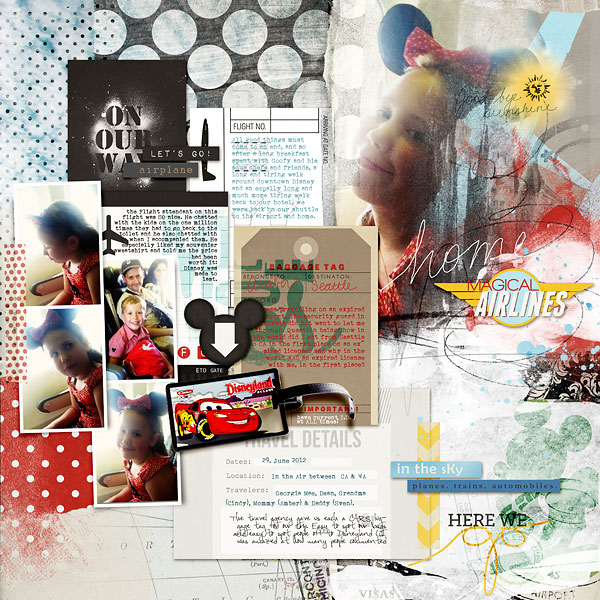
A Look at Some Digital Pages:
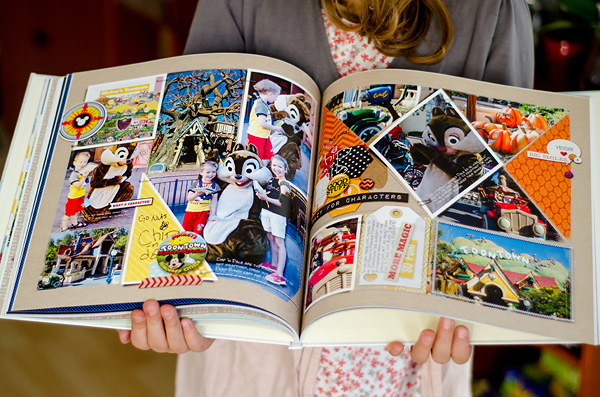
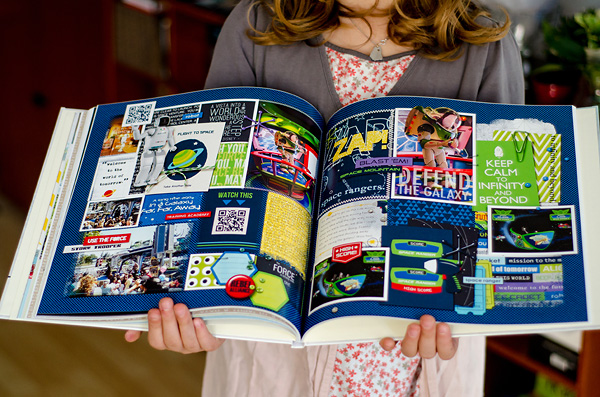
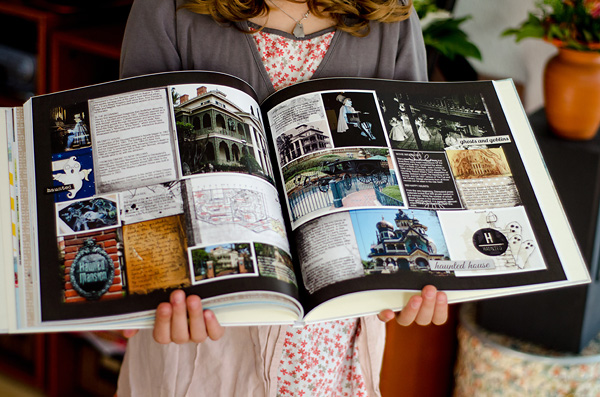
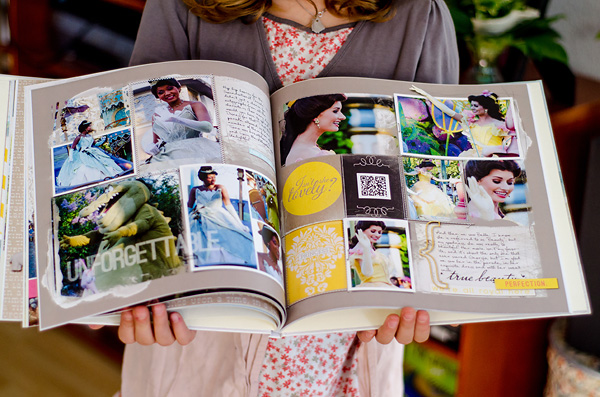


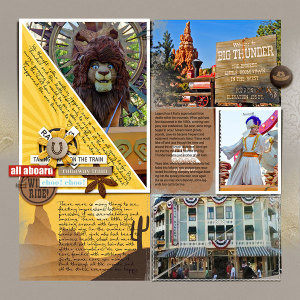
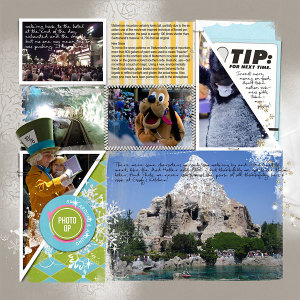


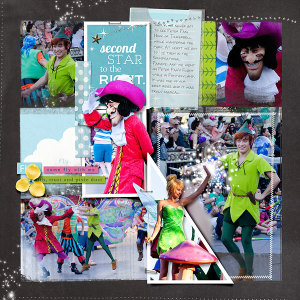
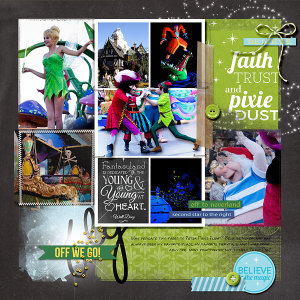
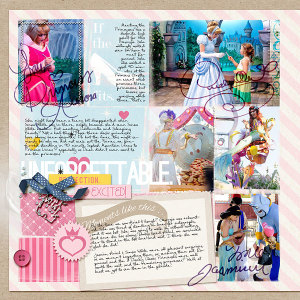
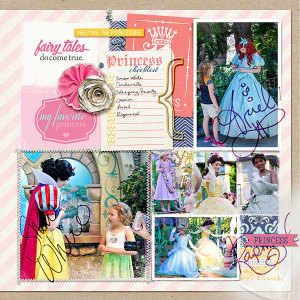
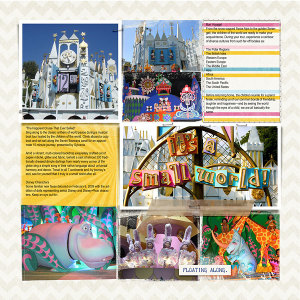
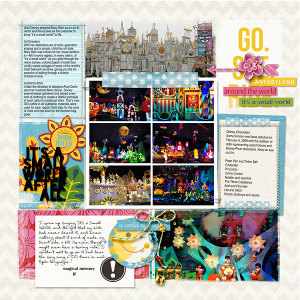

May 27, 2015 at 3:04 pm
José says:
OEMPH!!! This looks amazing and beyond. The extractions, where people step outside their borders, work great. The vibrant colors, it all works so well together. What an awesome way to memorise. Wirklich TOLL.
Thanks for sharing.
May 28, 2015 at 10:40 pm
StacieM says:
WOW! Your book turned out beautifully! I especially loved how you made parts of people pop out of the photo border–like Ariel’s tail! What a neat technique. I’ve never thought of that but will have to give it a try. Your book gave me a ton of inspiration for my own Disney book I’ve been working on. Thank you!
May 29, 2015 at 9:29 pm
Donna says:
Absolutely beautiful! Thanks for sharing information about how and where you printed your book.
May 31, 2015 at 5:24 pm
Ashley B says:
Ah, absolutely gorgeous!! I have admired your individual pages in the TLP gallery and in book form it is just stunning. Your family must be thrilled!
June 4, 2015 at 6:57 pm
amym says:
seriously?! i want a book like this! wellllll done!
July 18, 2015 at 3:32 pm
Susan says:
Beautiful work as always, Amber! A delight to look at the detail of your pages.