Embellishing Project Life App layouts in the Over App
Posted on under Project Life, Scrapbooking With Apps
As a recent Project Life App scrapper, I’ve made hundreds of pages in the app using Project Mouse cards. But, I miss the gorgeous embellishments from my digital scrapping days. So, I decided to get braver with my app scrapping game. Truth be told, embellishing is much easier using Photoshop Elements but I wanted to give it a try with an app. I am a minimalist scrapper now, but I think it’s do able without a lot of fuss. I decided to use the Over app to embellish a few pocket pages and love the results! The Over app is not intended for scrapbooking, but it seems to be rapidly growing in the app scrapper world.
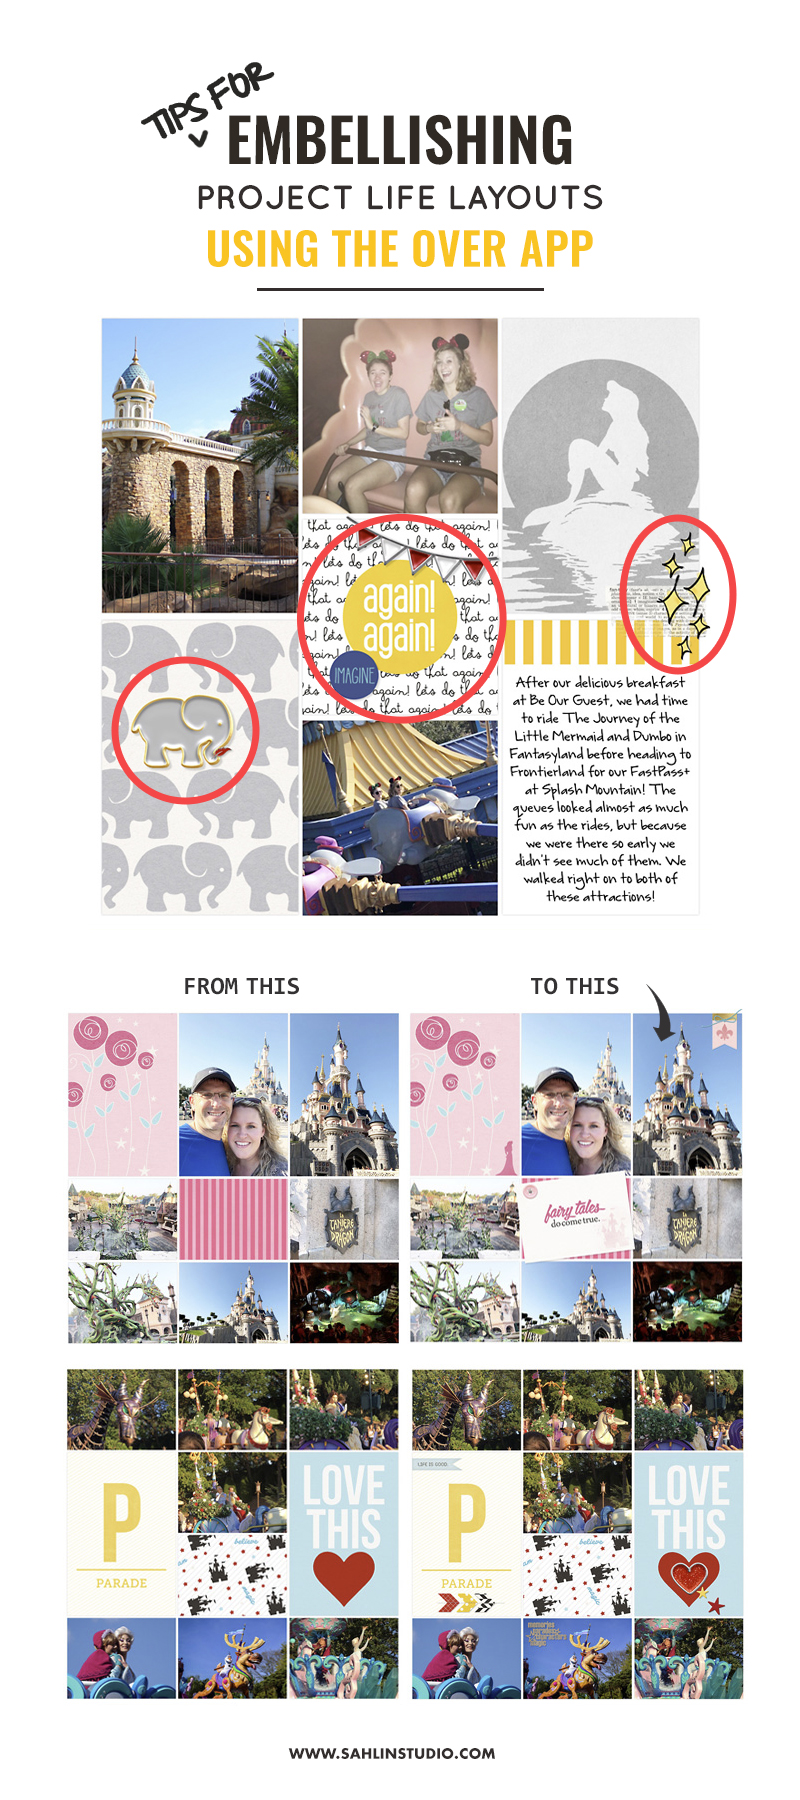
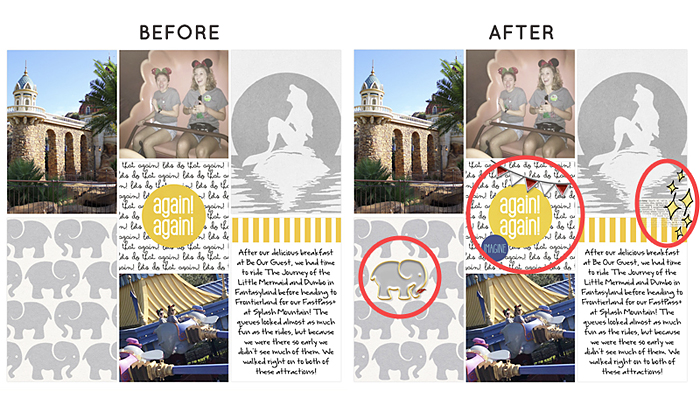
Here’s how we can take this pocket page from my last blog post, and give it a little something extra with Over!
Let’s Get Started – To Begin
STEP 1: Download the Over app (iOS only)
STEP 2: Begin by exporting your page from Project Life as a 12×12. No matter what size you print, you’ll want to export at this size and save it to your camera roll. You can always print down, but it’s not ideal to print larger than the size you export.
Ready? Let’s Add Embellishments!
Need More Screenshots? Here are the details.
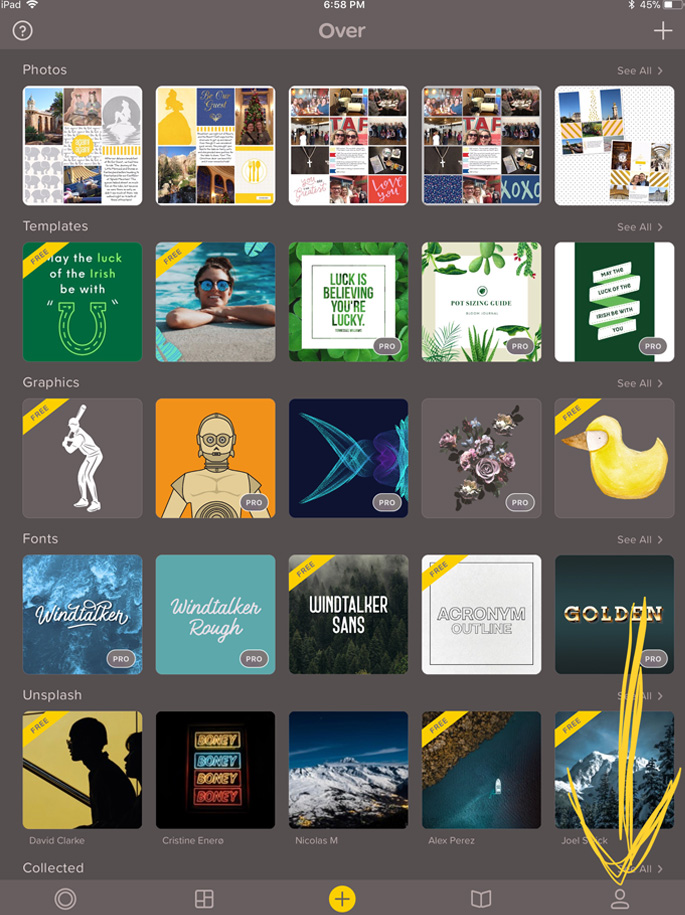
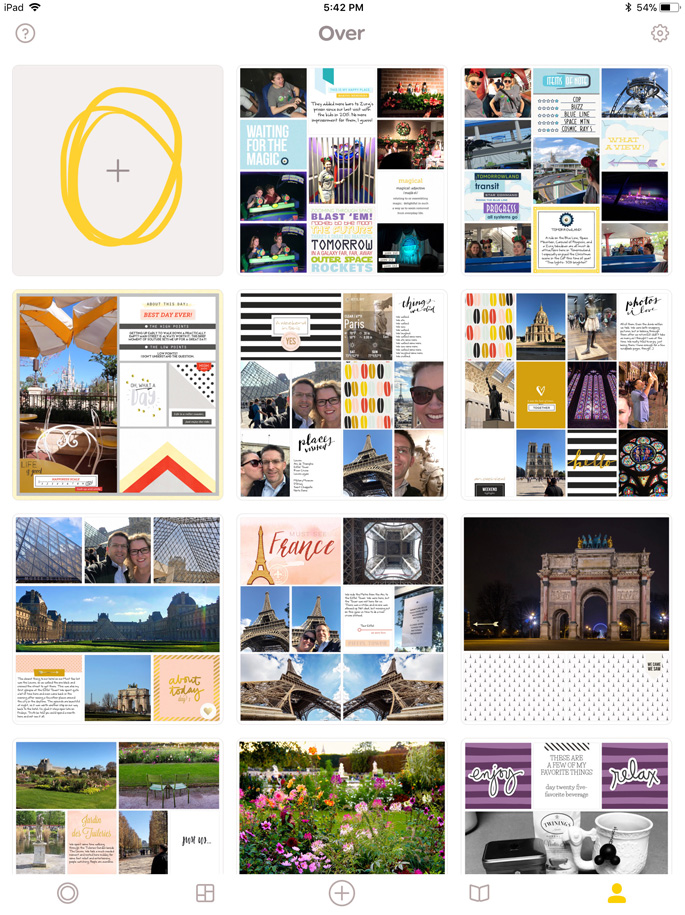
STEP ONE: Tap the person icon at the bottom right of the screen. The home screen should show you rows of different options- your photos and Over templates, graphics, fonts, and more.
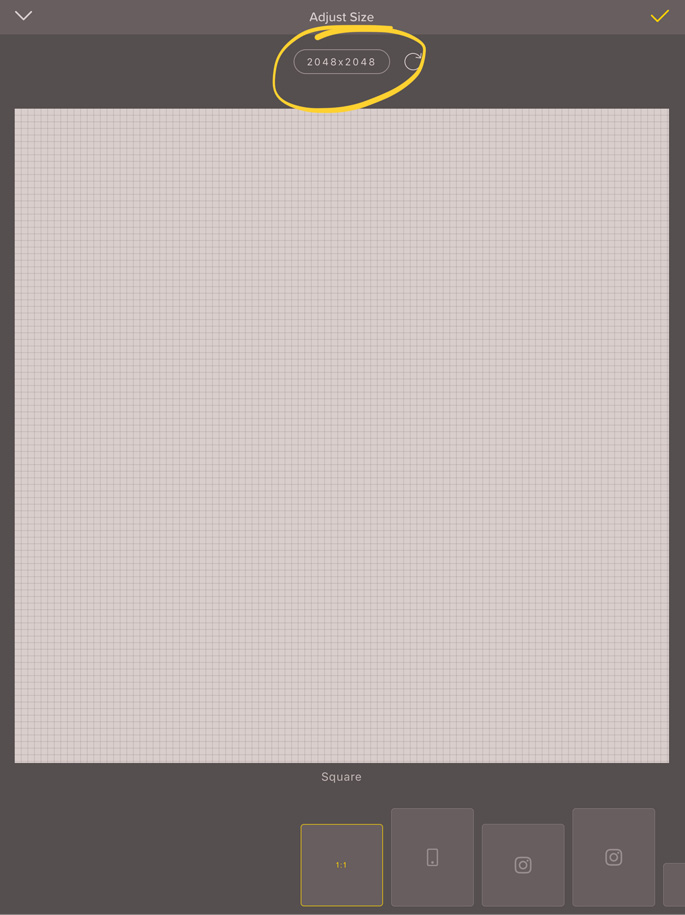
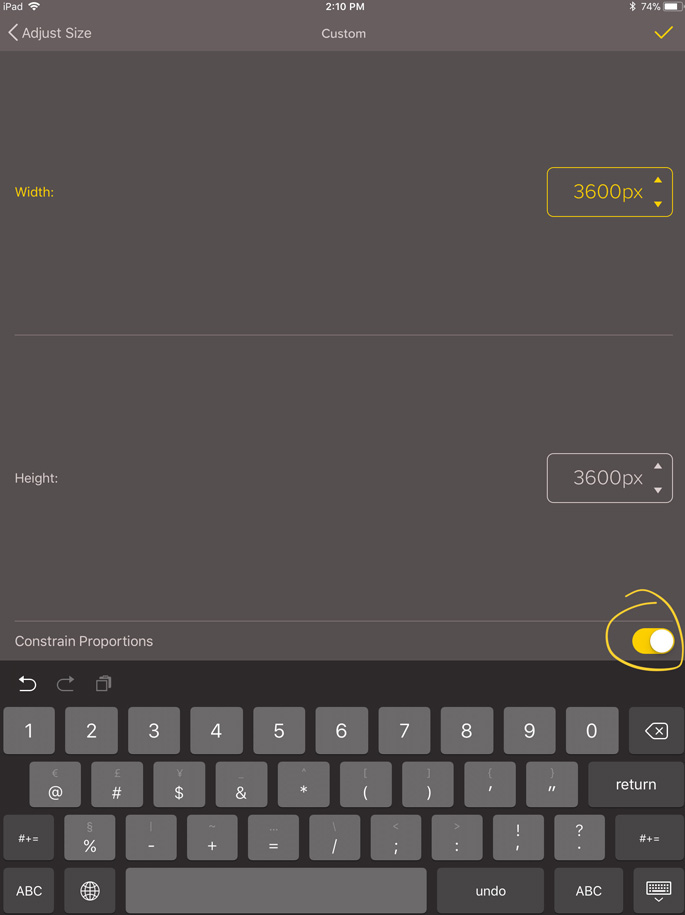
STEP THREE: Tap on the dimensions at the top of the page, make sure Constrain Proportions is toggled on, and change the layout size to 3600×3600 by typing 3600 into the width box. Tap the check mark to open the resized canvas.
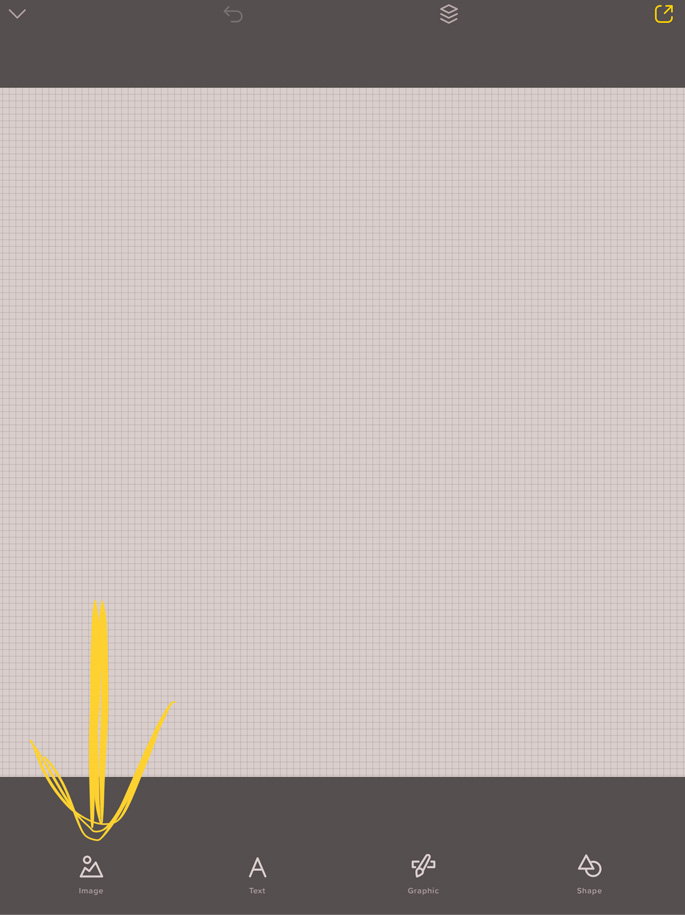
STEP FOUR: Now tap Image at the bottom and bring in your layout. Notice that it will be smaller than the canvas, so we are going to resize it by tapping Size at the bottom of the screen and enlarging it with the slider to 125%. Tap the check mark in the upper right.

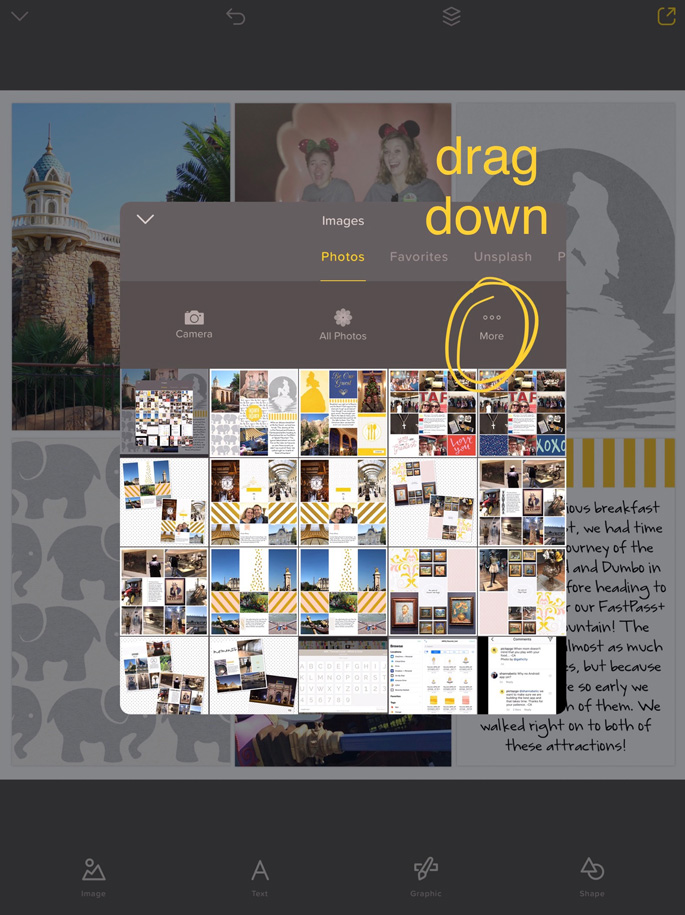
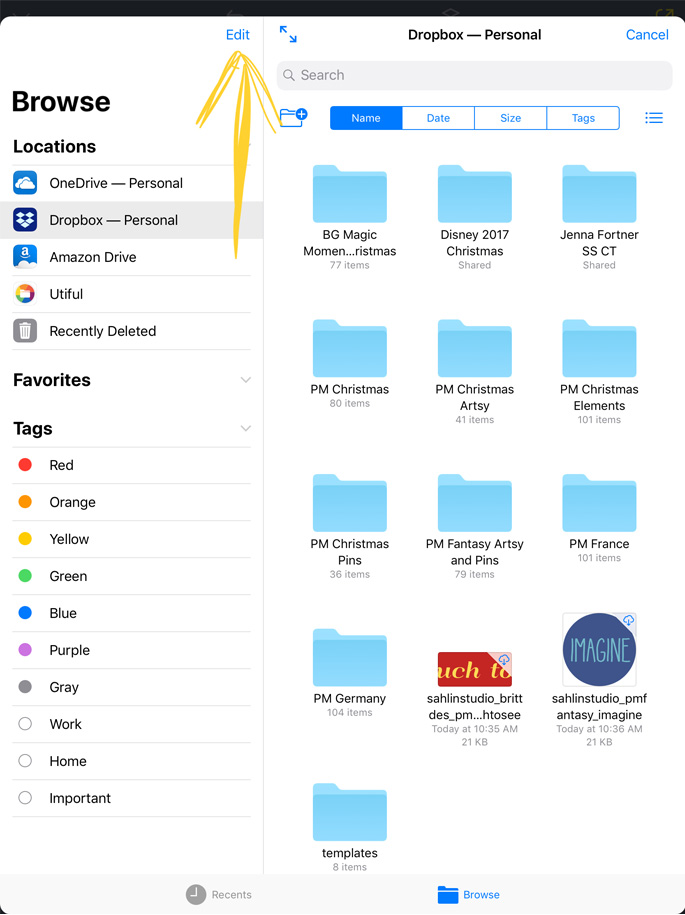
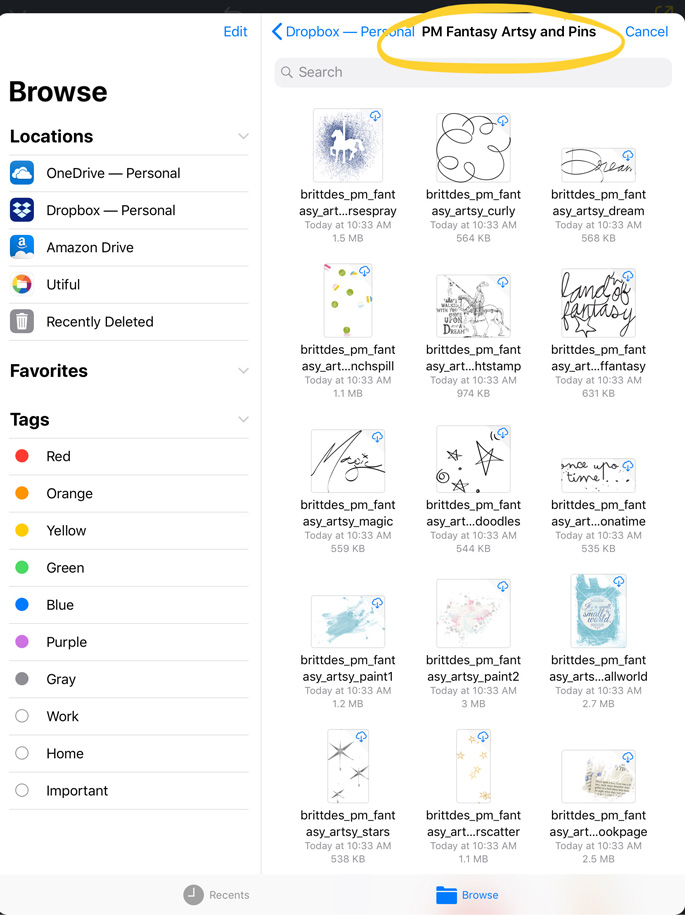
STEP FIVE: Now that the layout is properly sized, tap Image again to bring in elements. Mine are stored in Dropbox and so I need to drag down on the window and open other options besides the camera roll by tapping More. You may need to sync any other cloud storage apps with Over by tapping Edit in the Browse screen and adding the options you use. Tap on Dropbox and you will see your Dropbox files.
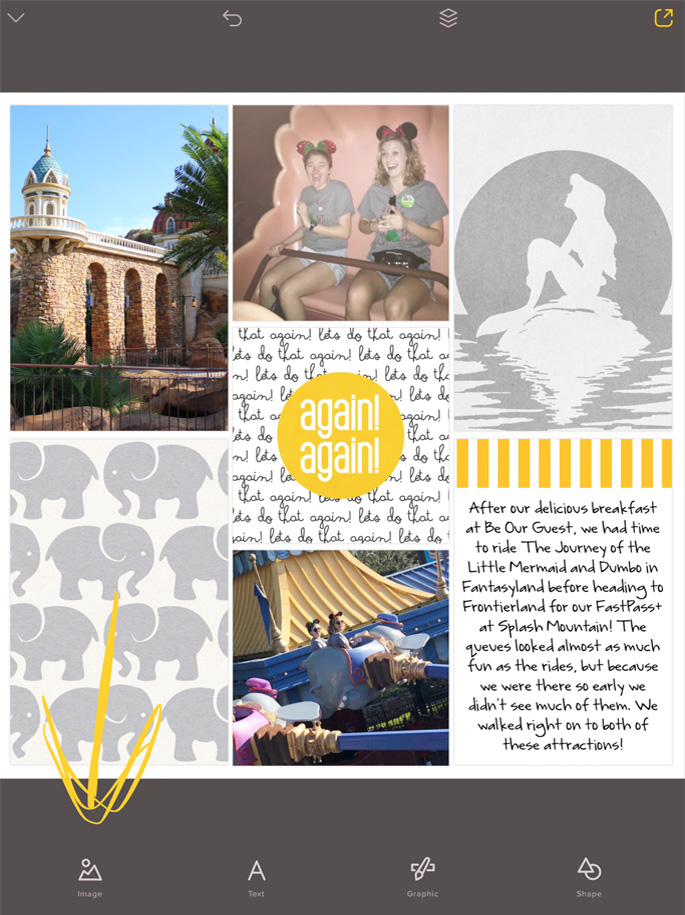
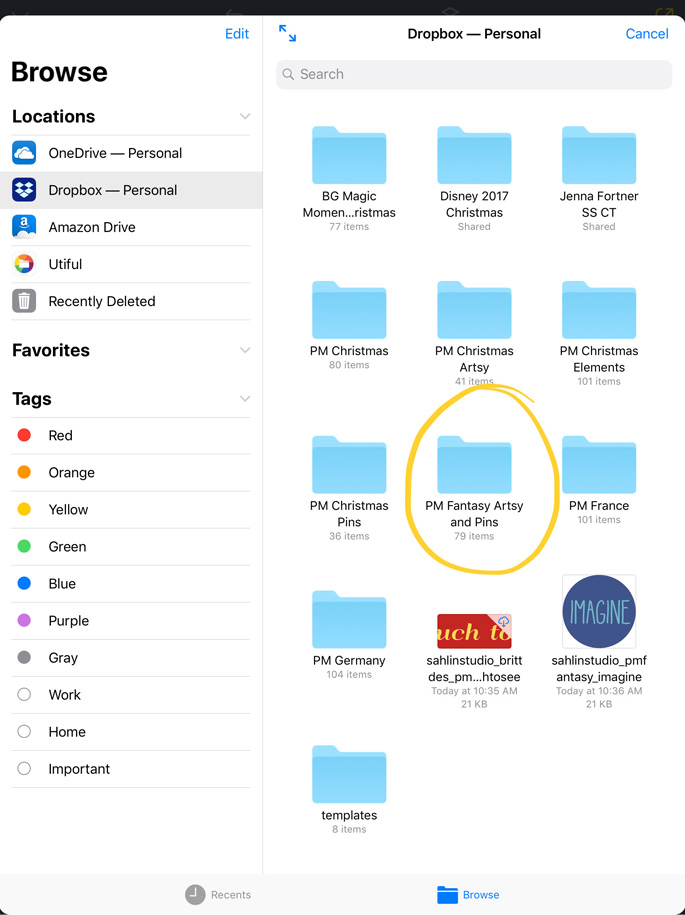
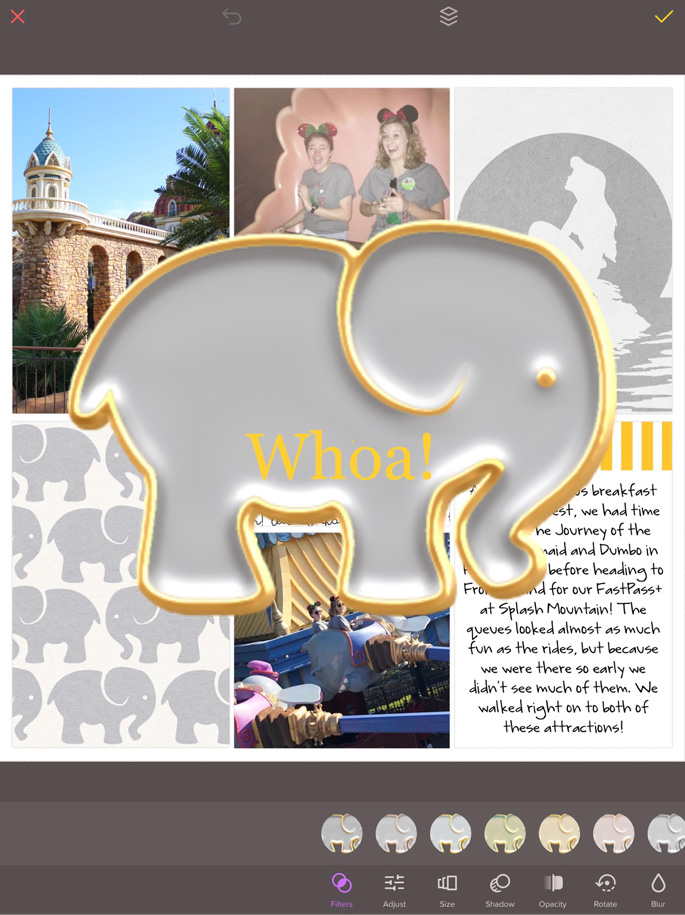
STEP SIX: Tap on the folder and you will see the images. Add one and see what happens! Obviously some items will need to be resized! Resize the embellishment by pinching with two fingers or use the size slider and then place it where you want it on the layout. Tap the check mark in the upper right.
Continue adding embellishments until you are happy with the page. The downside is having to add them one at a time, but I don’t too many embellishments so I don’t mind. “Keep it simple, sister!” is my scrapbooking motto. 😉
Don’t be Afraid to Play Around!
Play with all of the options at the bottom of the screen. Tap on everything and test it, you can’t mess anything up permanently! If you don’t like what you did, tap the back arrow at the top of the screen. Give some time to the nudge, shadow, and size options. And here’s a helpful tip- once I set the shadow on an embellishment I simply tap edit>duplicate>replace and pick a new embellishment. This works well for embellishments that are the same general size. Of course, you may need to adjust it for embellishments of other sizes. There’s more info about shadows and other tips in the video. Check it out and let us know how you are using apps in your scrapbooking on the Sahlin Studio Facebook Page, the Project Mouse Facebook Closed Group, and/or the App Scrappers-Project Life and Beyond Closed Facebook Group (where I learned most of these tips and tricks from Trina and the rest of the amazing community members)!
Check Out More Examples
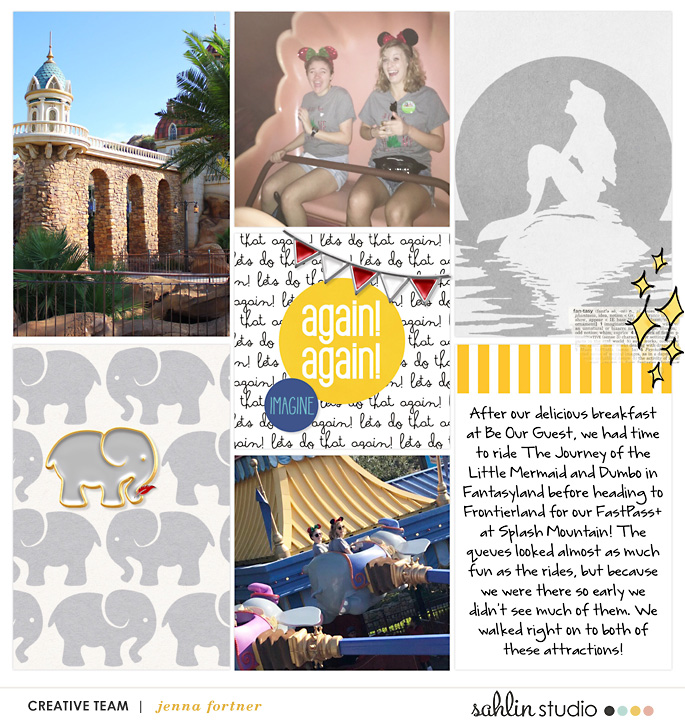
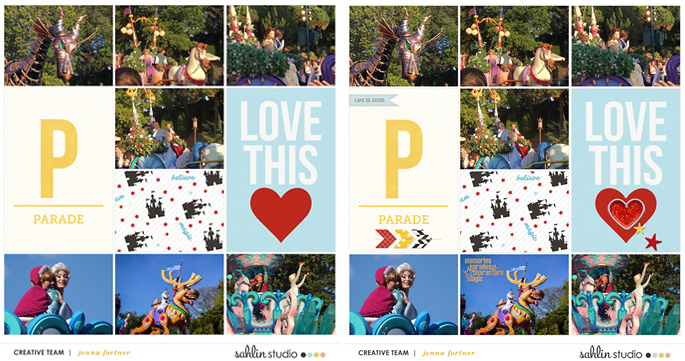
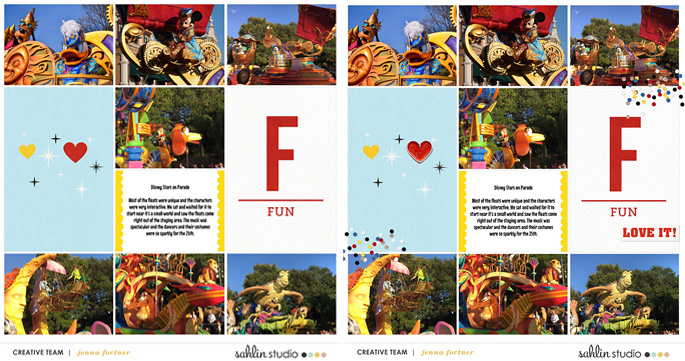
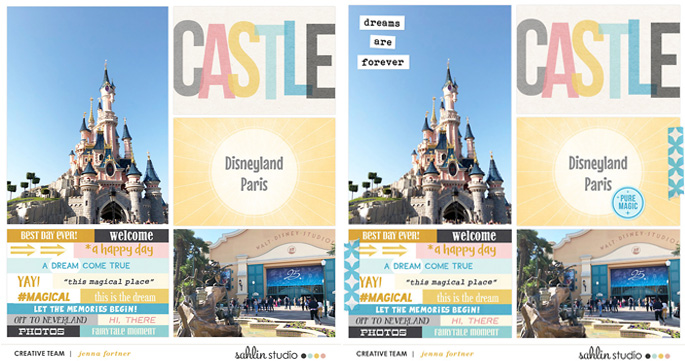
Here are a few more BEFORE and AFTER’s with Project Life App layouts and Over.
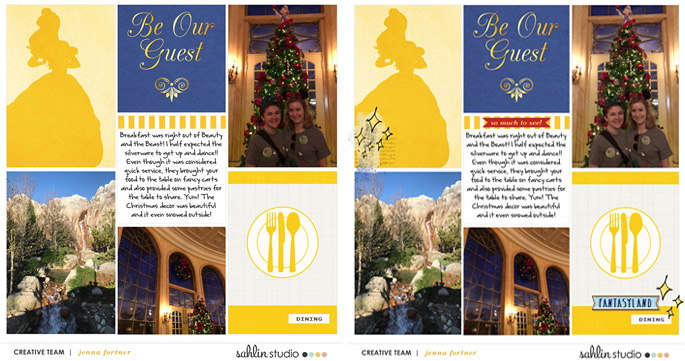
Supplies: Project Mouse Fantasy Bundle, Fantasy Pins, Fantasy Artsy, Food, a freebie, and a PL App P12 January Edition.
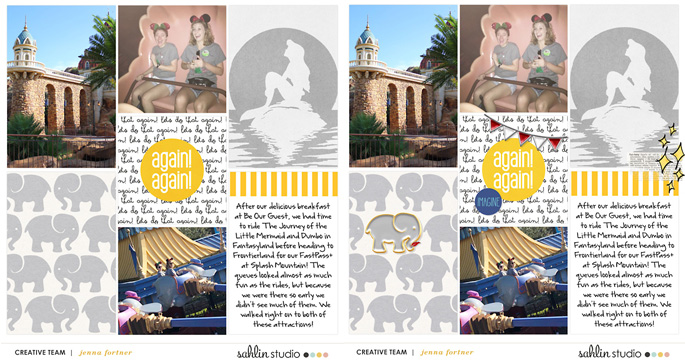
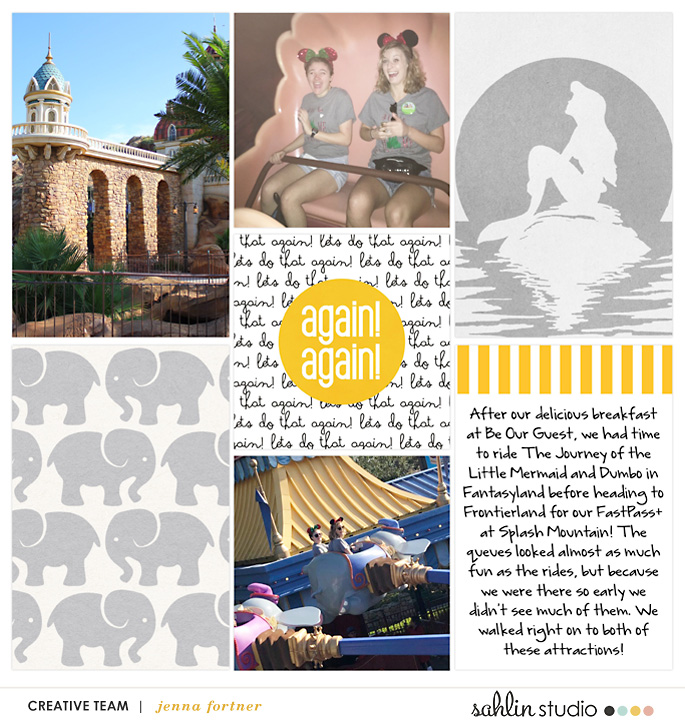
Supplies: Project Mouse Rides and Attractions, Fantasy Bundle, a freebie, and a PL App P12 January Edition.
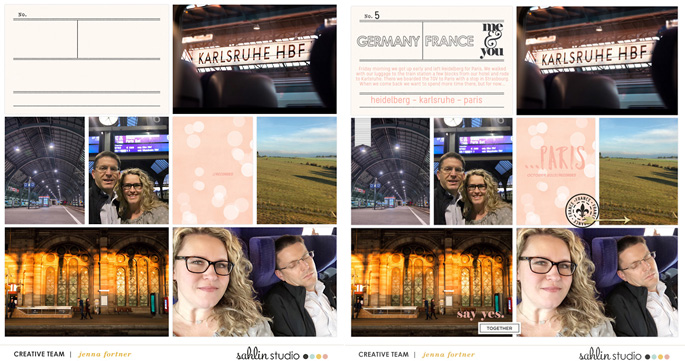
Supplies: Project Mouse France, and Germany, along with the Me and You kit, and Me and You Cards.
On this page I journaled in Over instead of the PL App. You are able to load your own fonts into Over!
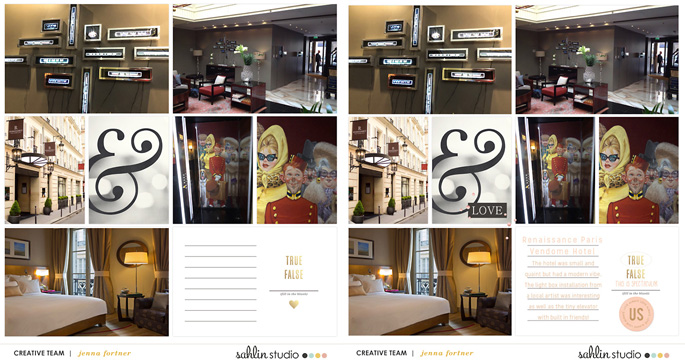
Supplies: Me and You kit, Me and You Cards.
Supplies: Project Mouse Alpha, Basics No.1 Bundle, Basics No.2 Cards, Christmas Pins Brittish Designs It’s Magical kit
Credits: Project Mouse Alpha, Basics No.1 Bundle, Brittish Designs It’s Magical kit, and a PL App Celebrate Every Day
Credits: Project Mouse Beginnings Cards, No.2 Embellishments, Classic Word bits, and a PL App Amy T Cut and Paste
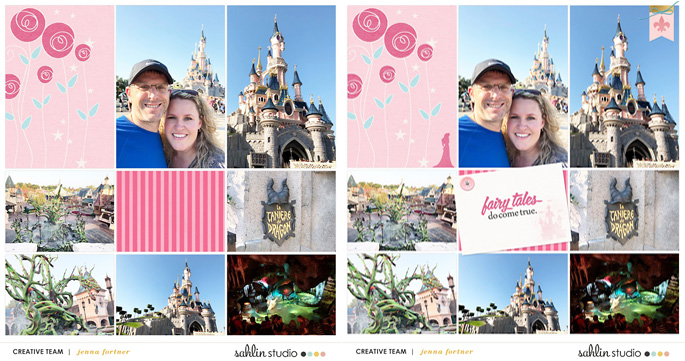
Credits: Project Mouse Princess Cards, Beginnings Embellishments, Artsy No.2, and a freebie.
On this page, I added the Aurora card and resized it Then I played around with the blend modes to make her look like part of the other card. There is so much you can do with Over! ]
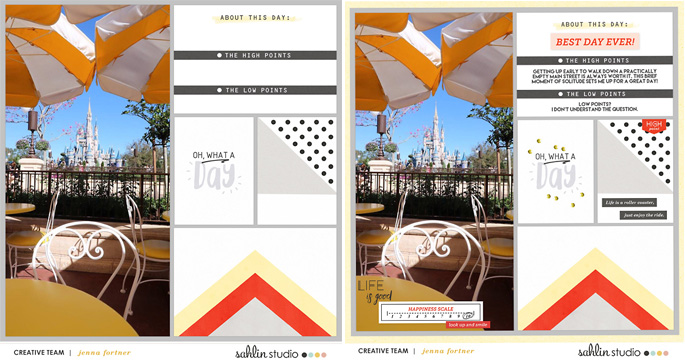
Credits used- Highs and Lows Kit, Highs and Lows Cards.
I’m Jenna, a traditional scrapbooker, turned hybrid scrapbooker, turned digital scrapbooker, turned app scrapper. I’ve made my way through each form of scrapbooking and love them all, but for now my motto is KISS- “Keep it simple, scrapper!” I want to also encourage anyone reading this to create without comparison. Do what works for you and be proud of it. I scrapbook mainly on my iPad using a handful of apps like the Project Life App and Affinity Photo. I prefer pocket style scrapbooking, but am not one to shy away from an awesome template and a kit full of embellishments and goodies.

April 8, 2018 at 12:28 am
Jenna says:
In the April 2018 Project Life App update, there is now an option to purchase an add on feature that allows text on any card or photo right in the Project Life App! (Android users will get this option next month.)
April 19, 2018 at 11:47 am
Journaling on Project Mouse Cards in the Project Life App! | Sahlin Studio | Digital Scrapbooking Designs says:
[…] embellishing this page in Over, I added the journaling to the top and bottom cards on the left and the checkmark to the list using […]
May 29, 2018 at 7:43 am
Jenna says:
In the May 2018 Over app update, there are new export options. Check your settings and export as you prefer.
September 15, 2018 at 11:23 am
Jenna says:
As of summer 2018 you can now add your own fonts to the PL App, making it even easier to add Disney touches to your pages!
September 18, 2018 at 9:08 am
Jenna says:
My apologies! Letterglow is not an Android app. PixelLab is the way to go for embellishing PL app pages for Android users.