Using a Digital Kit to Create a Paper Layout
Posted on under INSPIRATION, TUTORIALS
Hi all! Brenda here to show you a peek into my digital/paper hybrid crafting process. I LOVE paper scrap-booking but sometimes I just fall in love with a good digital design. That is where a good hybrid technique will help to fill my love for both.
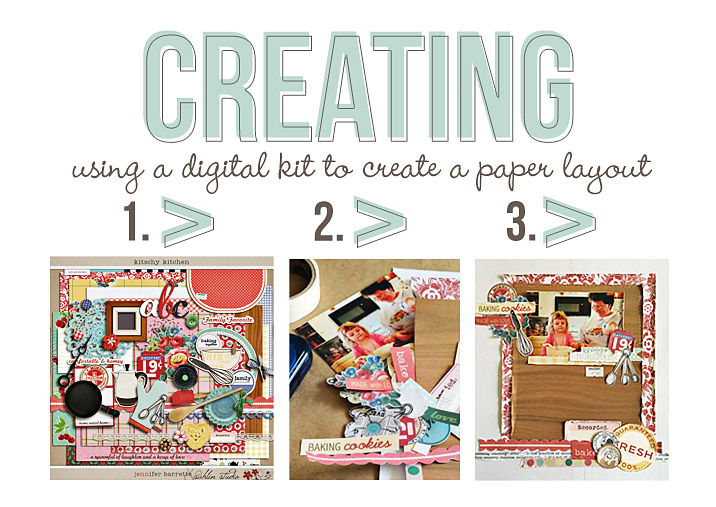
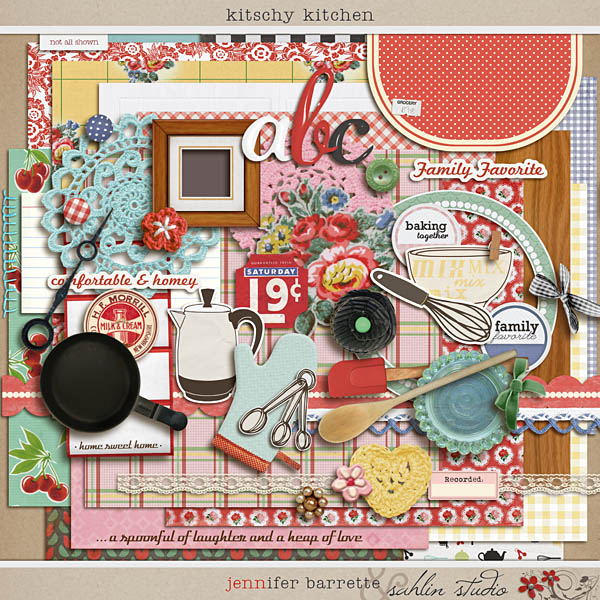
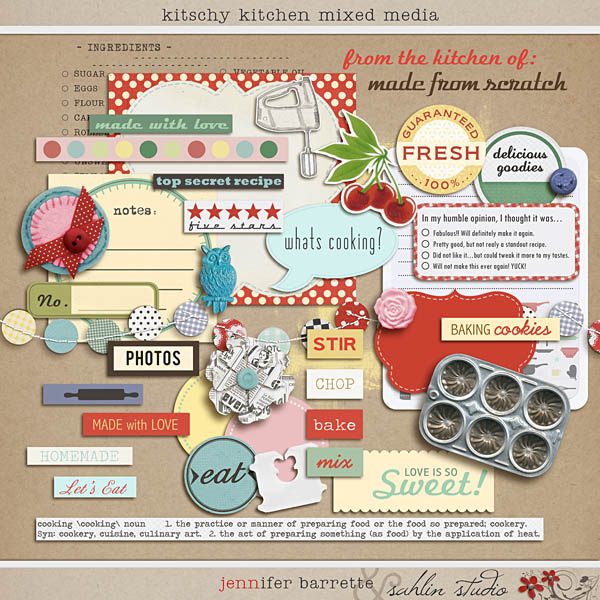
First, choose the kit you would like to work with. Truthfully, this is the only time when scrapping that I choose my kit before my photo. Today I chose to scrap with Kitschy Kitchen (and Add-On Bundle) by Sahlin Studio and Jenn Barrette. There are a ton of things that are easily printed and cut out.
Creating Your Print Sheet
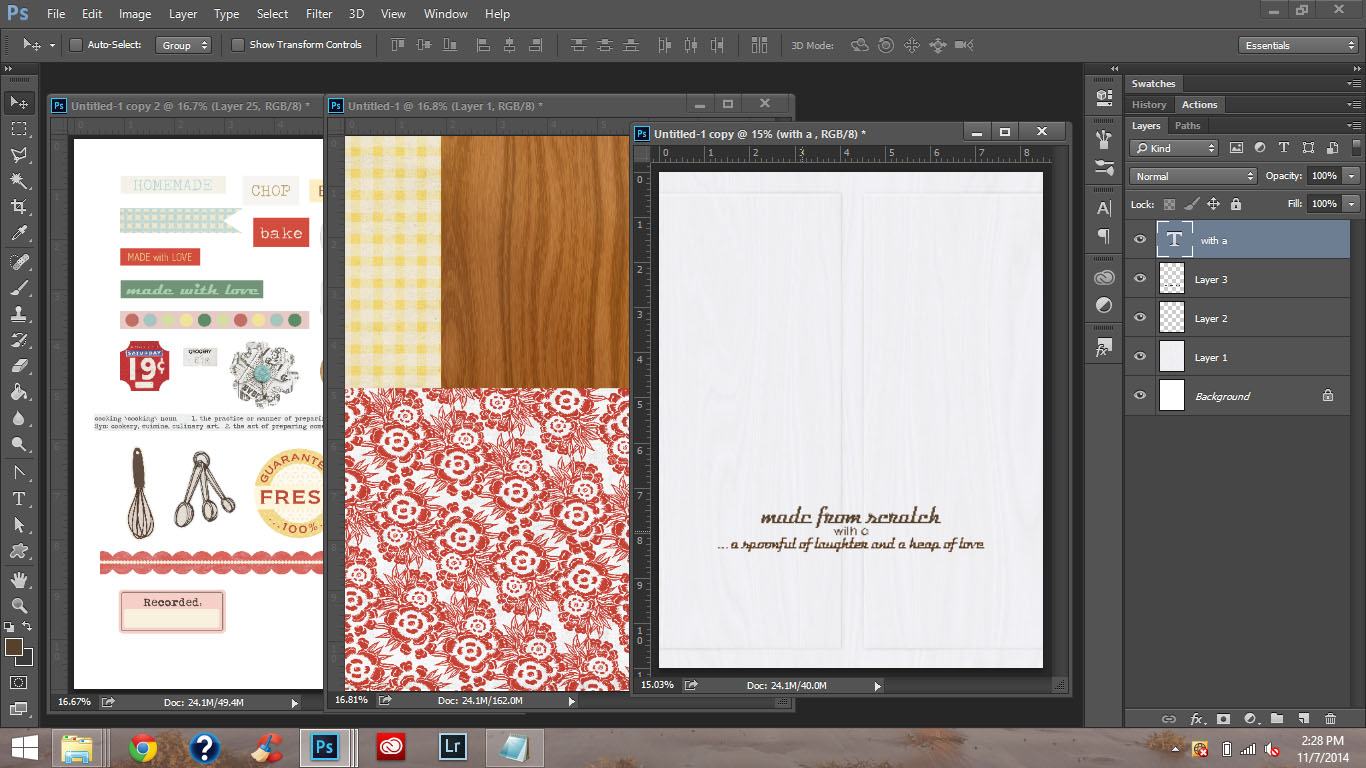
Once I have chosen my favorite digital goods, I open them in Photoshop. (If you don’t have Photoshop, here is a tutorial on how to use a program like Microsoft Word to make your own print sheets).

Create at least 2 new documents at 8 1/2 x 11. One is to collage the papers and the other is to place the elements to print. Sometimes I decide to print more than will fit on my 2 documents, so you can just make more 8 1/2 x 11 pages to add stuff too.

Being Creative: Sometimes I want to have my favorite “digital” splats or word art directly on the page of the layout I am creating. So to do this, I make a 8.5 x 11″ page, add the digital items right onto the page and print and use as is for my background page.
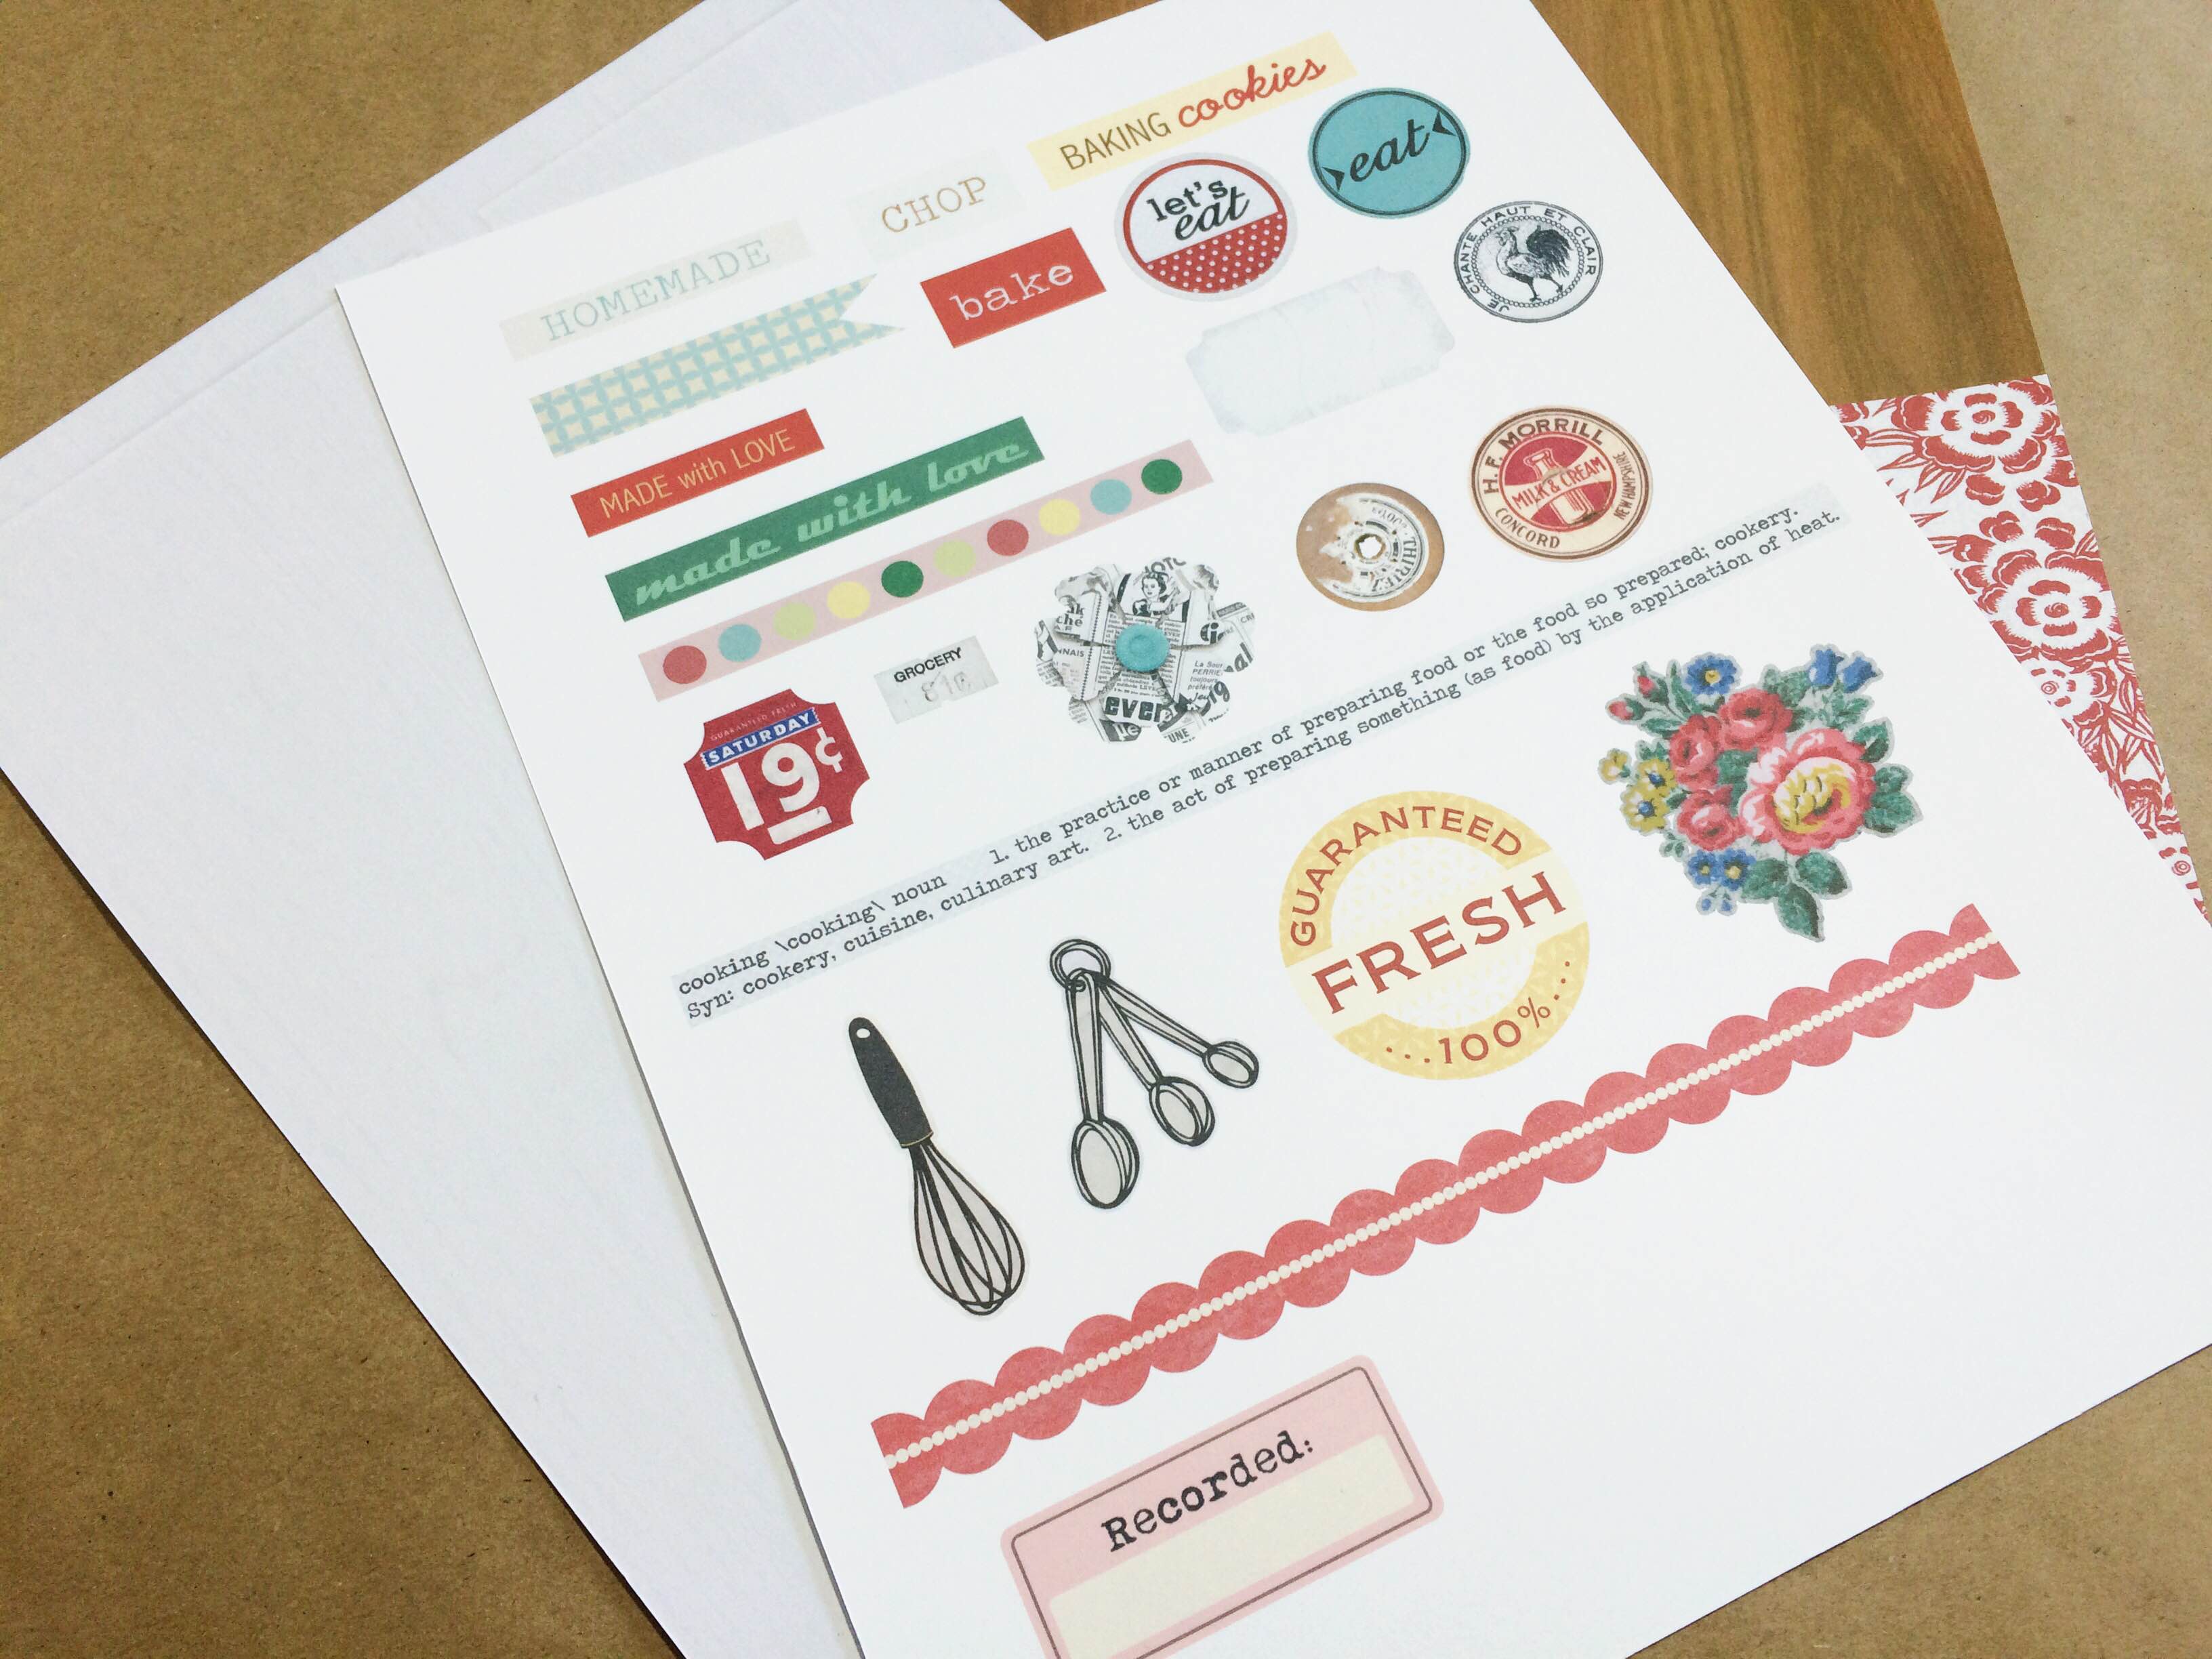
Before Printing: I like to look over the docs to make sure I have everything just right. I hate wasting ink so it nice to give both the digital kit folder and print sheets a glance over before printing. You see in the image below I ended up with 3 print sheets ready to print.
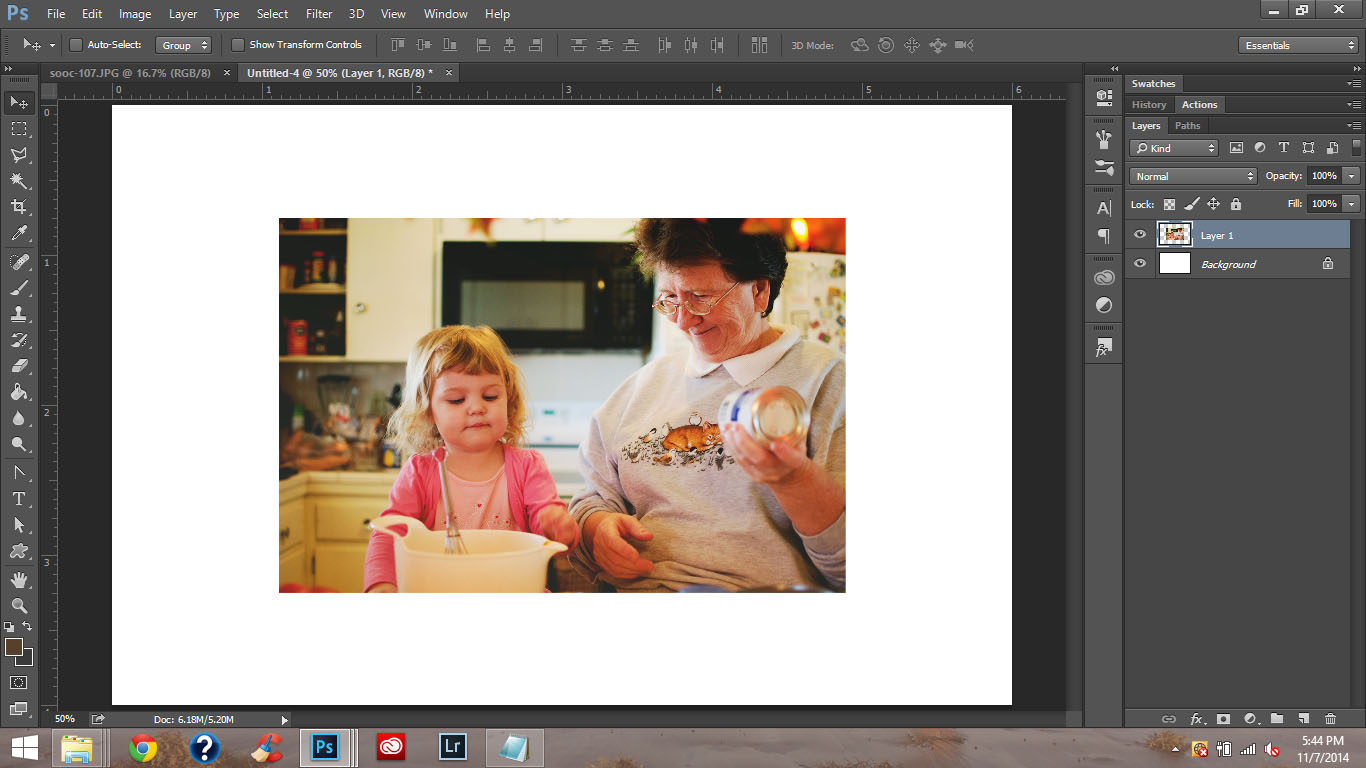
Now to chose my photo. My photos are rarely printed at full size. They are usually either square or just too big. I do like to scrap simple. Most of the time I open my photo onto a 4×6 doc and just resize and print. I realize I am wasting some paper doing this but I don’t usually have more than one photo. If I had more than one photo I would open both on the 4×6 doc and resize to fit.
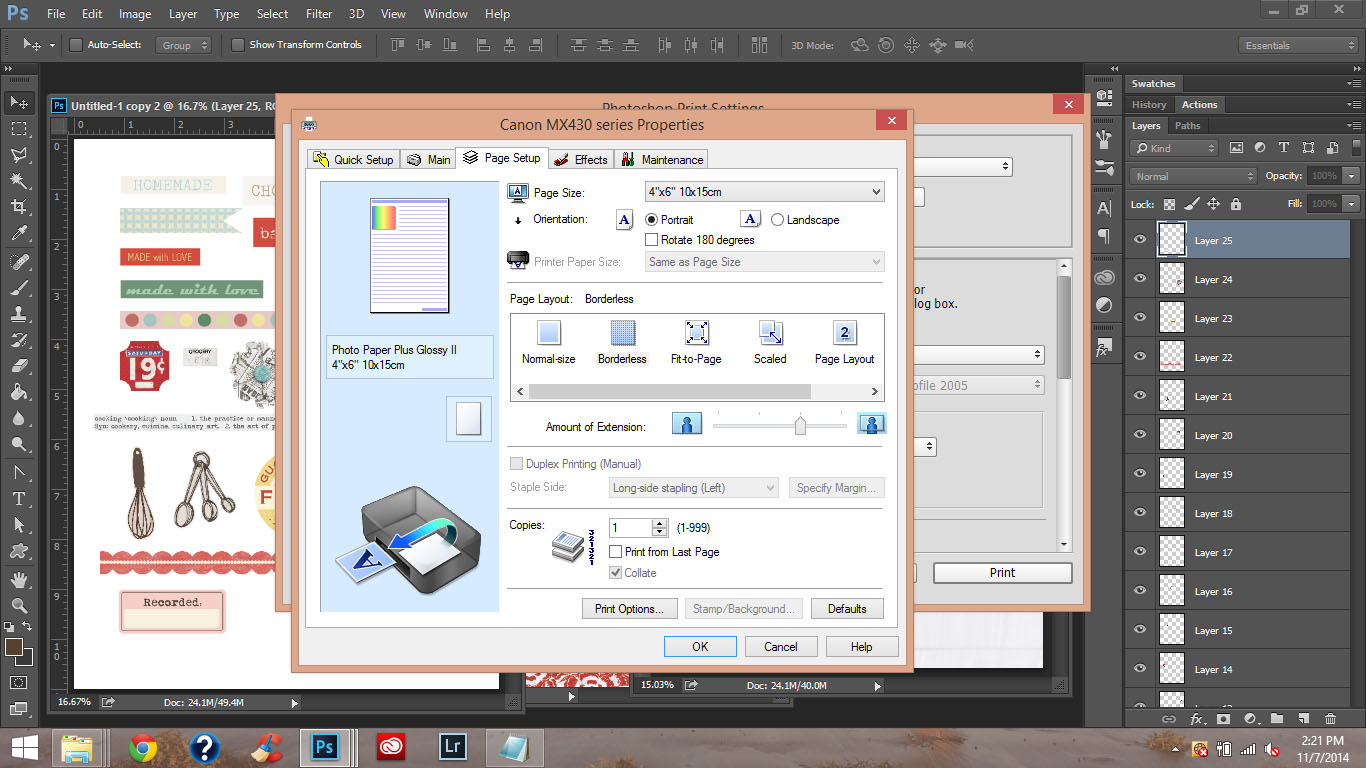
*** NOTE *** When prepping to print your element and paper collage pages, be sure to select borderless printing. This is SO IMPORTANT!! Otherwise you will have a white border around your prints and undersized elements & papers.
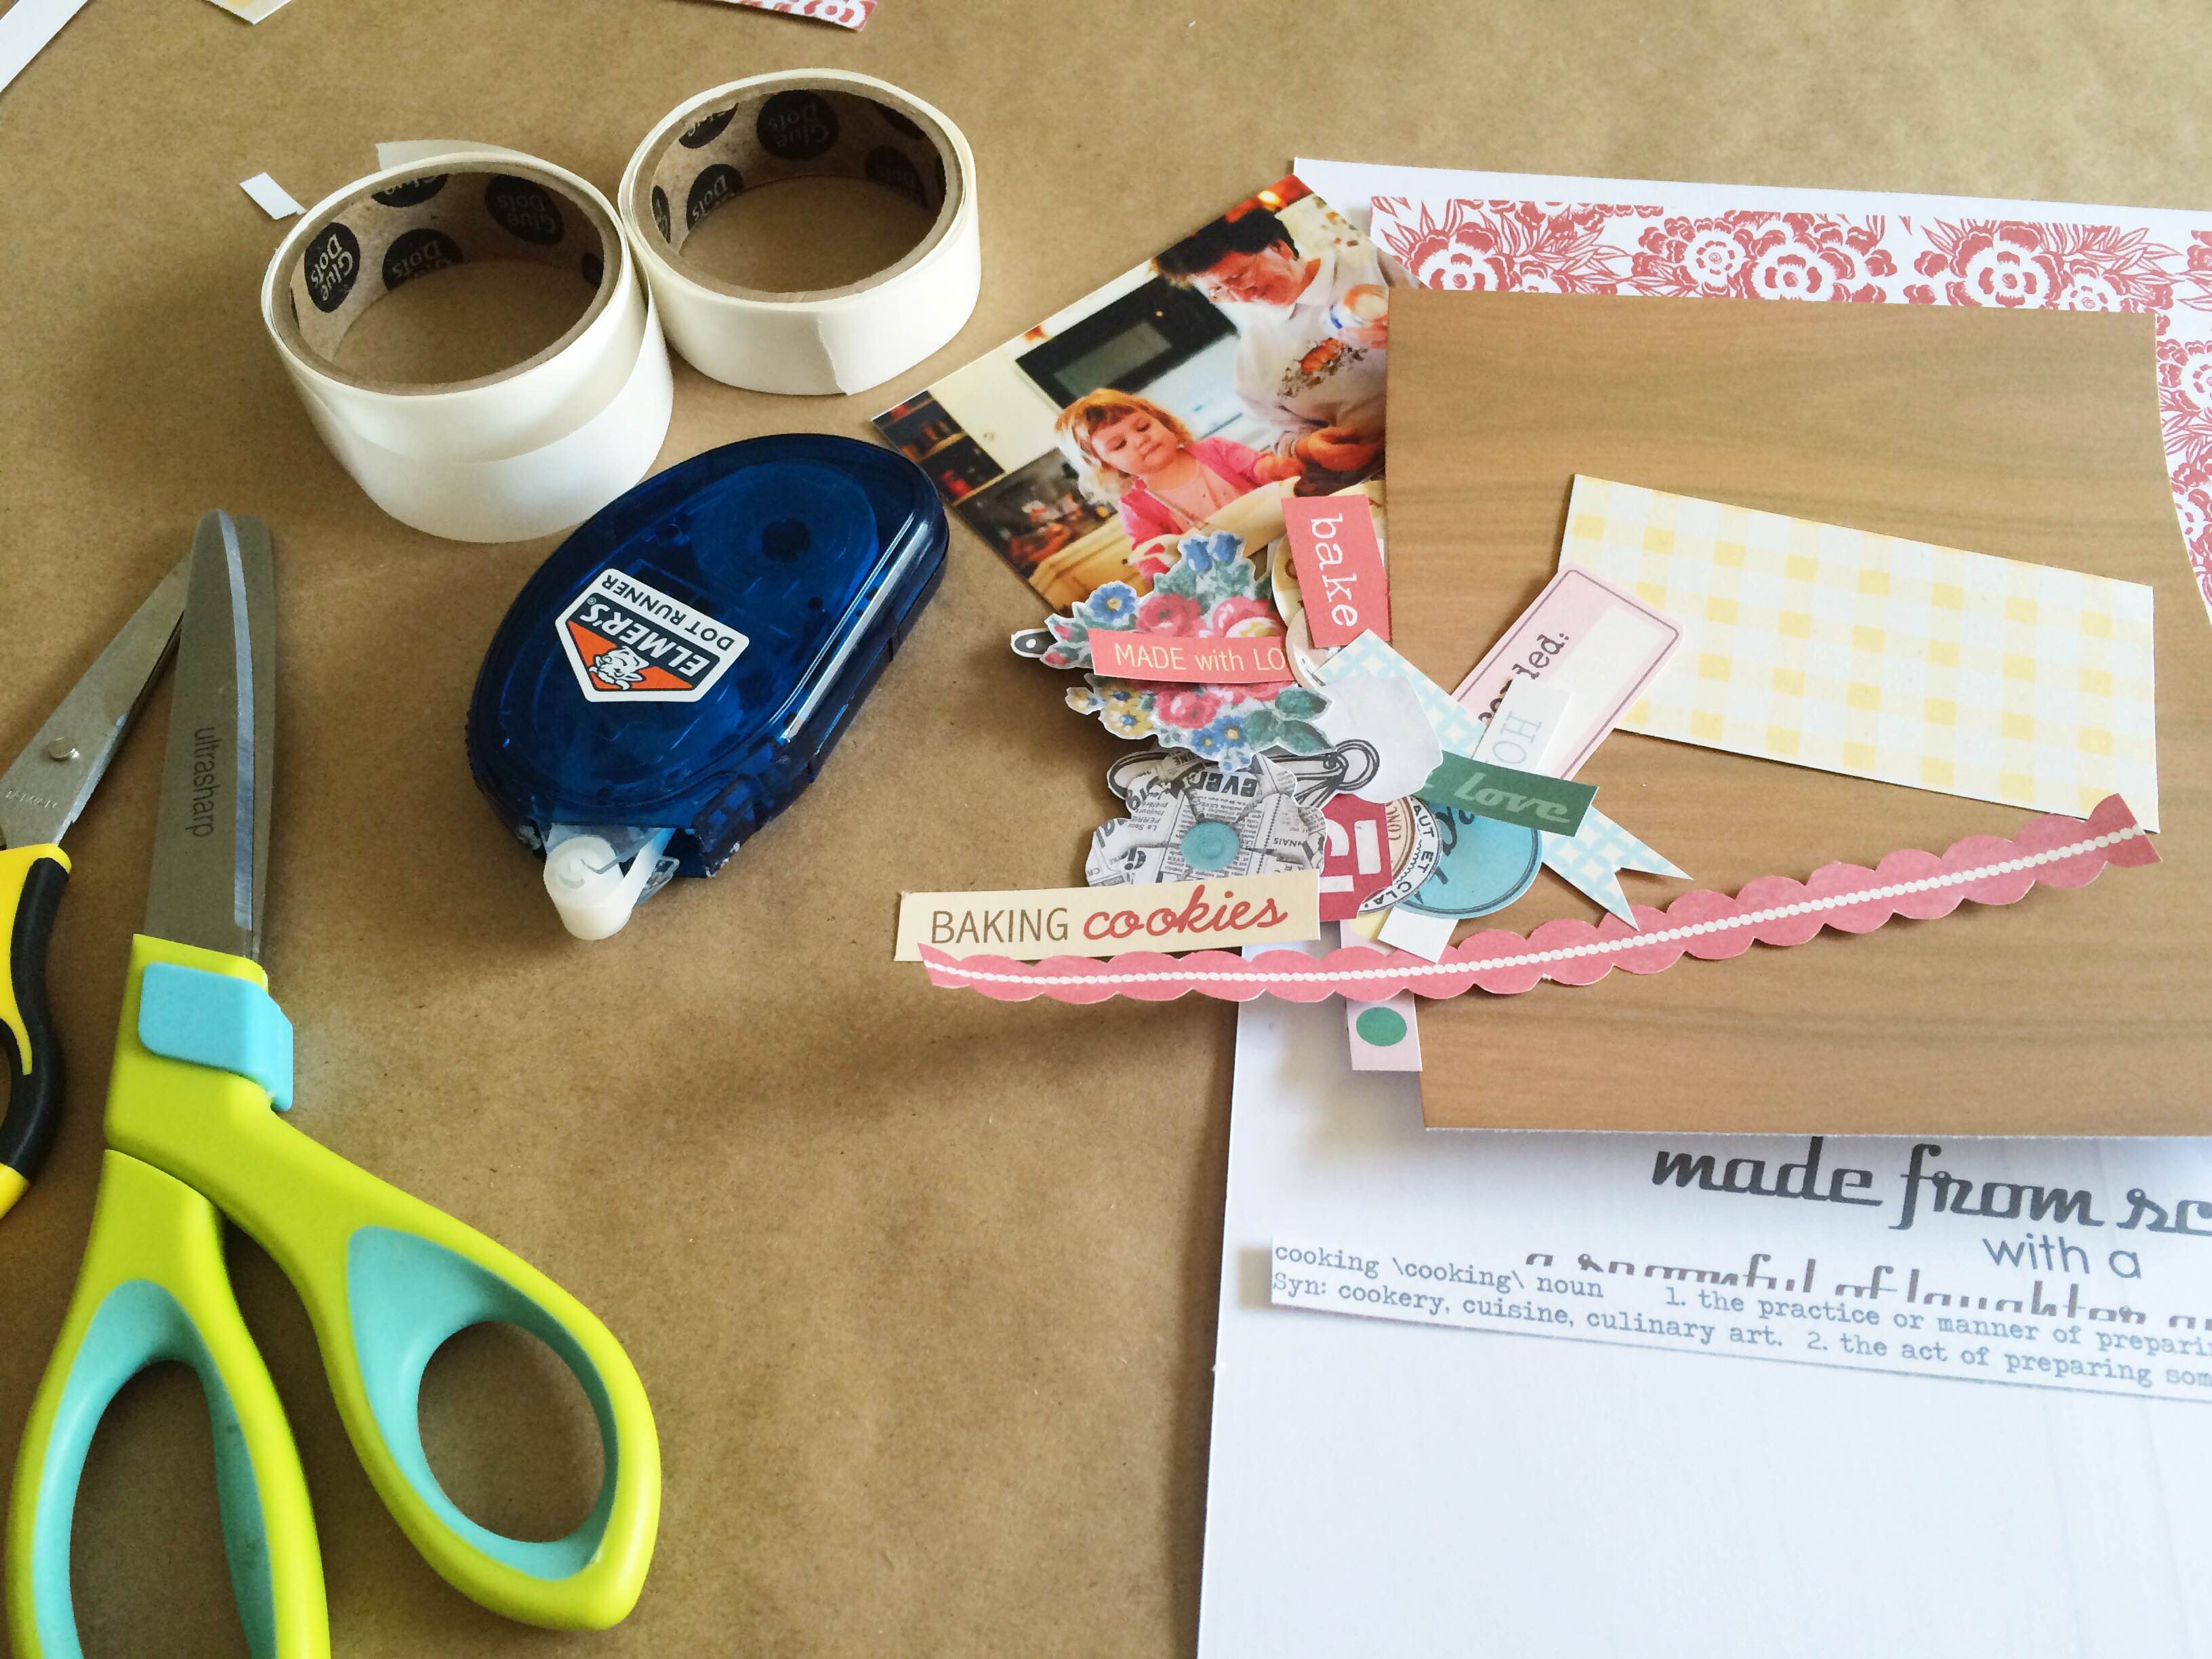
Trimming & Cutting
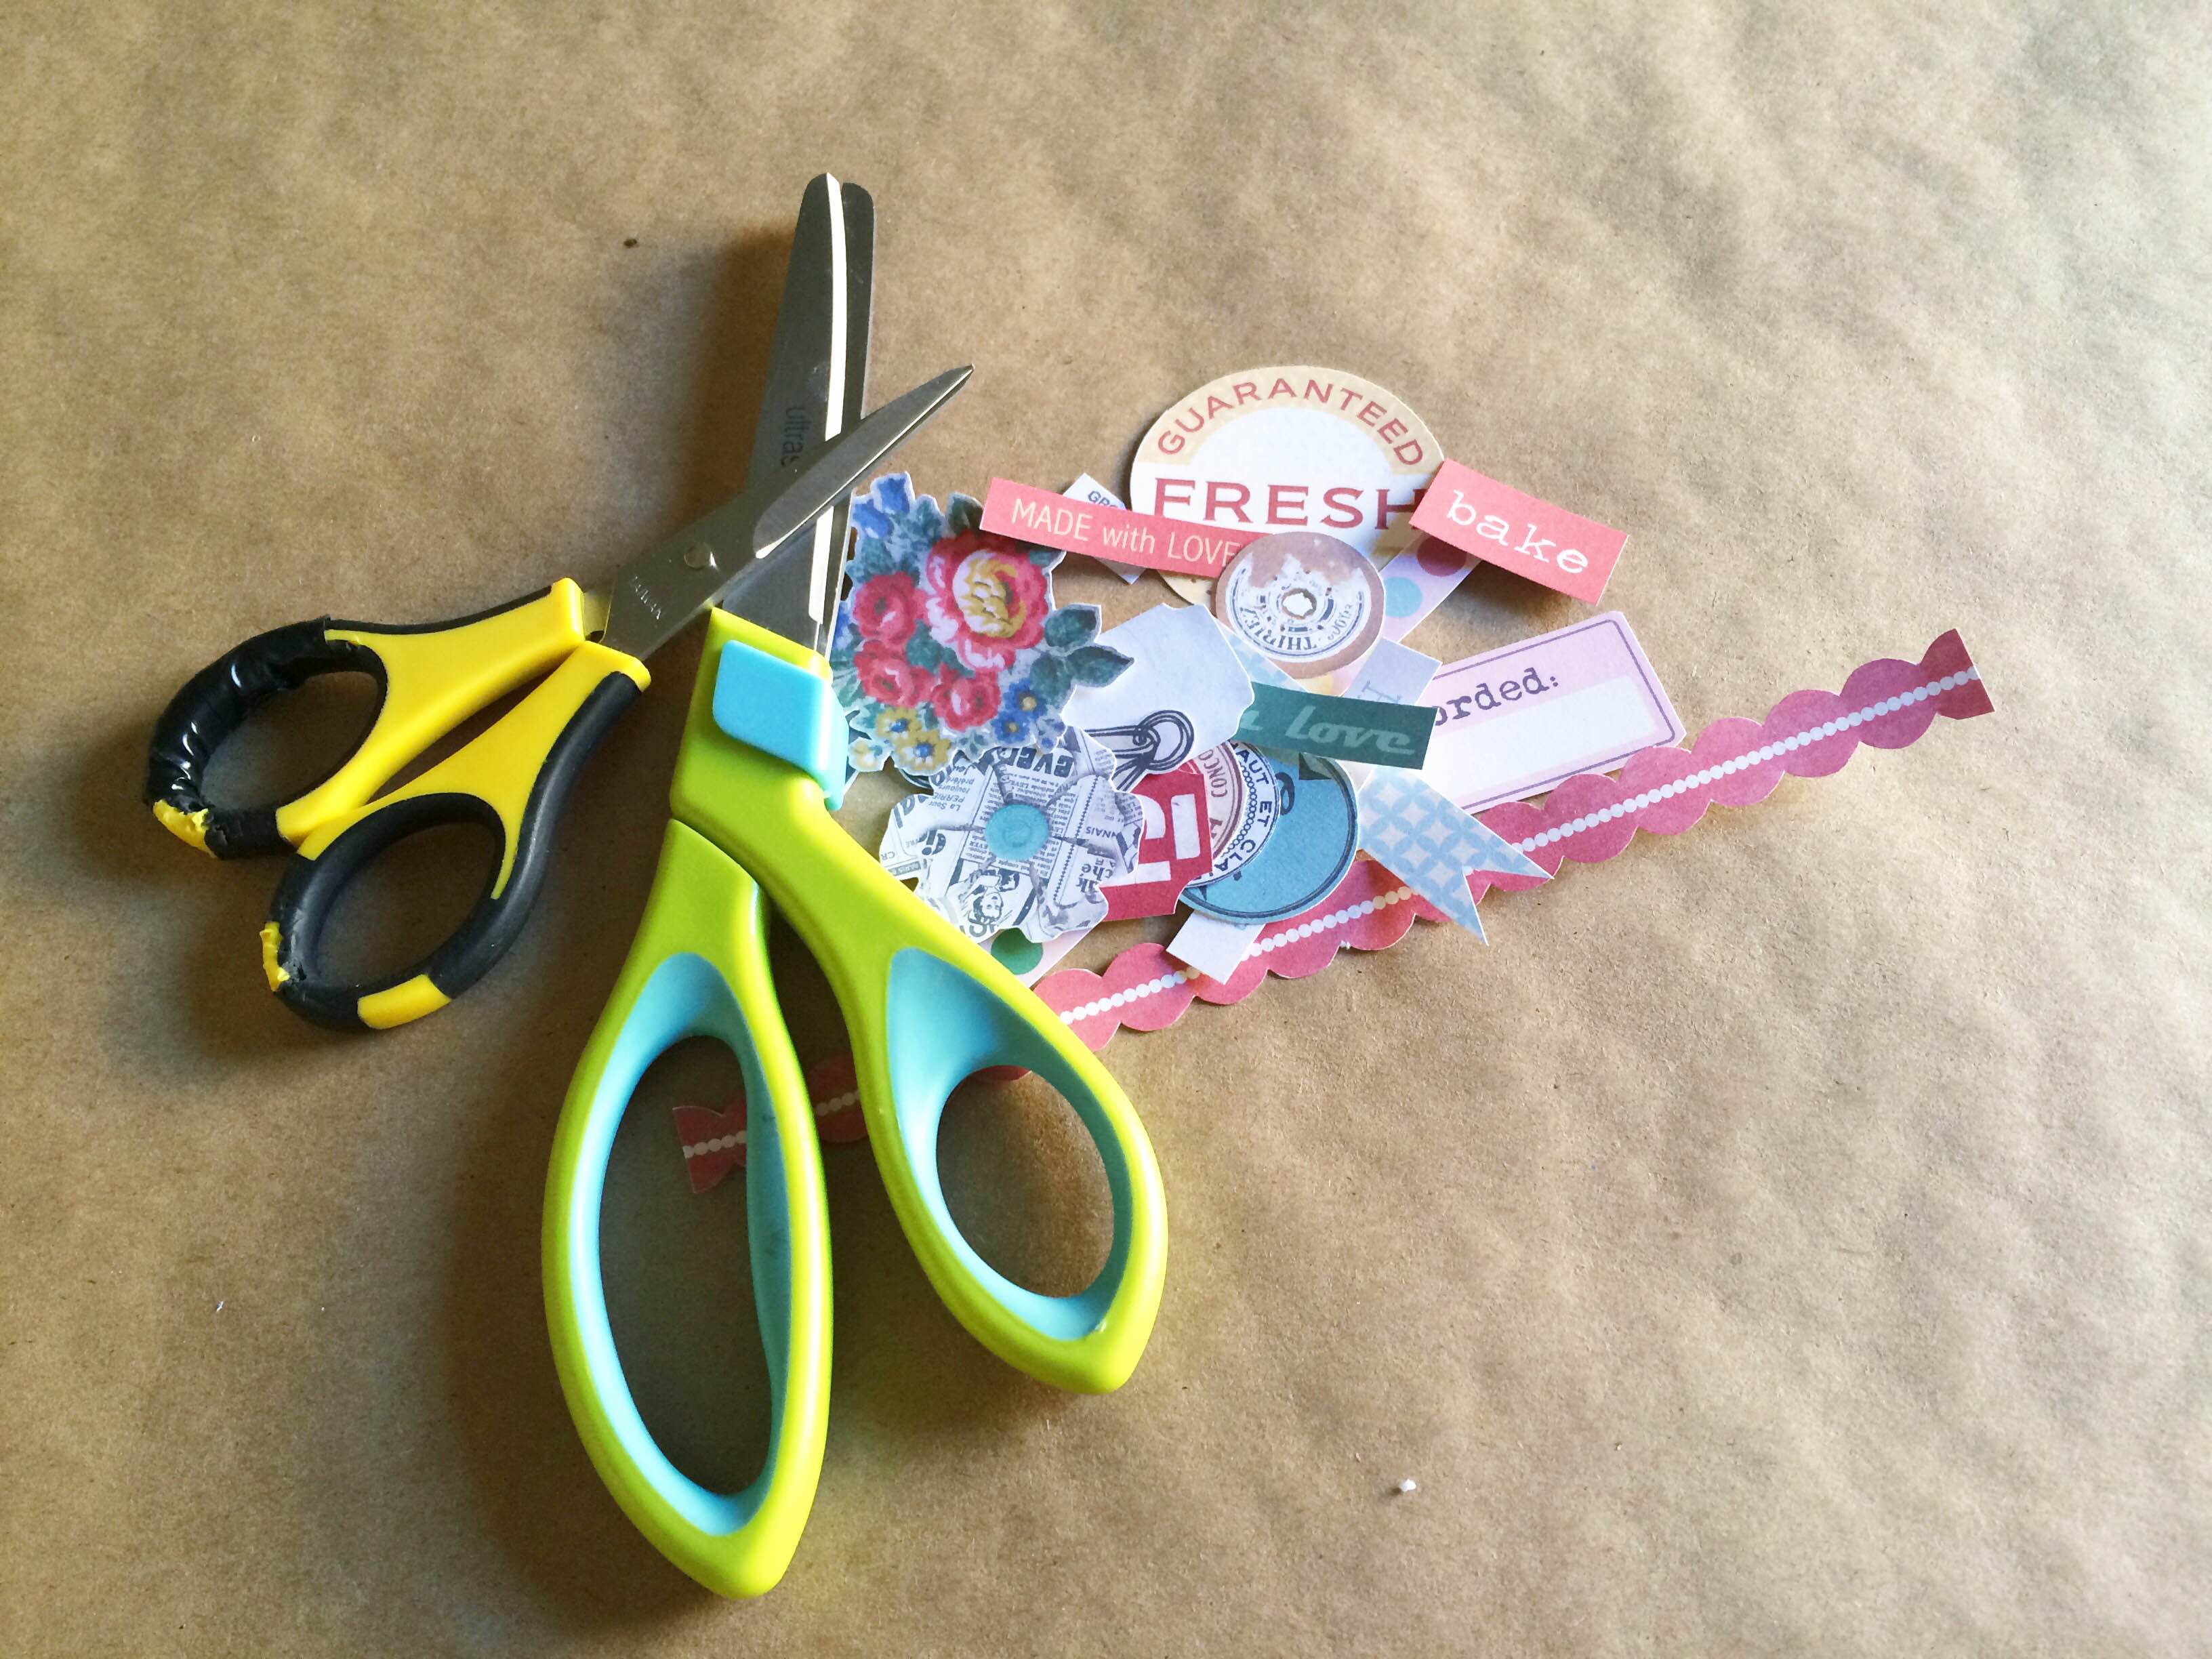
Now to cut it all out. This is the time I wish I had a Silhouette but alas, I do not. Hand cutting it is. I use a scissors and paper cutter to cut out my elements. I like to wait to trim the papers for when I create my page design… sometimes I only take a few small bits and sometimes I use all of the paper.
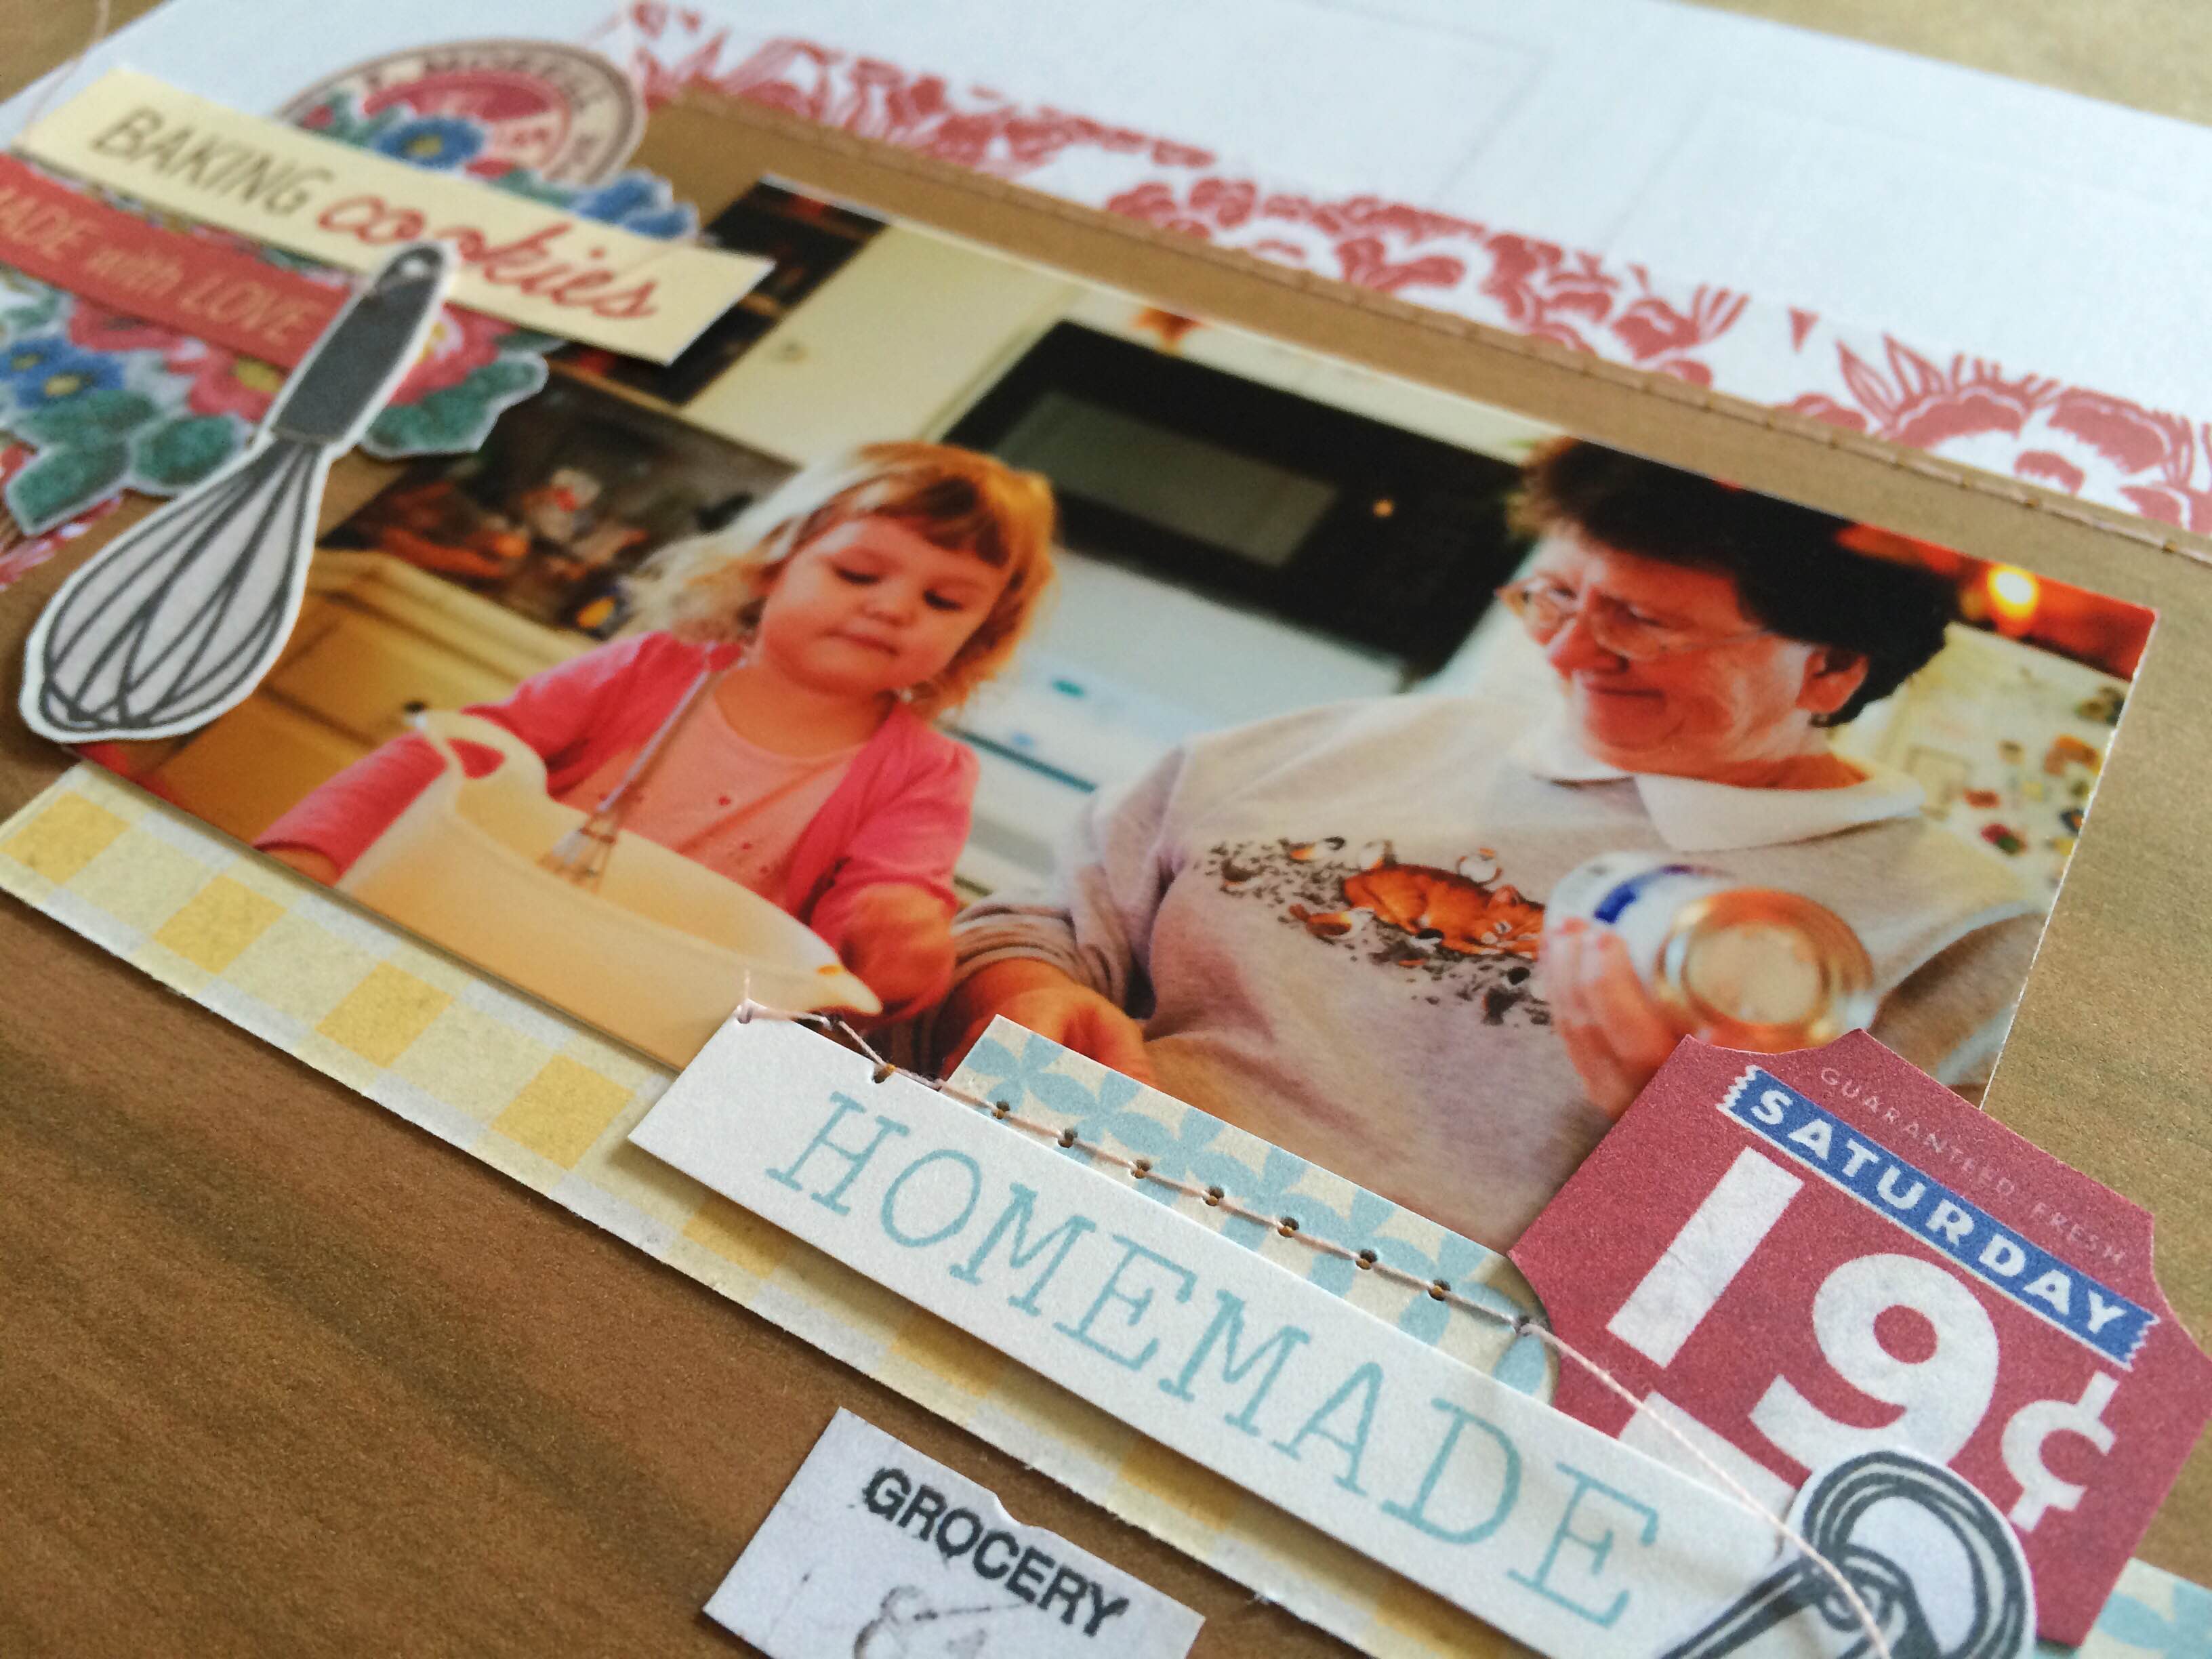
Creating My Page
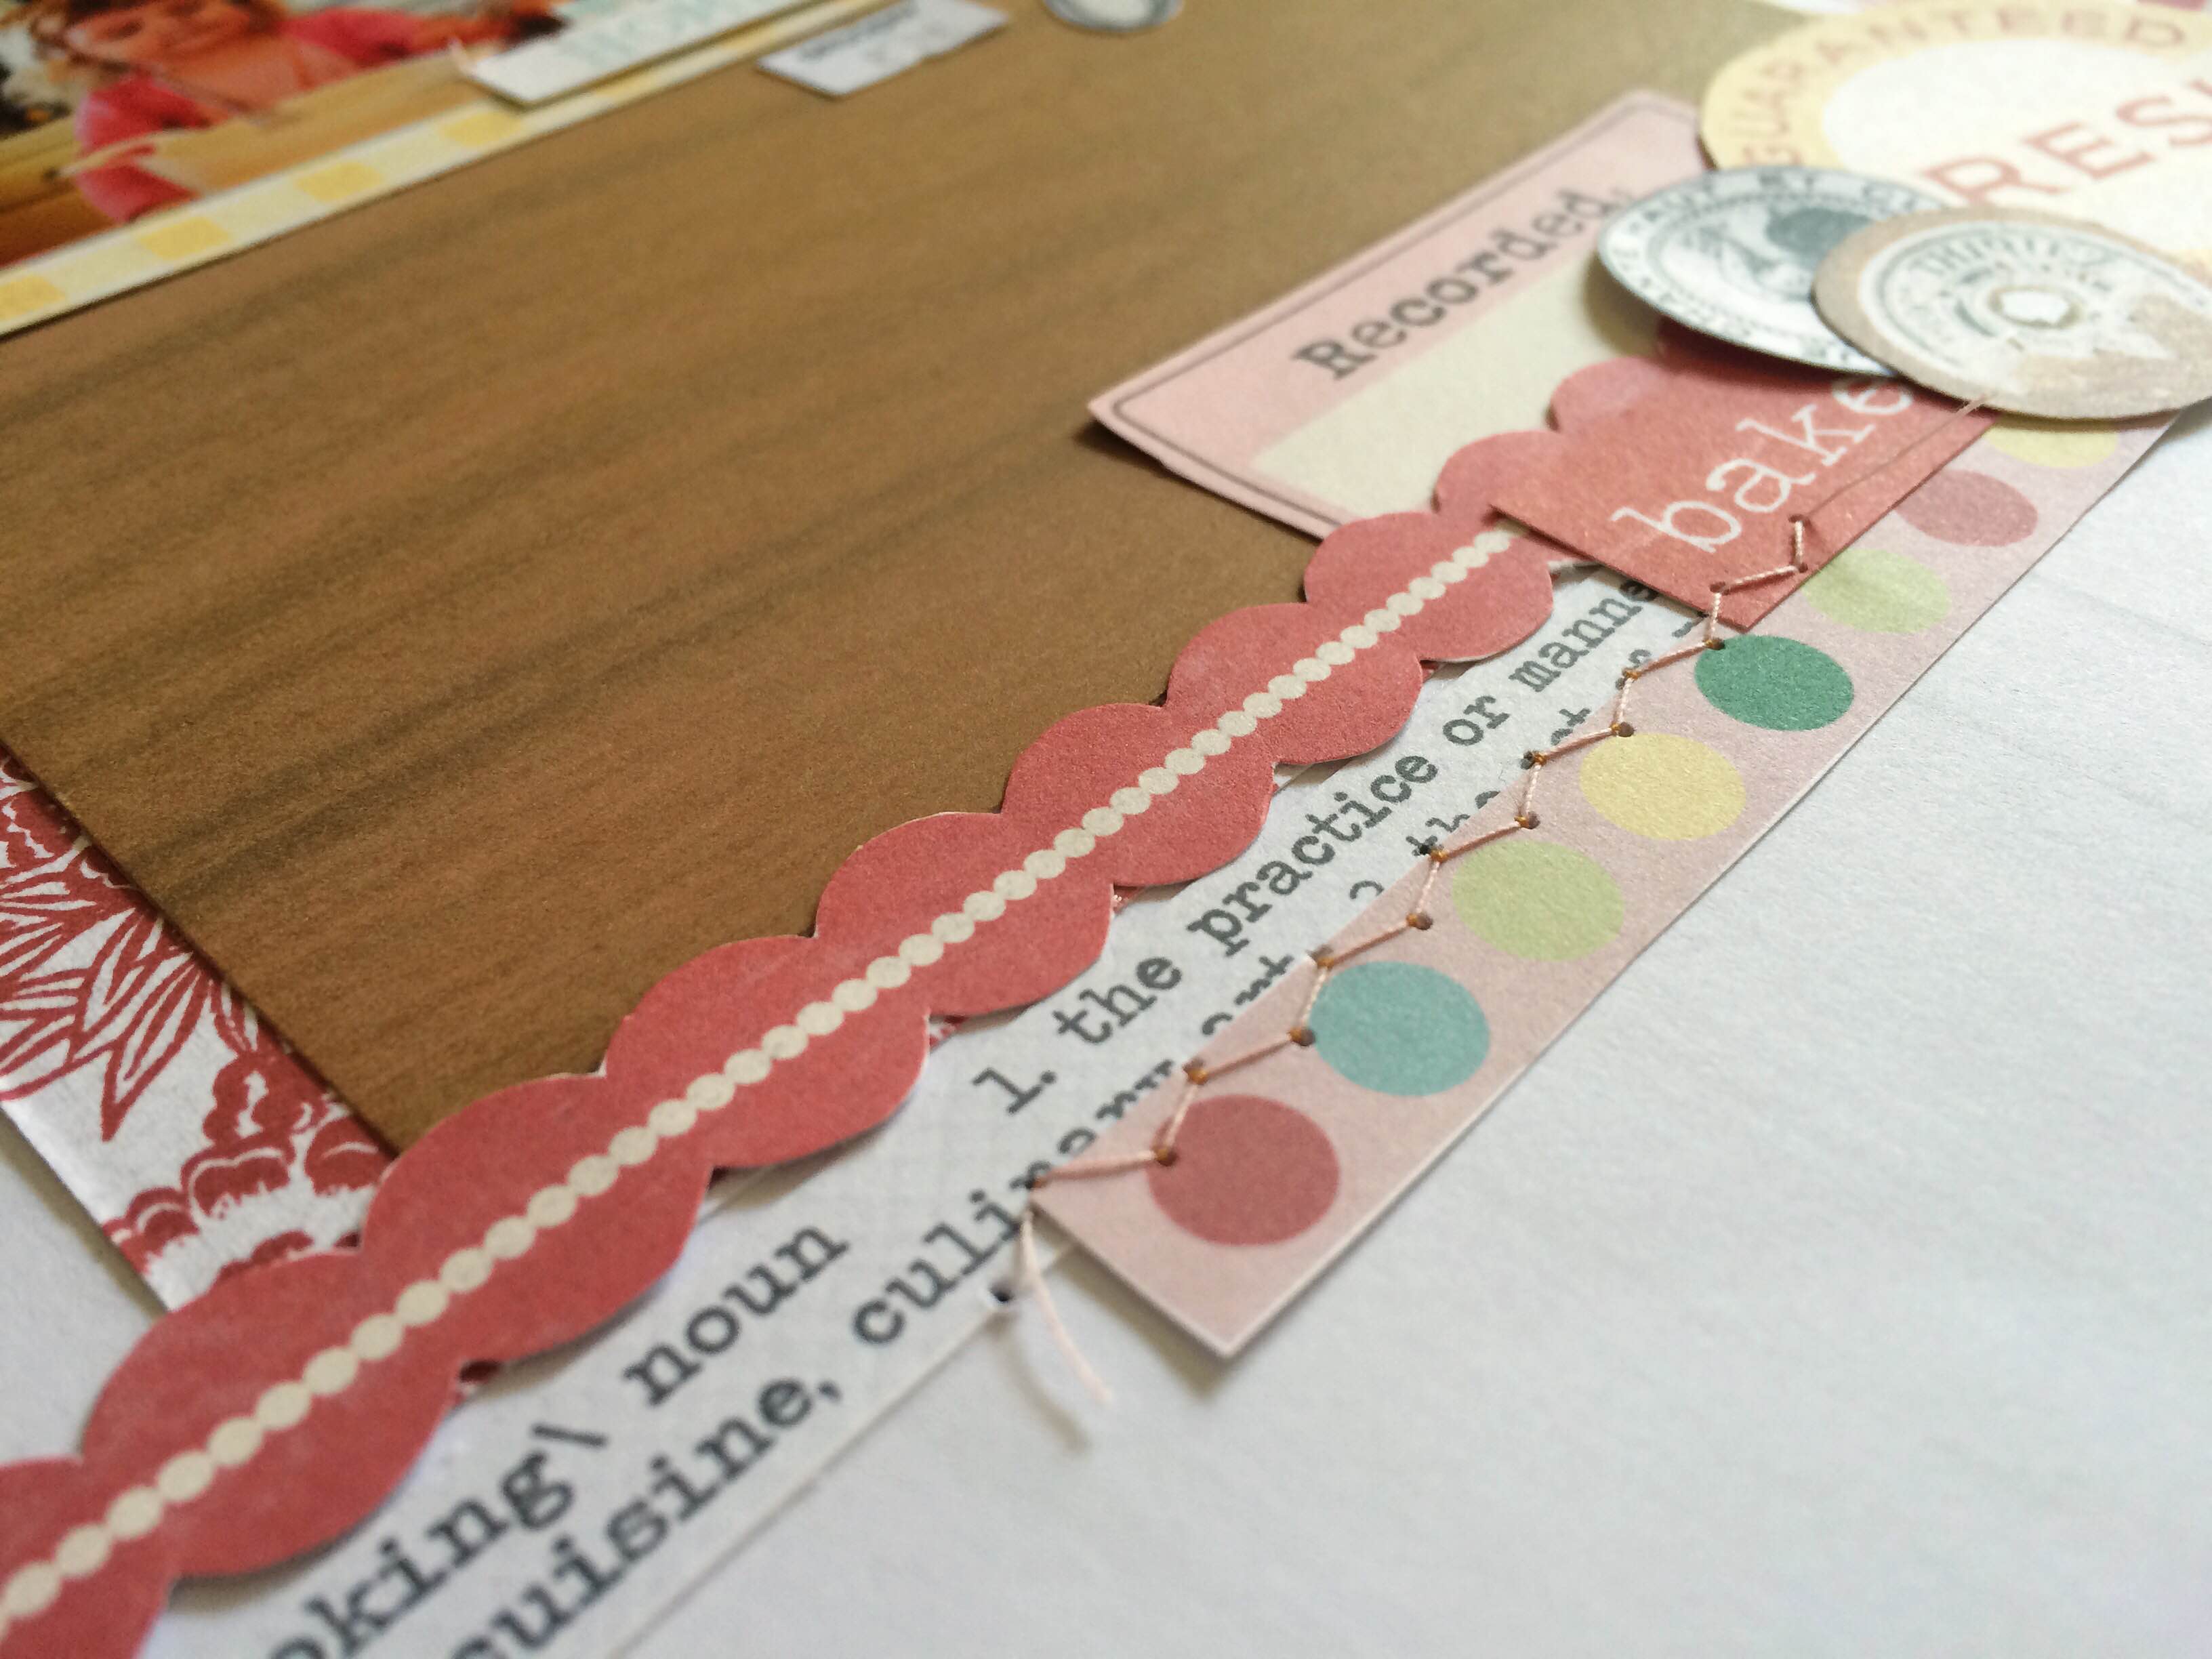
Here is the final design. You can see I decided to cover the WA I printed on the white paper and I did not use all of the elements. I will save those for another project.

Now to just glue and stitch all the important parts.

All done!


It may seem a bit much to make a page but it really is fun. Maybe even a bit addicting! I would love to see your hybrid pages so please share them here. Grab your favorite Sahlin Studio kit and get to it!
Loads of Love
(photos taken with Iphone 5s and edited in pictapgo app)

December 8, 2014 at 7:30 pm
CraftCrave | DigiFree | CraftCrave says:
[…] Using a Digital Kit to Create a Paper Layout – 1 freebie(s)? […]
December 21, 2014 at 12:04 am
Lambie says:
Thanks for the “how to”, I really like the results 🙂