Designing in 4×6″ Project Life Pockets
Posted on under Hybrid Layouts
Have you ever wanted to play with hybrid Project Life but you just can’t figure out what to do with all of the 4×6 spaces? OR Do you find that you don’t use a full 4×6 photo much? Plus its difficult to find enough 4×6 cards in one collection to fill a 2-page Project Life spread. What is the Solution? Create your own mini 4×6″ layouts – feel free to crop photos, add more than one photo, add elements, etc. I am going to share with you how I “design” my 4×6 cards, to make them really stand out!
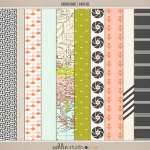
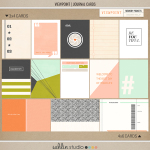
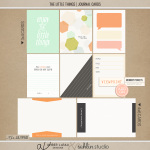
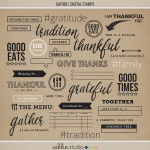
Products Used: Viewpoint Collection, The Little Things (Journal Cards)
and Gather Digital Stamps all from Sahlin Studio:

Using Journal Cards and Embellishing
Adding Photos – White Stroke – Shadowing
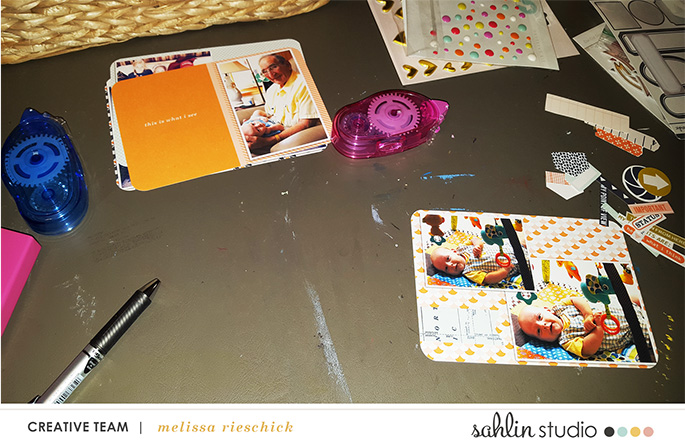
Whenever I start a project, I tend to pick my cards first, then the photos. For this project, I used 4 of the 4×6 cards from the 2 packs, so I added my photos to those first in Photoshop. Then I add a white stroke around the photo prior to adding it to the card. I have a wonderful photo action I use for this from My Four Hens Photography. Once I have the images added to the card I shadow both of them using one of Sahlin Studio’s awesome Realistic Shadow Stlyes, found HERE.
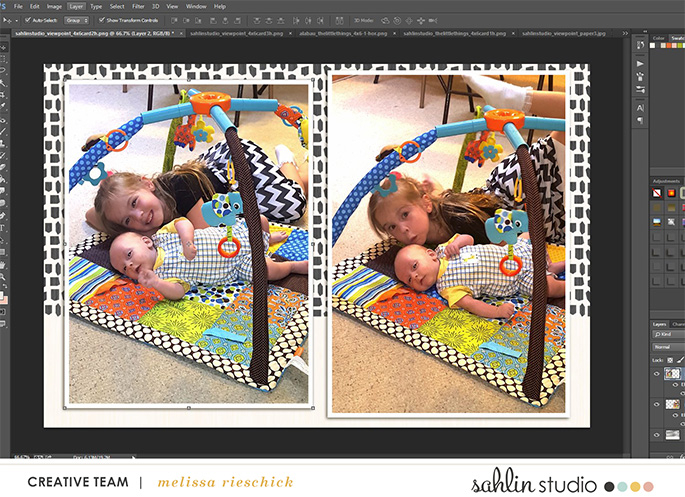
Adding Digital Elements – Digital Stamps
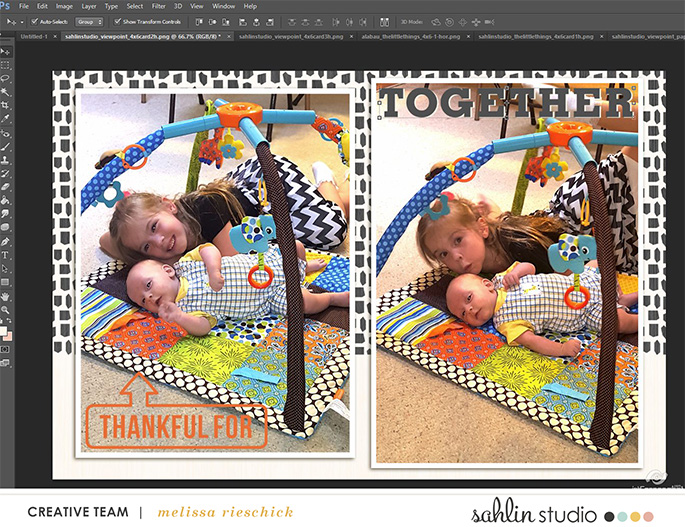
Once I have placed and shadowed the images, I decide if there are any other digital elements I want to add prior to printing. Because these two photos have some dead space at the top as well as the bottom, I decided to add some digital stamps (notice for the photo on the right, I actually stamped “together” in both black and white, then nudged the black to the left slightly so you could see a thin white layer, to make the word pop more):
Once this card was done, I moved on to the others, here are a couple of images:

Creating My Own 4×6″ Mini Scrapbook Layouts
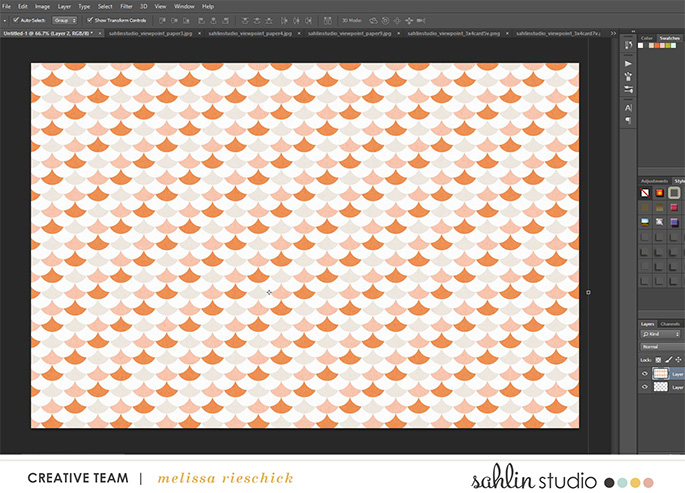
Now it is time for me to create my own “cards”. First I open a blank 4×6″ canvas in Photoshop. Next, I select the patterned paper. For this step, I find it important to scale down the pattern since the canvas is small. You can do this with the transform tool, or you can do what I do, which is to resize the paper from 12×12″ to 7×7″ using Ctrl+Alt+i. I Then drag and drop the pattern onto the 4×6 canvas and move it around until I like how it appears:
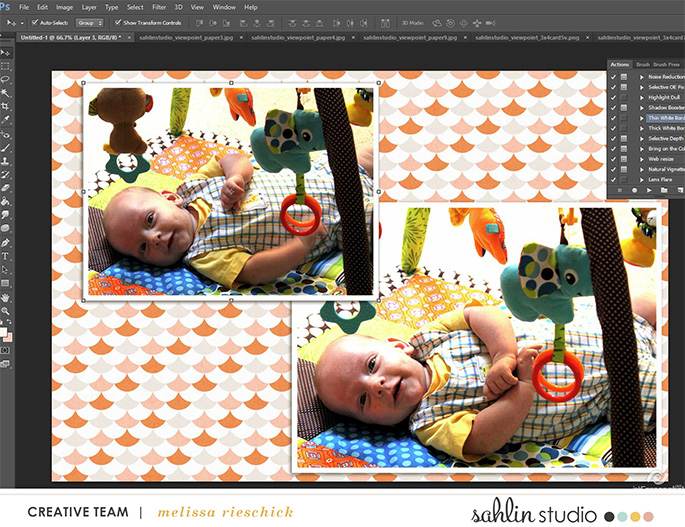
After I do that I add my images, just like I did on the other cards:
Once this is done, if I am not adding anymore elements to the card I flatten the image using Shift+Ctrl+e.
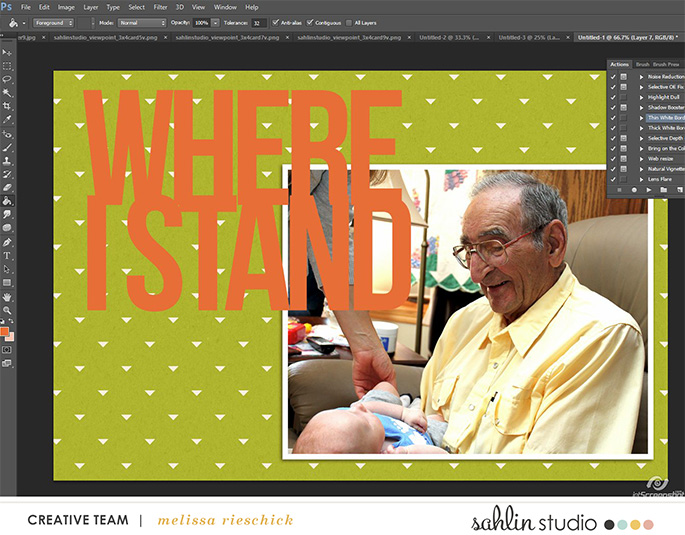
I use the same steps to complete all of the cards. On one card however, I decided to add some word art from the kit:
Once all my cards are completed, I print them on Canon Matte Photo Paper, 8.5×11″. I can print 3 cards per page. I also print my 3×4 cards at this time, as well as any elements I want to print and cut out and use. Now it is time to start working with my physical supplies. I select some elements I want to use and get to work:
Here are some close-up shots that show how I layer the cards together. From the printed bits, to the physical elements, they all work together to make the cards really pop!! (check out my stapled sequins, that is one of my favorite techniques!)
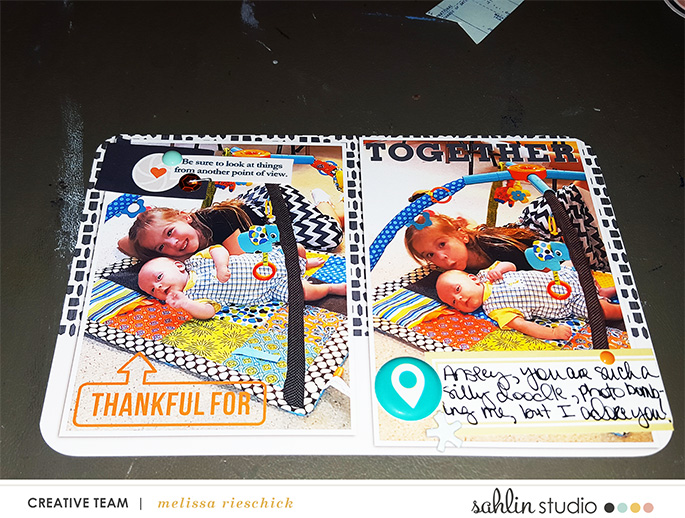
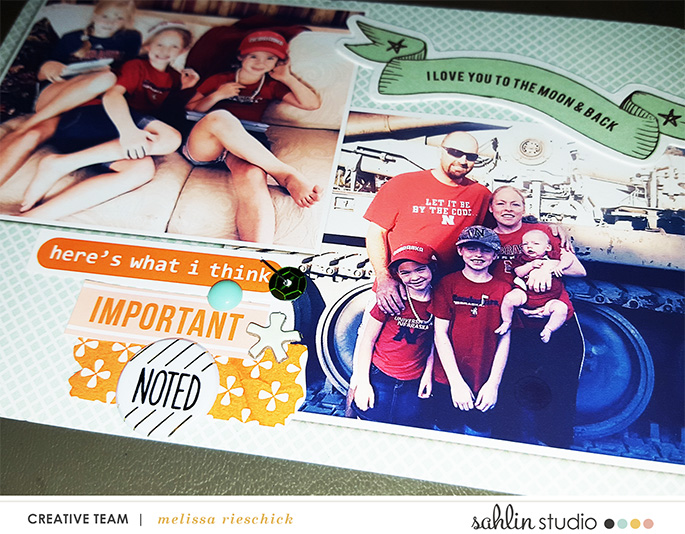
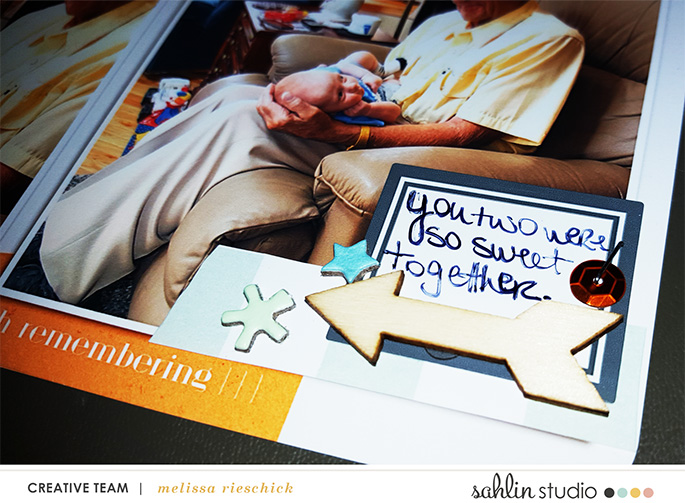
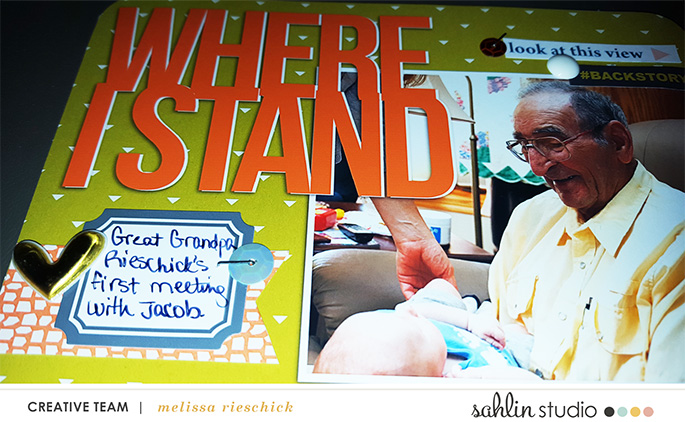
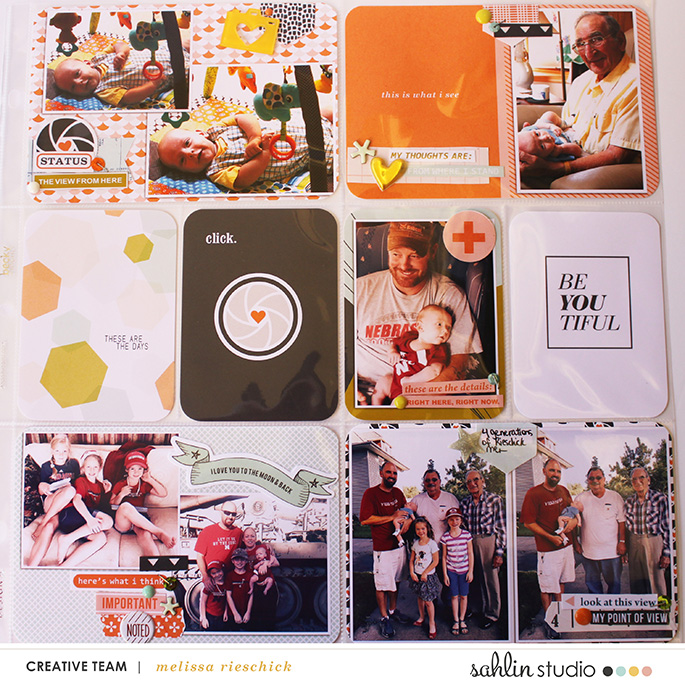
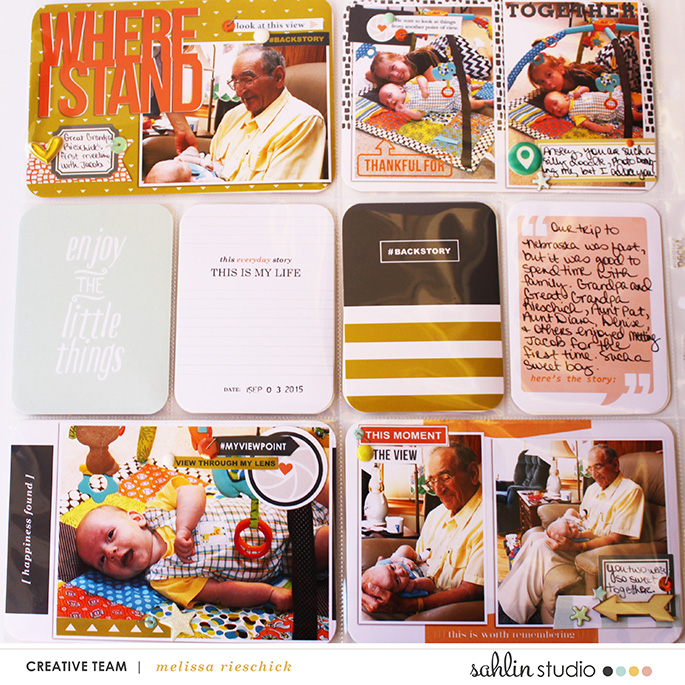
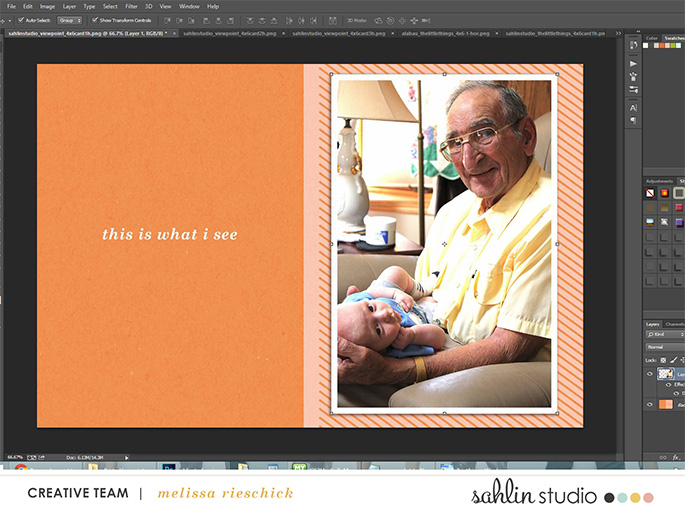
Here are my finished layouts:
I love these pages! I especially love how the 4×6″ card spots look like mini layouts. I hope this post has given you some ideas of how to design 4×6 cards using patterned papers and photos!
I live on the Texas Gulf Coast with my boyfriend of 10 years, our chihuahua Zoe, and our cat Morgan. I work full time and when I am not working I like to watch shows on Netflix and scrap. I also love to read and read a book in about 2 or 3 days since I only read a couple hours in the evening. My passion in scrapping is Project Life pages, in particular hybrid Project Life.

November 21, 2015 at 2:20 pm
Mary Wilde says:
I’m always so impressed with hybrid scrapping! You make it seem effortless! Love your techniques here!