How To Print Hybrid Layouts (And Save Your Ink) | Theresa Moxley
Posted on under Hybrid Projects
Hi everyone! It’s Theresa here of Larkindesign and today I want to share with you a tutorial on how I print my hybrid layouts! I just love using templates to create fun scrapbook projects, and I love working with digital products, but sometimes the printing process can seem overwhelming or expensive. In this post I want to share with you how you can print your layouts to be more economical and save on ink and paper.
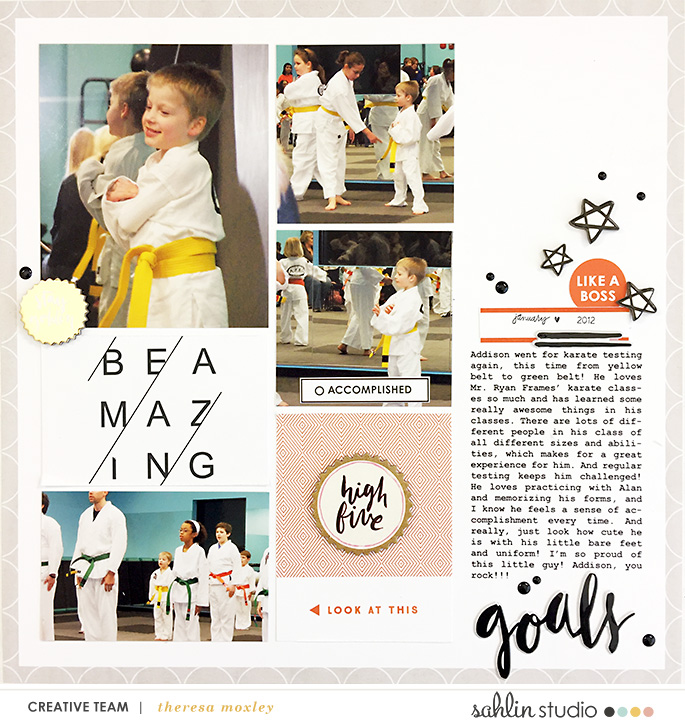
This is the printed physical hybrid layout I will be creating today. I would like to preface that the printer I use is a wide format Canon iX6820, which is an amazing printer for these types of layouts. I am using the March 2018 Sahlin Studio template along with the Like A Boss Kit and Journal Cards.
Let’s Begin: The Digital Portion
Creating the Page:
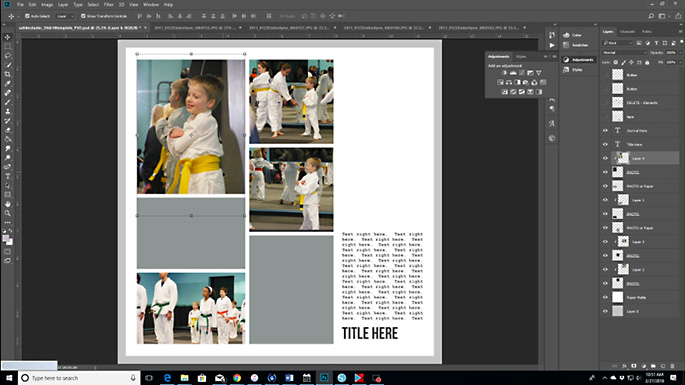
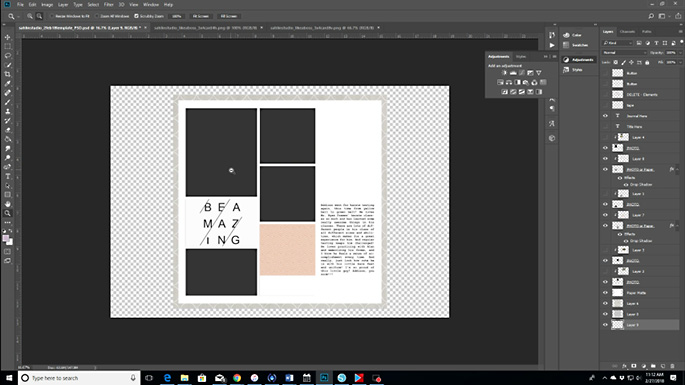
To begin my process I open the template I want to use and begin dragging and dropping each photo, journal card, and patterned paper I wish to use into the template. The biggest benefit of using digital templates is that it allows you to plan your exact size and location of all of the elements so you only have to print what you need. Also, the sizes are already determined!
The really awesome thing about digital templates is that it allows you to place your elements directly into the frames and crop them however you want them by way of clipping masks. Once you drop your photo onto the layout, drag its layer over top of the frame you want it in. Then right click on the photo and you will see Create Clipping Mask in the Layers box, like so.
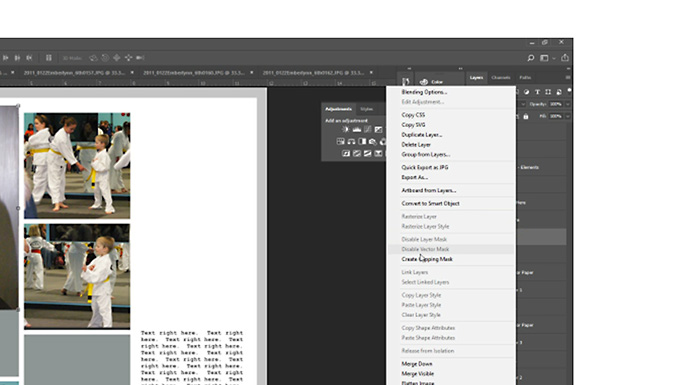
Click on Create Clipping Mask, and then drag your corners to adjust the size of the photo or journal card. So easy! Once all the elements are placed, I add my journaling into the Text box. This template is awesome because it gives plenty of room to add your story!
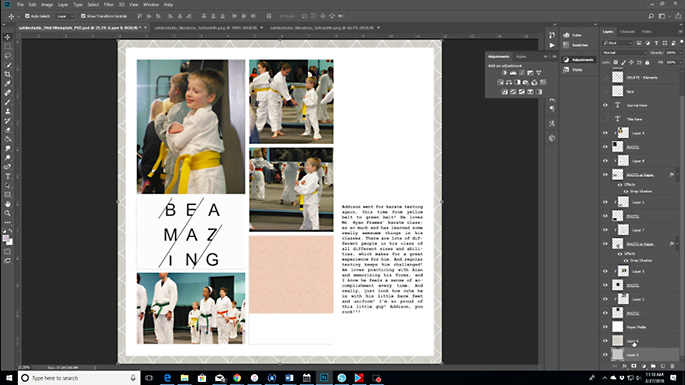
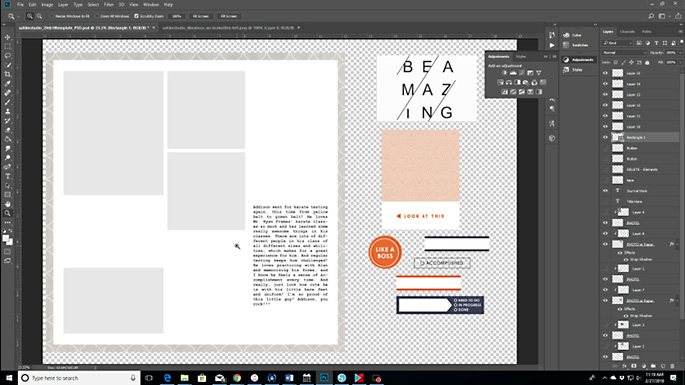
Here you can see the digital part of the layout is complete. All photos are in placed, the journal cards have been added, and the journaling is complete. I have also clipped a patterned paper to the background to add a little detail around the edges of the layout. Now the layout is ready to print, so let’s adjust the template so it is more economical to print. First I am going to unlock the background layer and add another layer underneath. Set that layer to a Canvas Size that is equal to your paper size. For me that is 13×19 so I can print on my wide format printer.
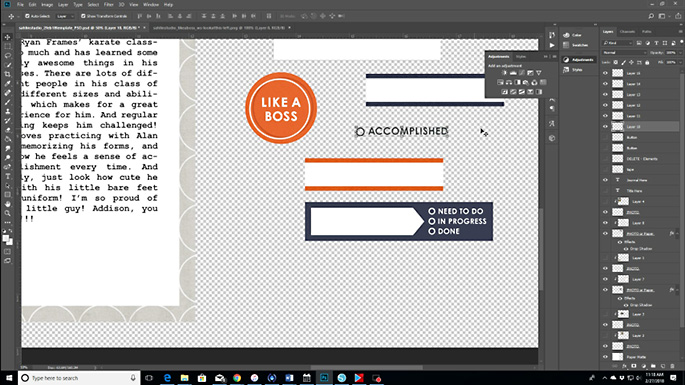
Adding the Embellishments:
I am going to use the Move tool to move the whole layout to the far left, and then I can move the journal cards (with their clipping masks for the correct size!) to the side of the paper. I can also add other elements, such as these labels and word art, so I can print them altogether and use the whole sheet for printing.
Let’s Begin: The Printed Portion
Printing the Layout:
Notice how I turned off the photo layers, but left light gray boxes in their place. Those are so that I know where to adhere the photos once I am ready to put the whole layout together. I recommend using the lightest possible so you conserve your ink! Now the layout is ready to print! I like to use matte photo paper for the layout itself; I find Staples brand matte photo paper in the 13×19 size works great. My printer is a wide format Canon iX6820, which is an amazing printer for these types of layouts.
Printing the Photos:
Once the layout itself is printed, now I want to print my photos. I may be really old=fashioned, but I prefer glossy photos, so I print my photos separately onto glossy photo paper. Since the photos are laid out already, I turn their layers back on.
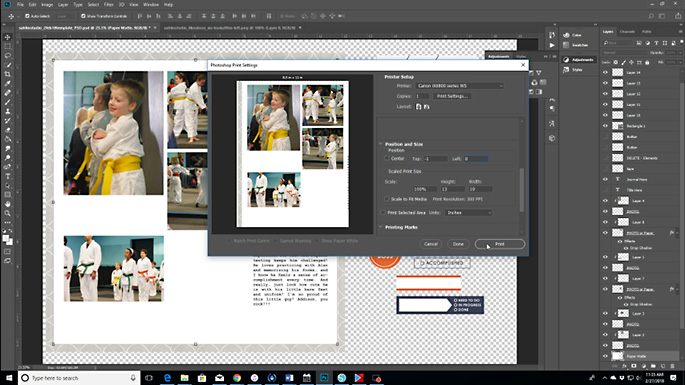
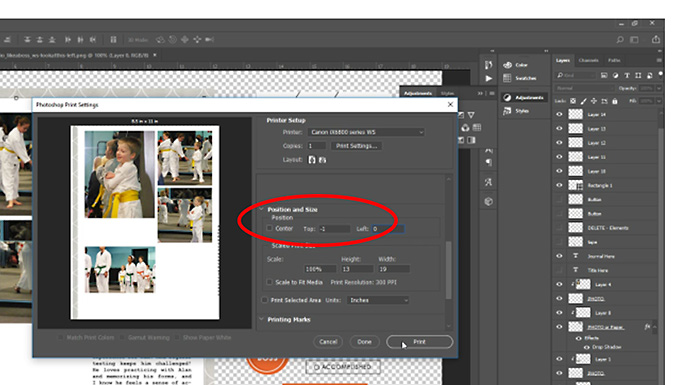
For this layout I am using 8.5×11 size photo paper to print all four photos at once. When I tell the printer to use that size, I can see that the photos all fit and I send it to be printed. Sometimes you might have to move the paper around a bit and if you have to do that use the Position tool in the Print menu to change where the photos are on the page. Once you have it all set, send it to the printer and then you are ready to put it all together and embellish!
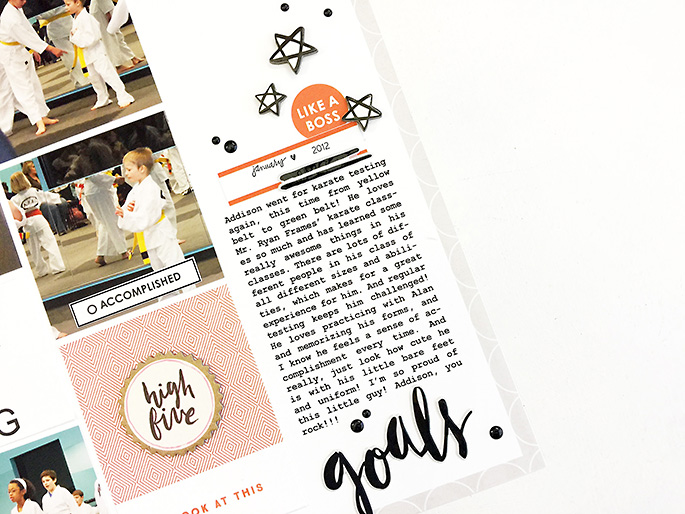
After everything is printed, you can cut it all out using your paper trimmer or scissors, and then embellish as you like. Check out the fun details of this layout, now that it is printed, adhered together, and embellished.
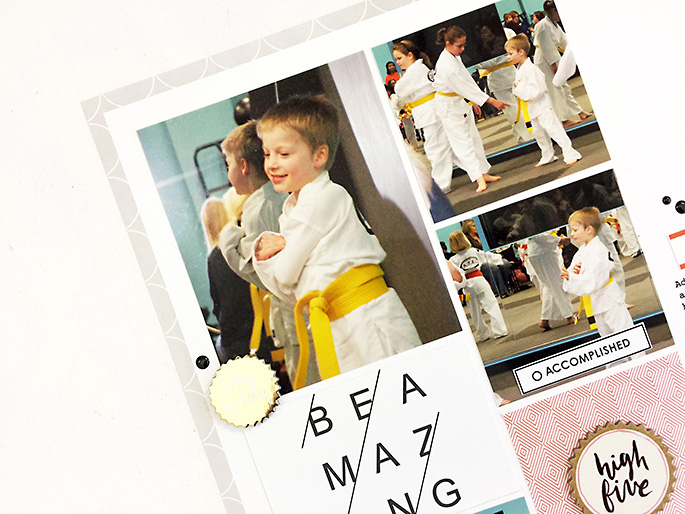
This is just an awesome option if you love using digital products and also love having the tactile experience on your pages!
If you’d like to see a video tutorial on my entire process for this layout, you can watch here.
Thank you so much for joining me today! I hope this has been helpful in learning new ways to print your hybrid layouts quickly and efficiently!
Products used in this post:
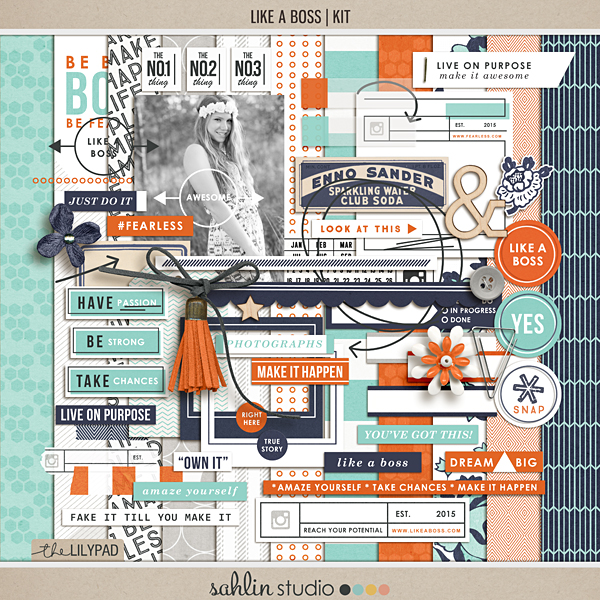
Product Credits: Sahlin Studio Like A Boss Kit and Journal Cards; March 2018 Monthly Template. Crate Paper Good Vibes collection (chipboard pieces, epoxy title); My Mind’s Eye (enamel dots); Staples brand matte photo paper; Staples brand glossy photo paper; Canon iX6820 wide format photo printer.
Hi, I’m Theresa of Larkindesign from Kernersville, NC where I live with my four kids, one awesome husband, two cats, a dog, and a bunny. And occasionally our cat brings us pet salamanders. When I am not calming chaos I am in my studio, playing with photos and colors and embellishments. This scrapbooking thing is my passion and I love inspiring others to feel the same way!
