My Finished December Daily Album 2016 – Theresa Moxley
Posted on under Document December, INSPIRATION
Hello, and Happy New Year to you! It’s Theresa (of LarkinDesign) here to share a recap of my December album. One thing that allows me to successfully complete a December Daily album is by “PRE-creating” as much of the album as possible. I created my foundation pages back in November, you can read more about here and here. Then when December came all I had to do is add photos and journaling. Are you ready to see how the album turned out?!
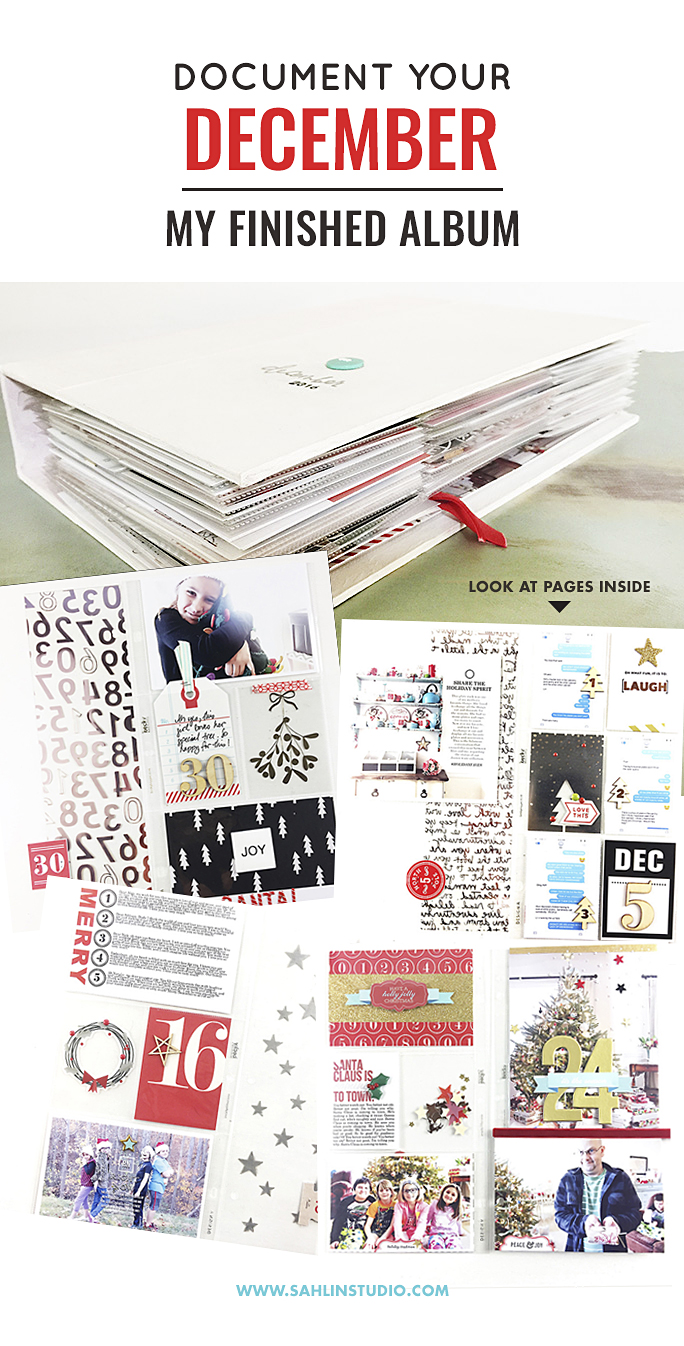
My December Album and Cover
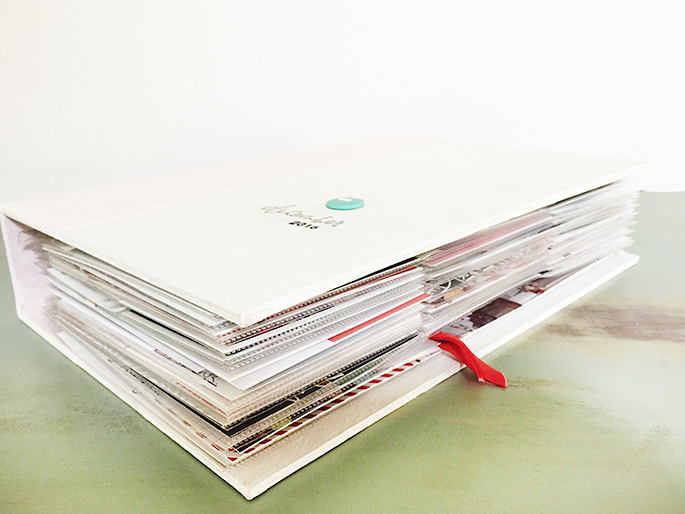
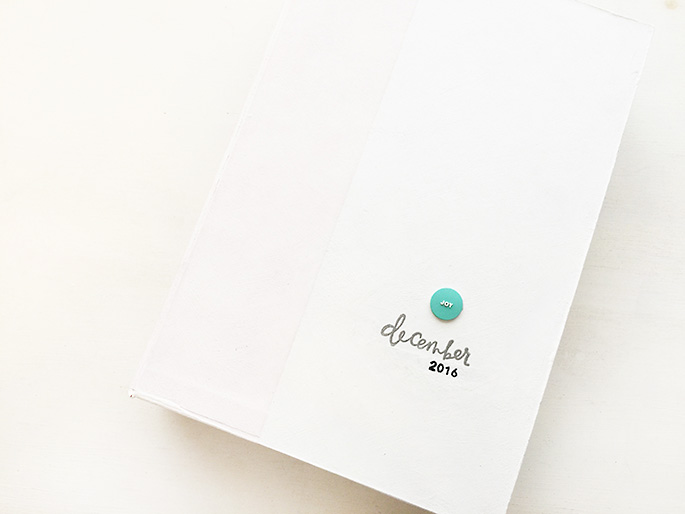
My album this year is sized 6×12. Originally it was a 12×12 basic binder from American Crafts, you know the ones with the chipboard covers and cloth binding and really big binder mechanisms? Yes, that kind, and so I chopped it down and painted it (heavily) using white gesso. My plan was to have one side of each layout for each day with a smaller transparency dividers in between.
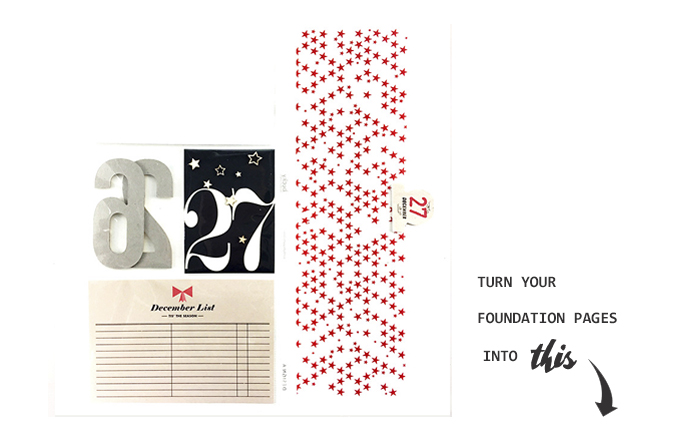
The Plan
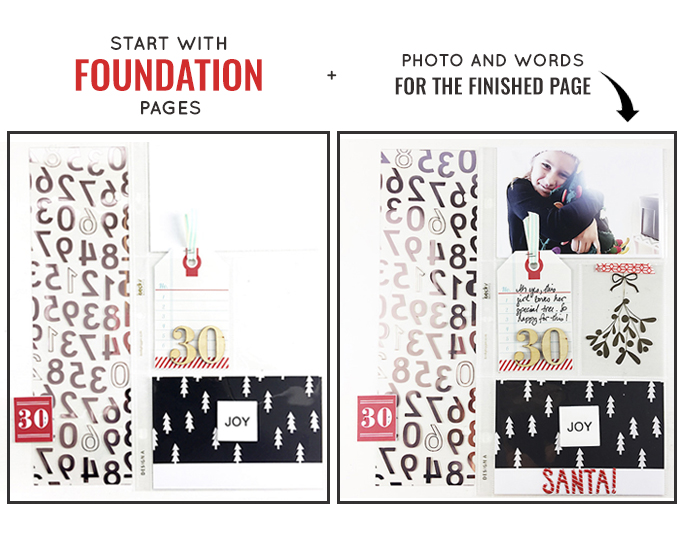
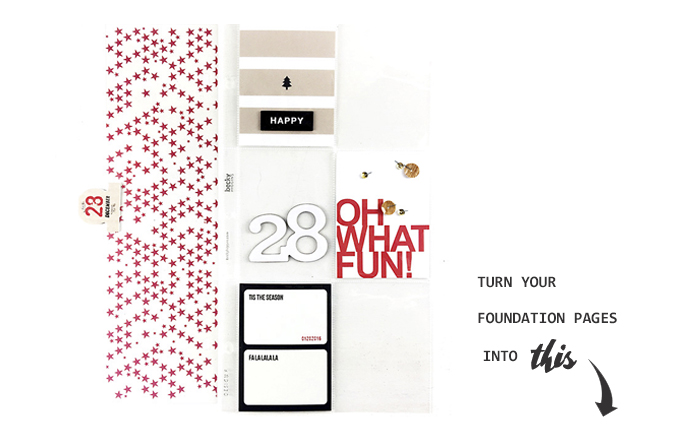
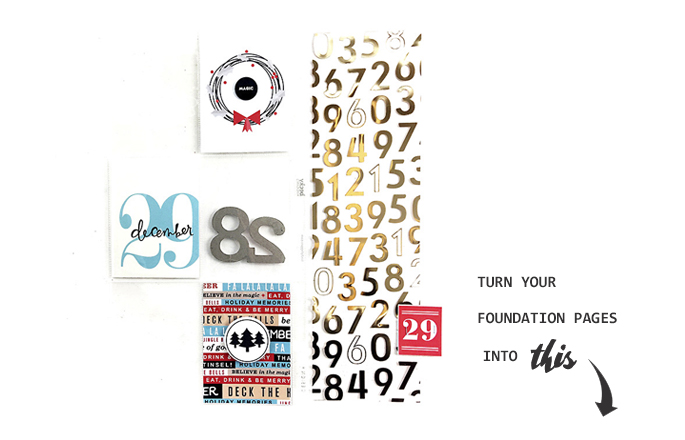
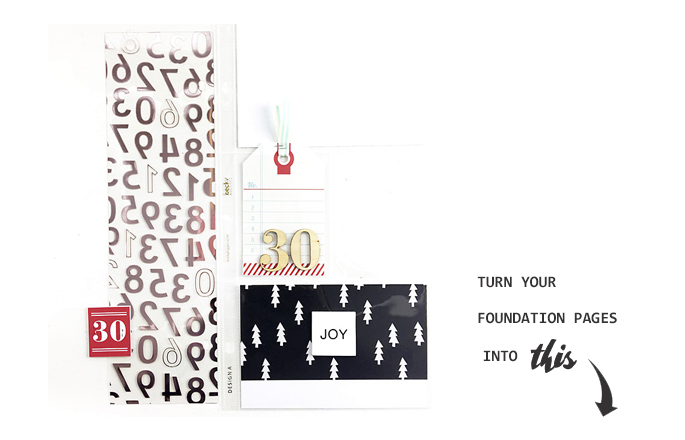
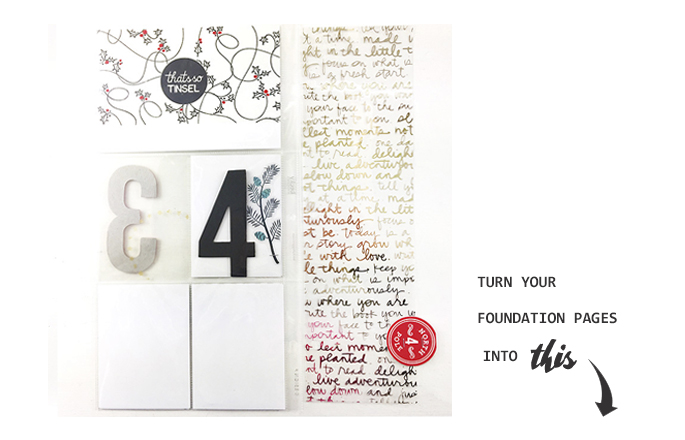
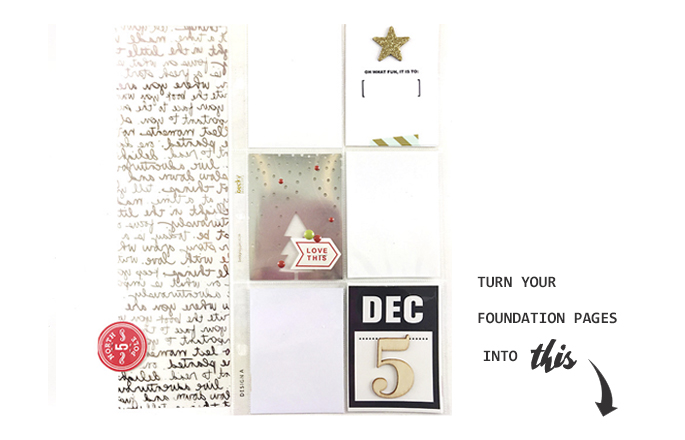
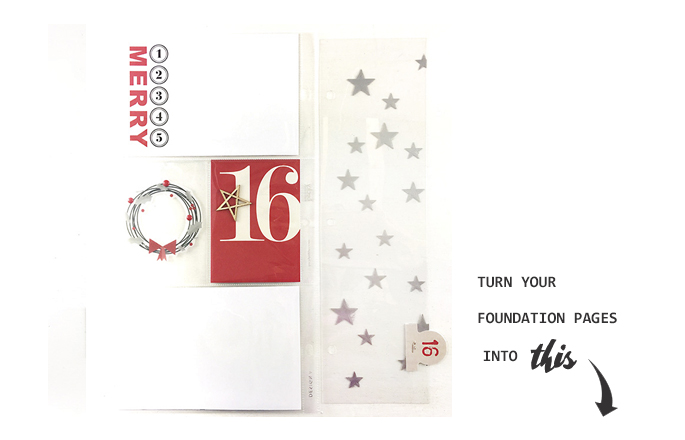
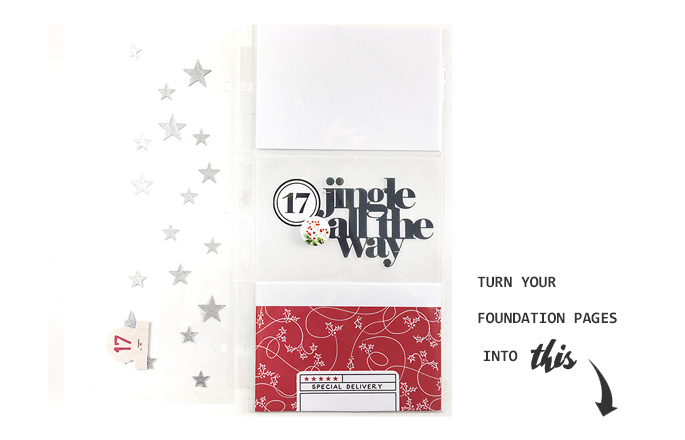
Like I mentioned before… my secret is to have my foundation pages completed before December. So all that is left is fun creating, just add photos and stories + DONE Check out an example of a BEFORE and AFTER.
So come on!! Let’s take a walk inside!
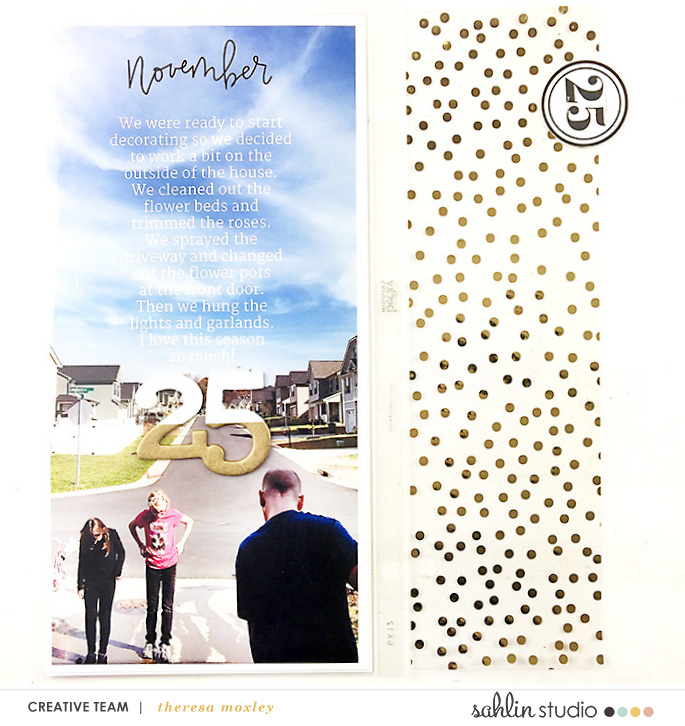
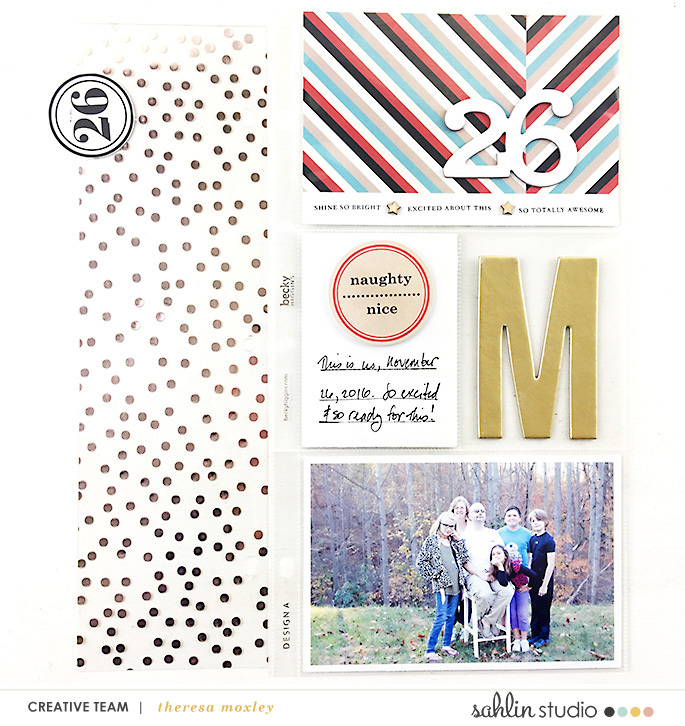
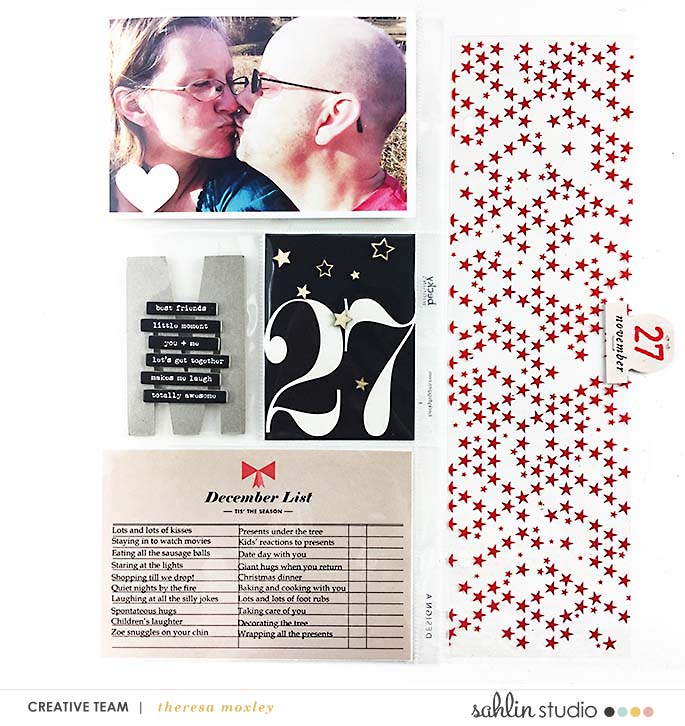
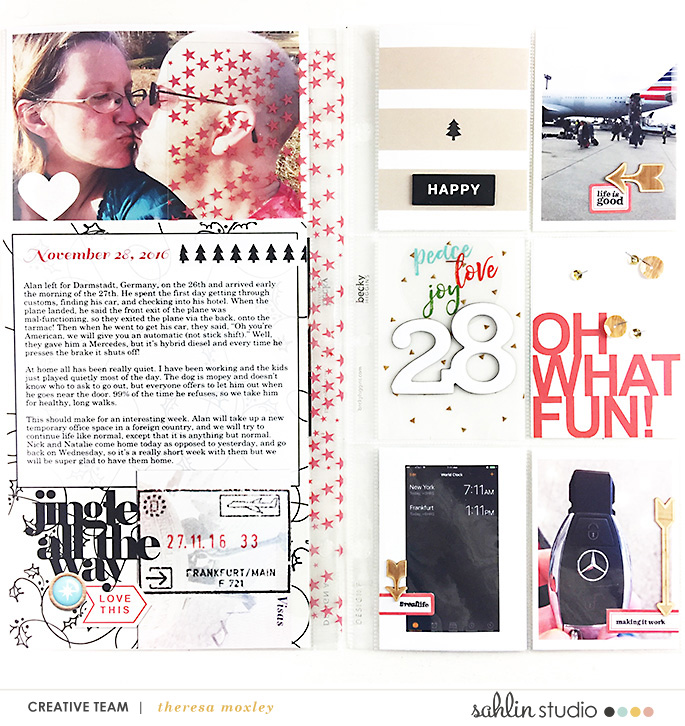
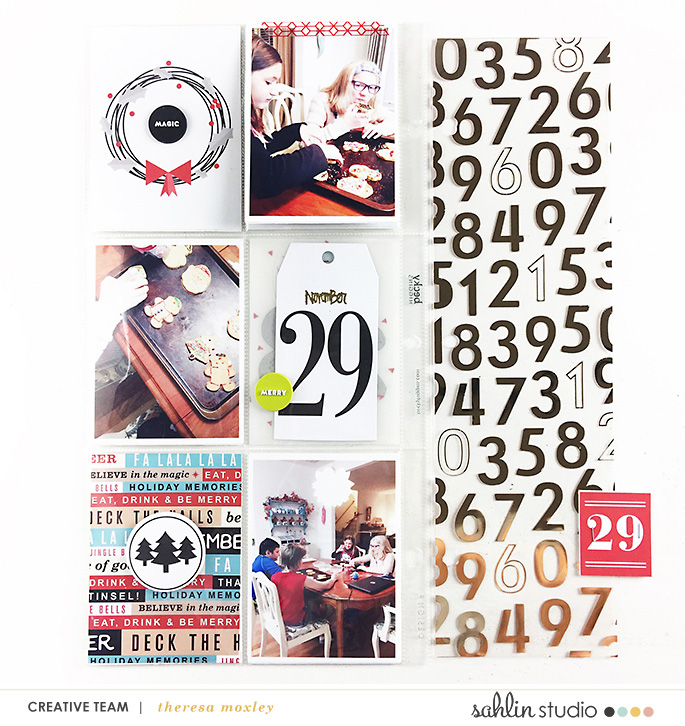
A Look at November 25-31
One of the challenges of creating a monthly album like this is that you never really know how the month is going to look. For us, this meant my husband left for an 11-day work trip to Germany on the 27th of November. I did not want my album to begin with him being gone, so I started my album the day after Thanksgiving. I am really glad I did, because then he sent me some really awesome photos from Germany that I was able to include in the album. I guess since I could not go, having his photos in it is the next best thing, right?!
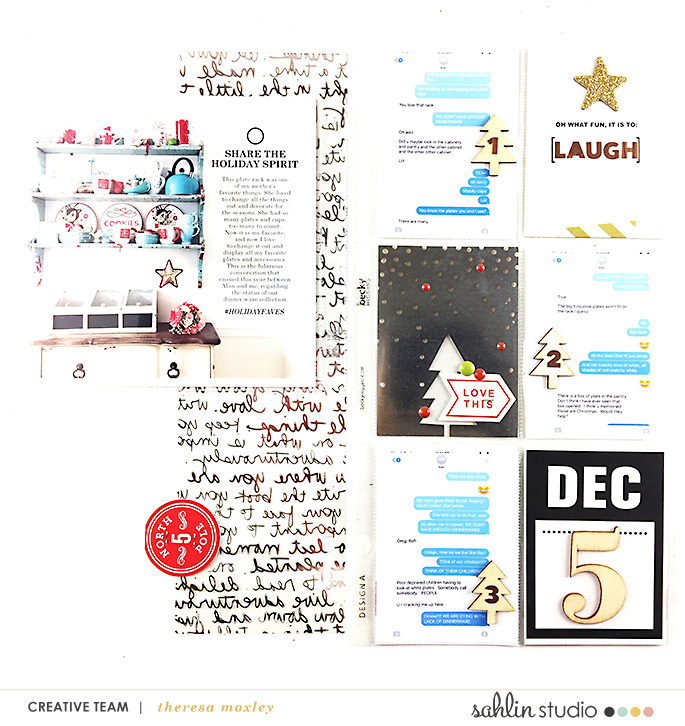
Journaling in a December album can be overwhelming sometimes. So for me, it is all about balance. Some days I only write a sentence or two, and other days I sit down and write paragraphs. This particular day I wrote paragraphs and created an insert to house all those thoughts. I know that in the future I will be so glad I wrote those thoughts down. I love that creating a monthly album like this captures a slice of our life, the good and the bad, the tough parts and the awesome parts. These days were rough, having him in a different time zone.
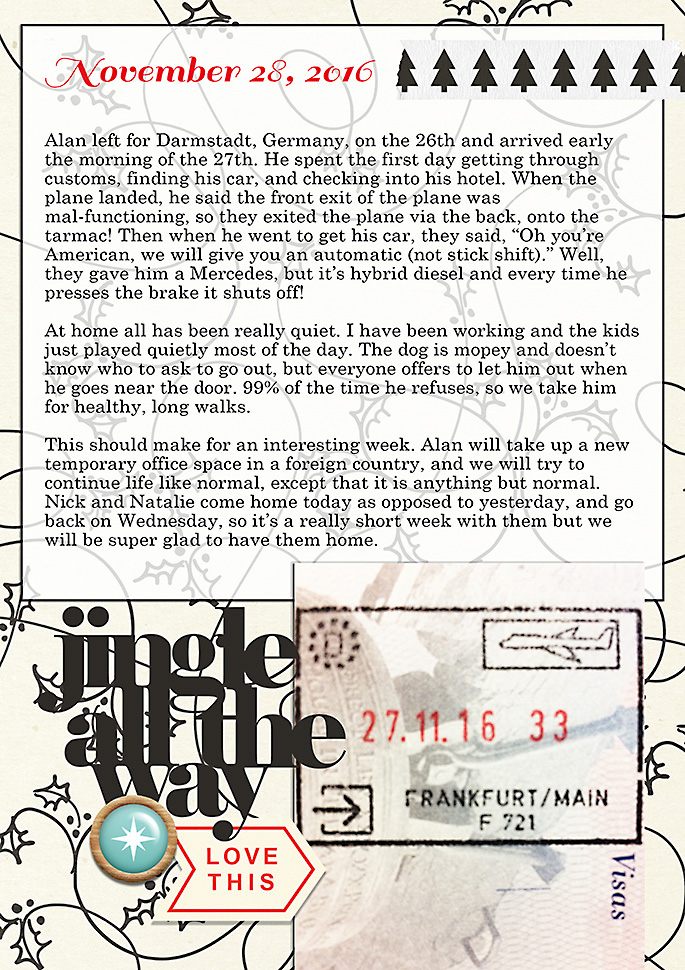
(Here is a look at the backside of the insert, a a peek through of day 27 & day 28)
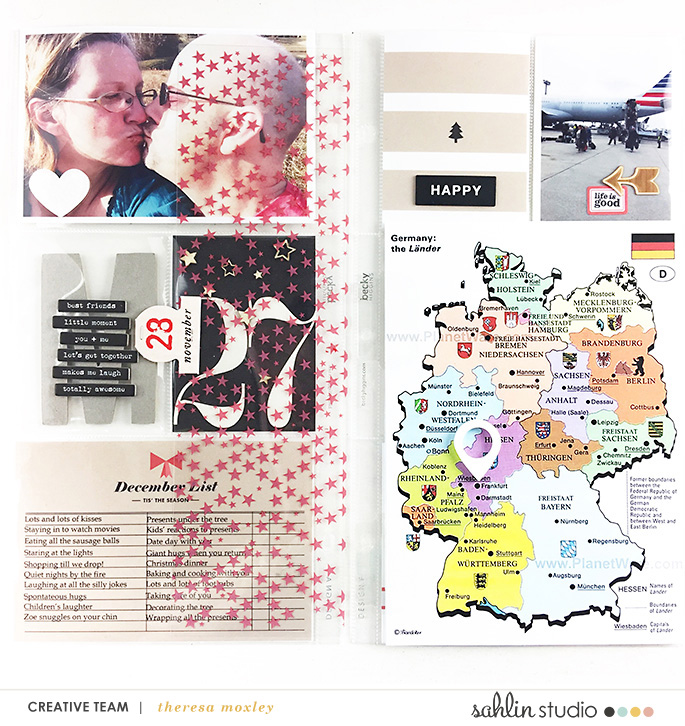
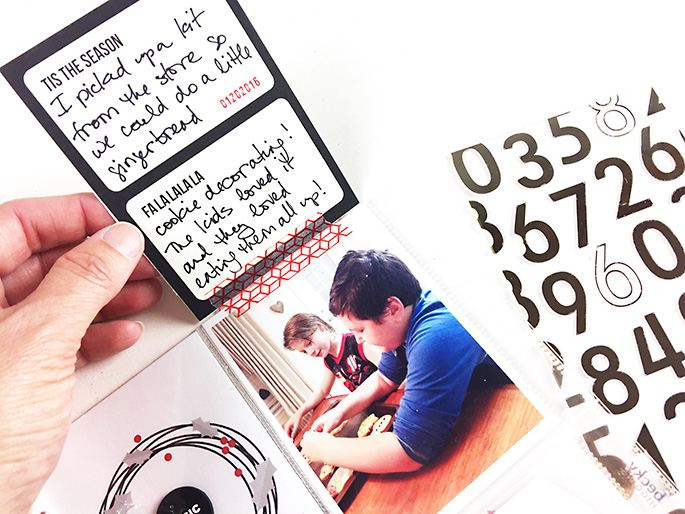
TIP: One of my favorite ways to add MORE photos or to include some journaling is to create a flip-up. To do this I used a journaling card is adhered to the back of the top photo and then attached to the pocket using washi tape. Another photo underneath and there you have it!
Inside December Pages
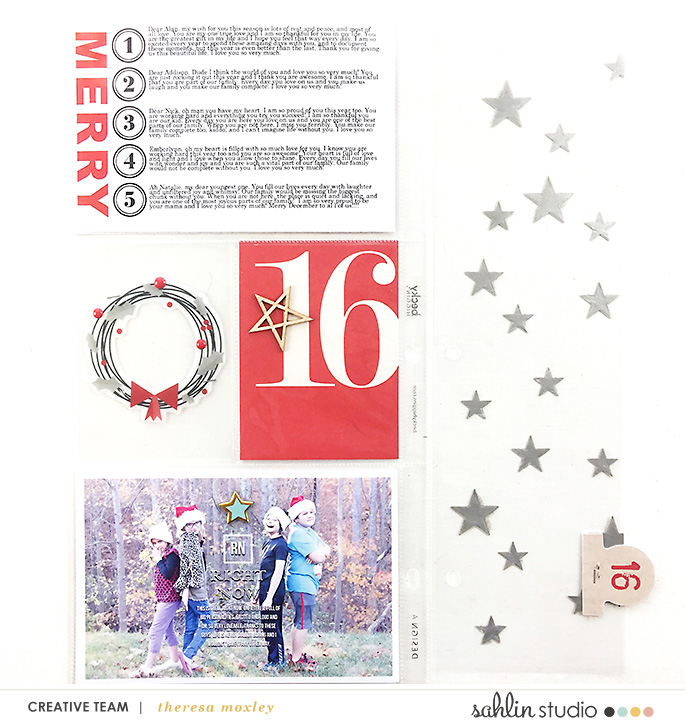
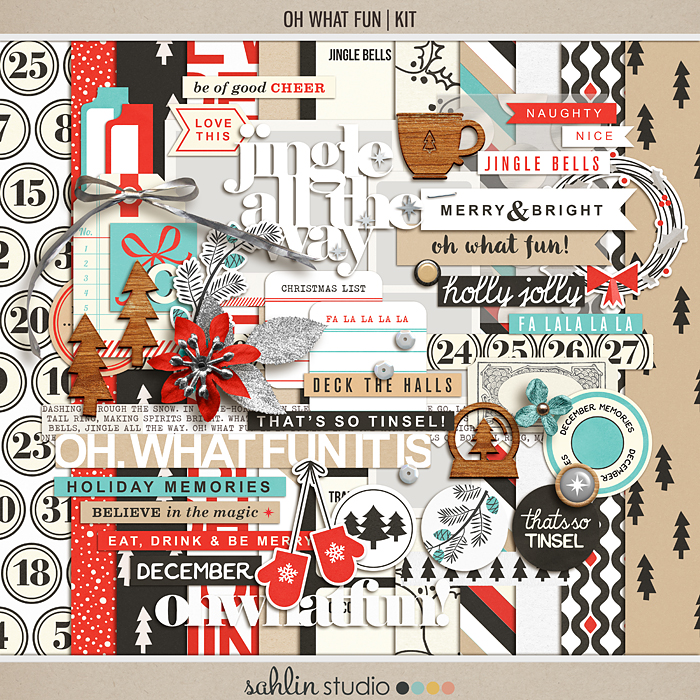
Add an Insert: If you have more stories to tell, create an insert. The front side is a photo of our four kiddos. (I used a few digital products from the Oh What Fun collection to add a simple digital layout.)
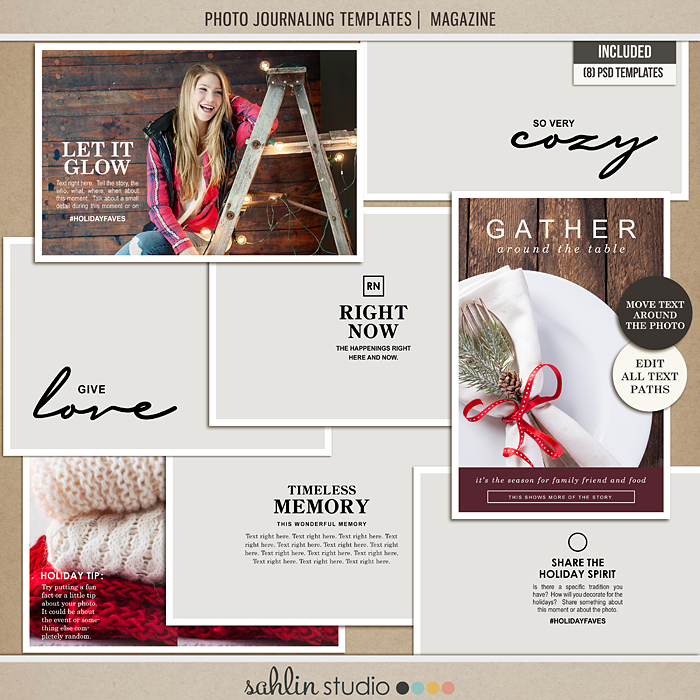
On the back side of the insert, I used the Photo Journaling Template | Magazine, available here.
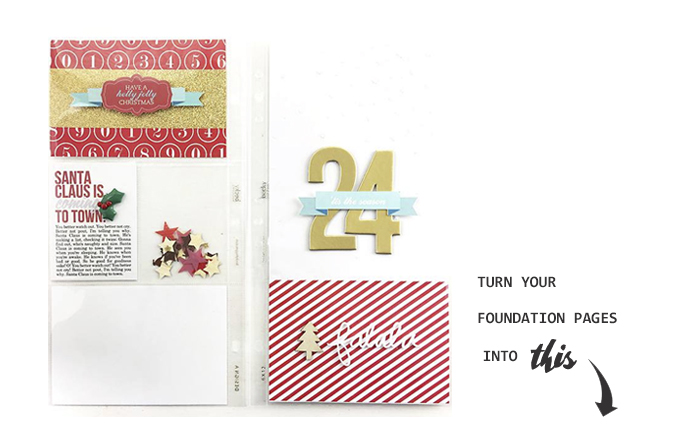
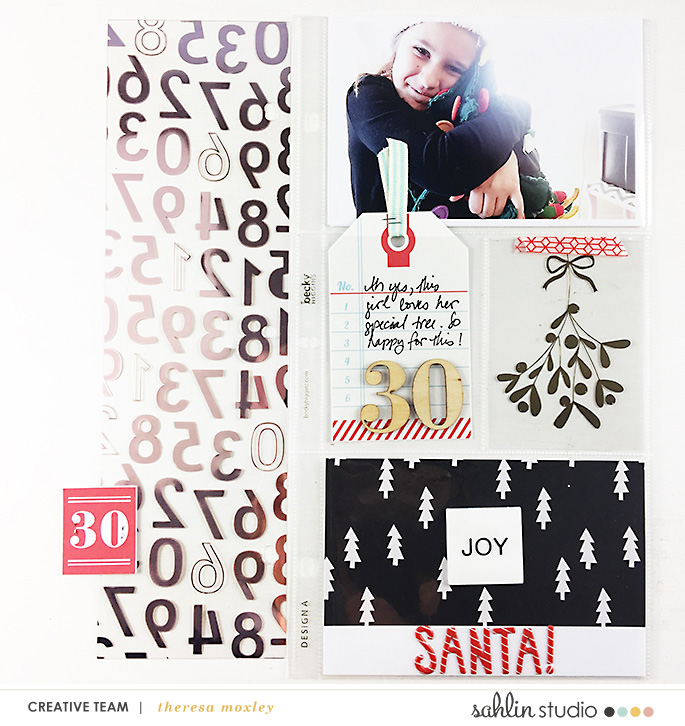
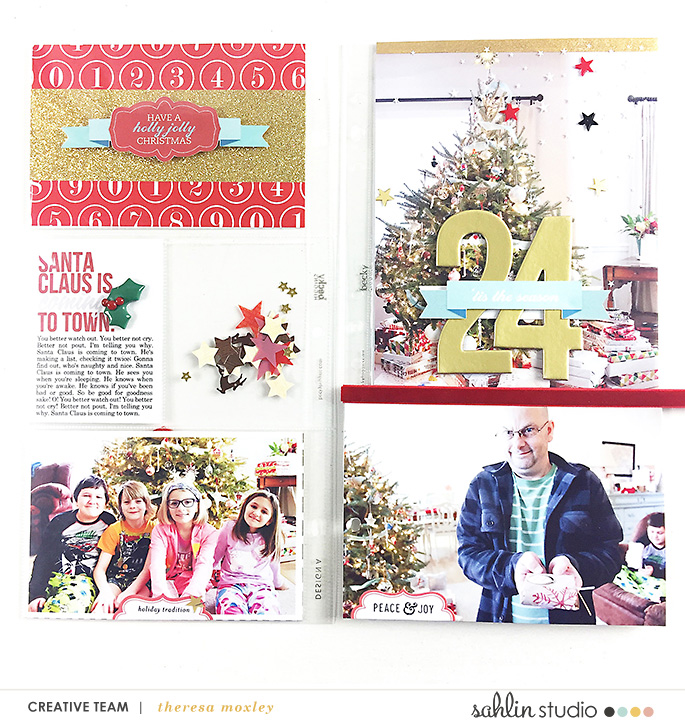
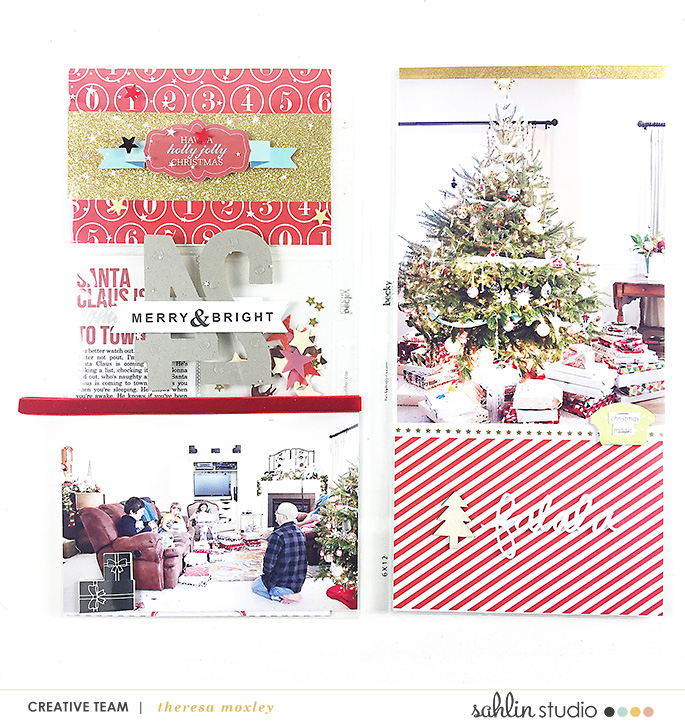
Christmas Eve was actually Christmas for us this year because of custody and schedules, so when I created my foundation pages I allowed plenty of space on that day for the photos and journaling I knew I would be including. The whole day carries over the whole spread and I included a full transparency in the center that actually is 6×8 with two photos adhered at the bottom.
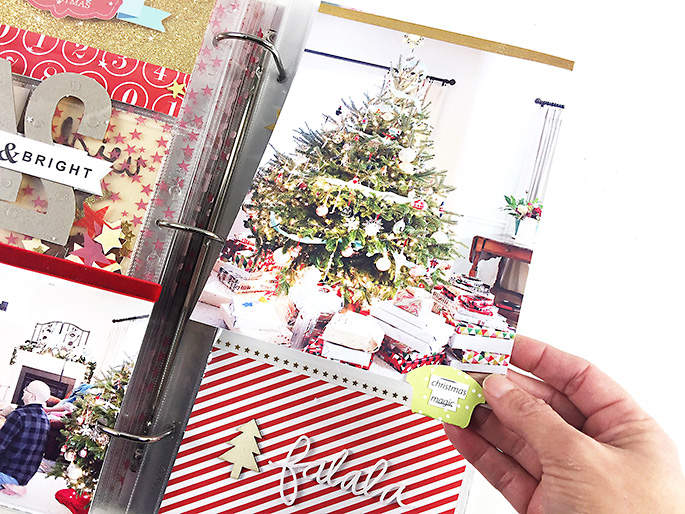
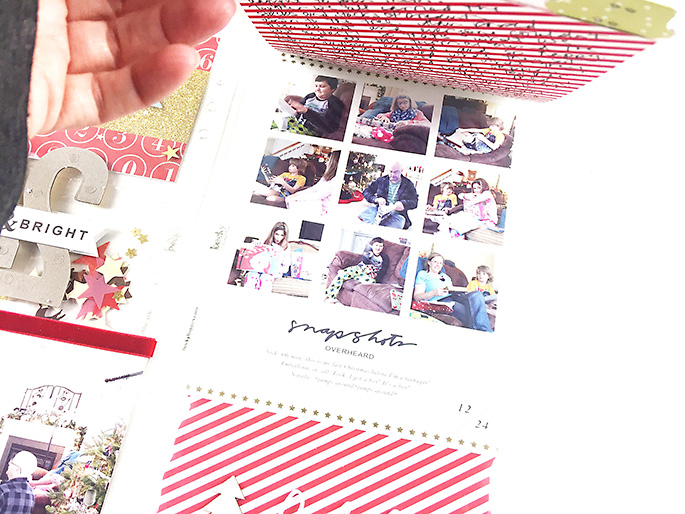
And then, because there still wasn’t quite enough room, I also included a flip-up underneath the large Christmas tree photo.
The tree photo lifts up to reveal my journaling and a collage of photos of us opening our presents. Photo collage is by Paislee Press Photocentric No. 1 Template. This is another great way to add still more photos. This spread alone includes 13 photos!
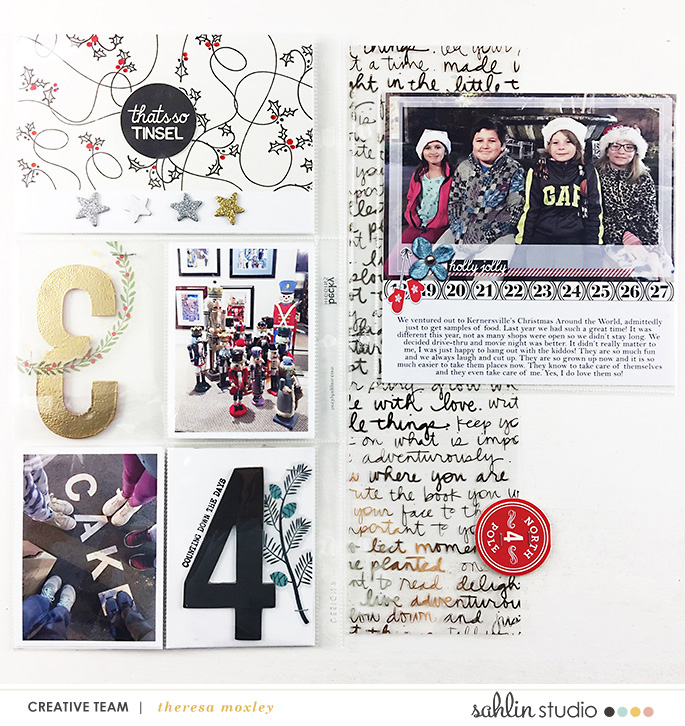
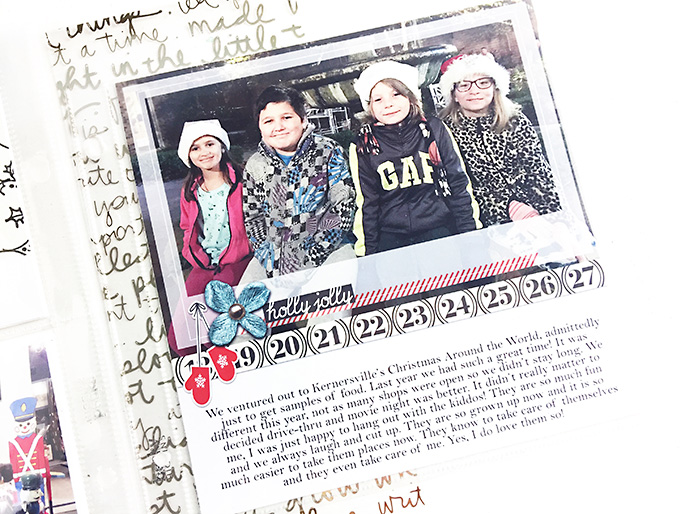
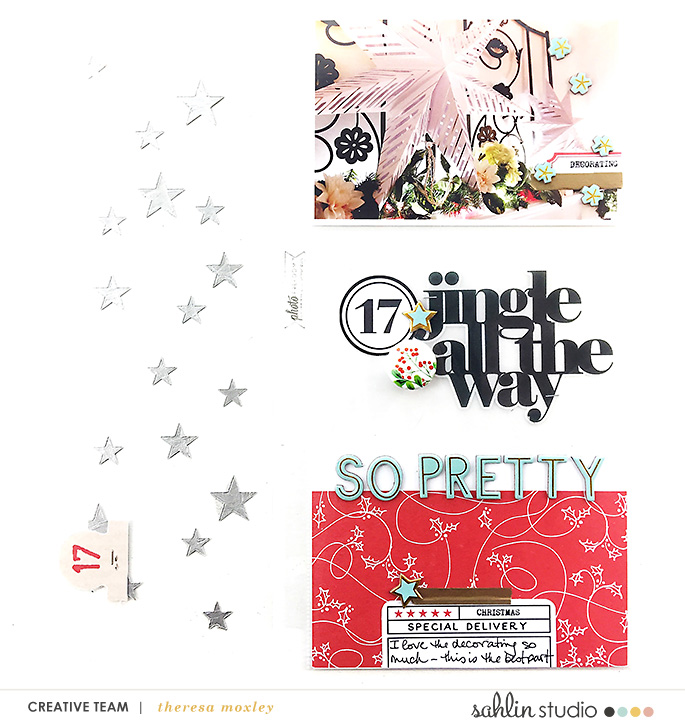
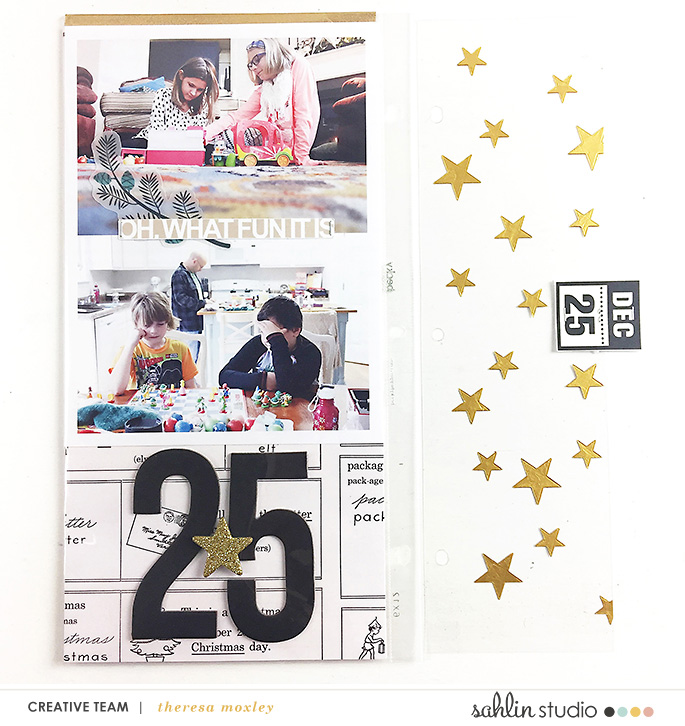
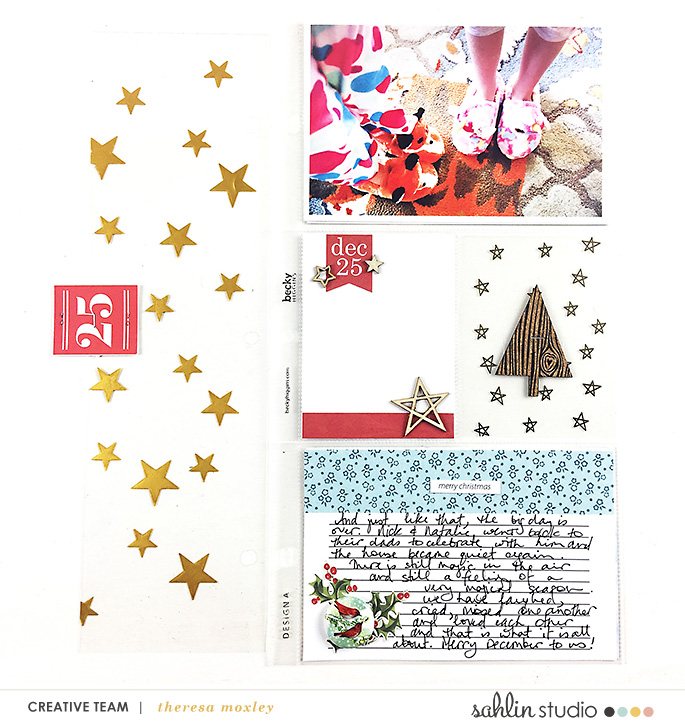
The 25th was a quiet day for us since we had already done Christmas, but I took the opportunity to reflect a little about the month and the holiday and I included a few photos of the kids just hanging out together. I actually really like having this little after-thought in my album as a way to share just a few more photos and round out the entire month.
It has been so much fun sharing my album and my process with you! Thank you for following along!
Products Used in this Post:
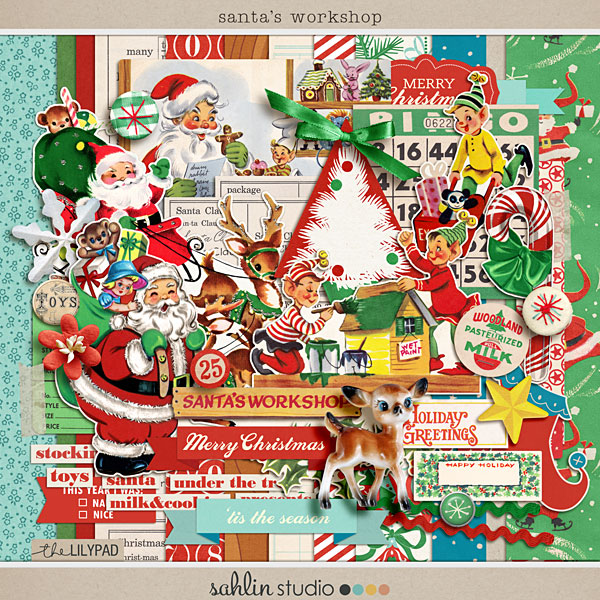
Other products used: Ali Edwards December Daily Main kit: rubber embellishments, stamps, acrylic word, star transparency, star sequins, chipboard numbers; Paislee Press: December Daily mini kit, rubber embellishments, wood alphabet stickers, stamp set, Photocentric No. 1 Photo Template; Freckled Fawn: Very Merry kit, glitter stars, epoxy holly leaves, glitter epoxy heart, star washi tape; Dear Lizzy wood veneer numbers; Pinkfresh Studio Oh Joy! collection: alphabet, transparent ephemera; Studio Calico: chipboard numbers, wood veneer stars; Kerri Bradford: stamps; Target: wood veneer Christmas trees; Maggie Holmes: chipboard M and gold washi tape; Pretty Little Studio: flair button, star sequin mix; Gossamer Blue: acrylic geotag; miscellaneous: velvet ribbon.
Save
Hi, I’m Theresa of Larkindesign from Kernersville, NC where I live with my four kids, one awesome husband, two cats, a dog, and a bunny. And occasionally our cat brings us pet salamanders. When I am not calming chaos I am in my studio, playing with photos and colors and embellishments. This scrapbooking thing is my passion and I love inspiring others to feel the same way!

January 13, 2017 at 7:20 am
Maribel says:
Your December album is pretty amazing, I really enjoyed seeing it come together every day from foundation pages to fully done! Beautiful!!!
January 13, 2017 at 5:36 pm
Kim Smith says:
You have made a truly wonderful album.Seeing your process posted like this makes me happy!
January 14, 2017 at 2:15 pm
Katey Zeh says:
Absolutely beautiful!