Disney Project Life Album – #10 Princess Dinner at Akershus
Posted on under Mouse Scrapping, Project Mouse
Feel free to follow Theresa Moxley (Larkindesign) on her journey in her Disney Project Life album each week! To look back on all of Theresa’s Project Life / Project Mouse layouts, find the posts here.
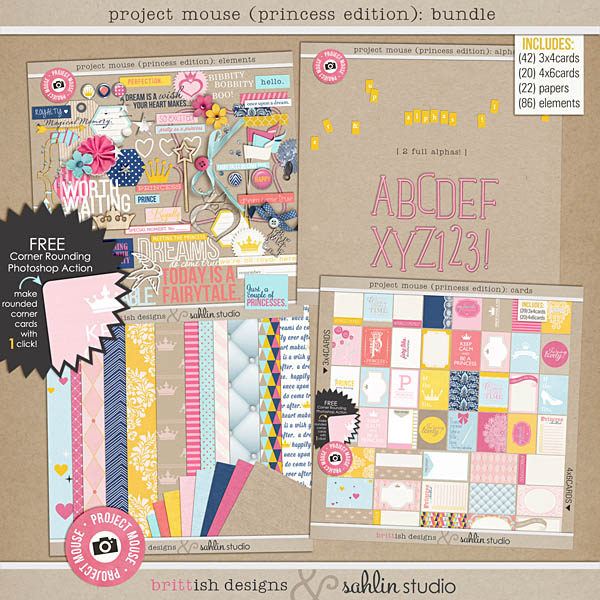
Hi everyone, Theresa here and I am so excited to share today’s layout with you from my Disney Project Life album! This layout is probably my most favorite because it is my most favorite event – the Princess Dinner at Akershus in Epcot! Akershus is located in the Norway Pavilion and allows its guests to visit with each of the Disney princesses at their table. Of course I could not wait to use the Project Mouse Princess Bundle for these photos. Have a look at this beautiful collection!
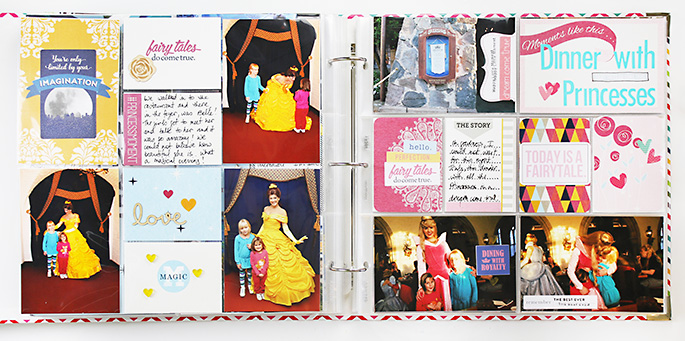
Full Page Spread
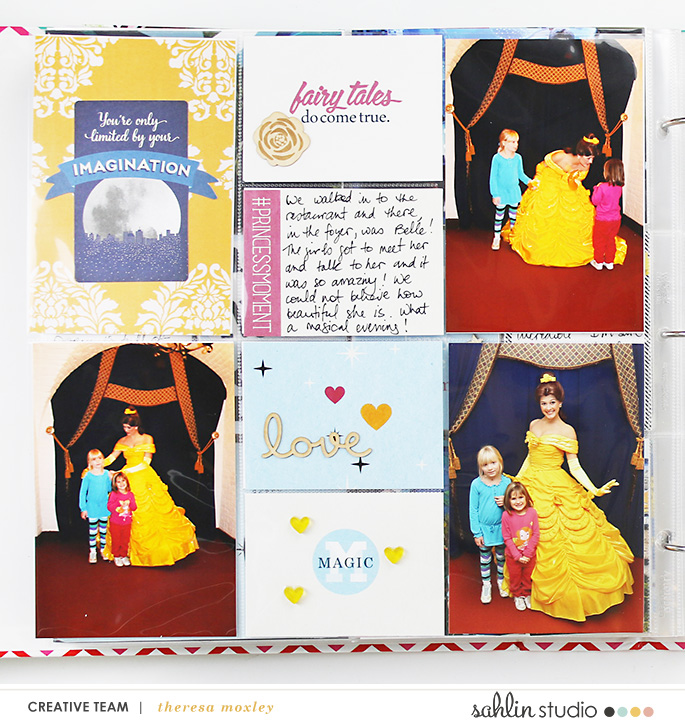
Left Hand Side
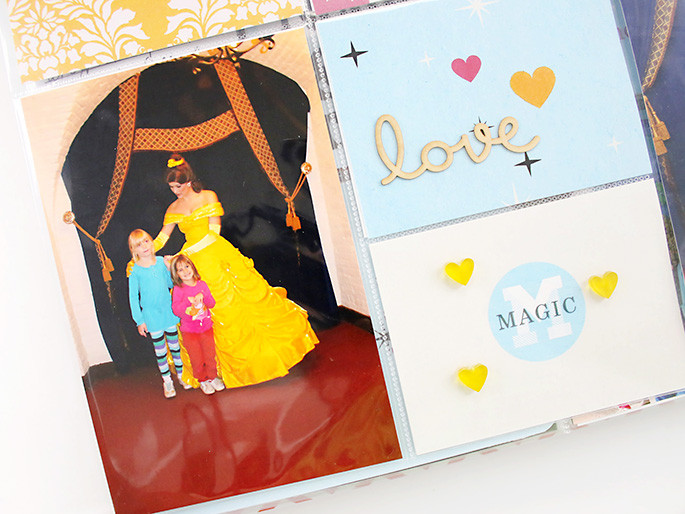
For my left hand side, I was working with the back of a vertical oriented page protector. The vertical photos of our girls meeting Belle are perfect here, and the yellows in the Princess collection from Project Mouse are stunning with Belle photos! I have to tell you that Belle was the first princess I really connected with, as a nineteen-year-old when Beauty and the Beast was first released (1991 ya’ll, I am old school!) So when we walked into our restaurant and had this special opportunity to meet Belle and have our photos taken, I was one happy mama.
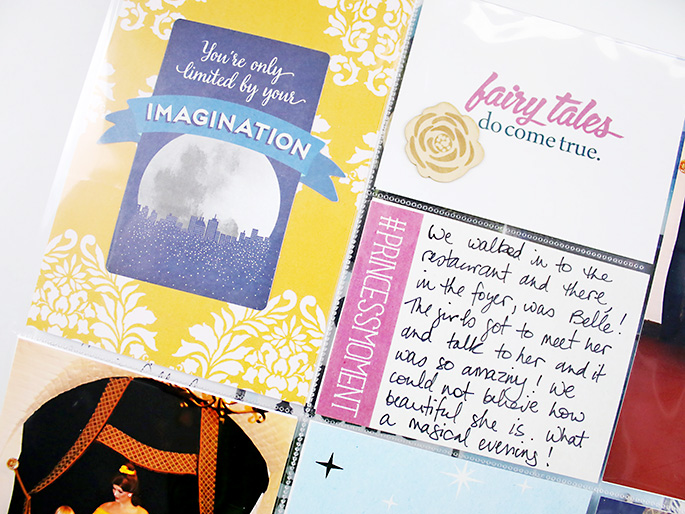
The damask card is one of my favorites ever in the entire Project Mouse collection. I layered it with a simple cardstock die cut from Shimelle’s Starshine collection. The Princess Bundle includes such a beautiful color palette that it is easy to bring in any embellishment you like.
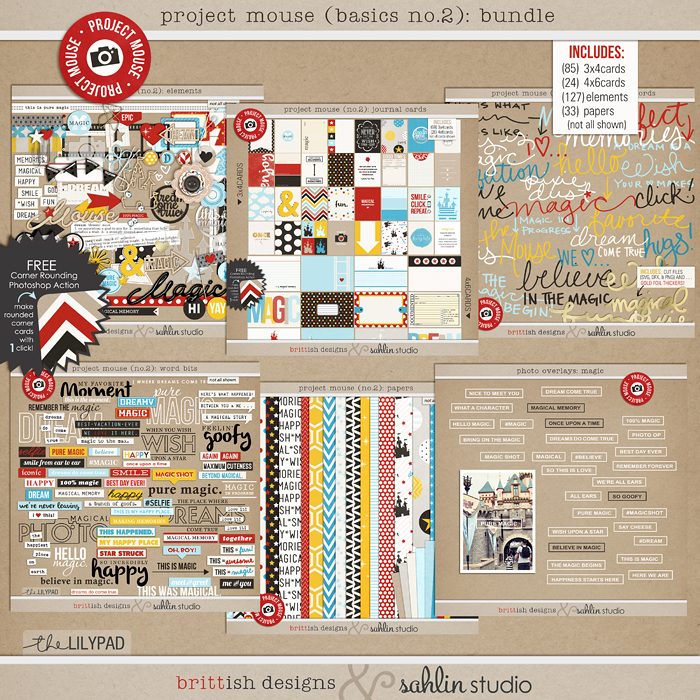
One thing that can be overwhelming in creating pocket pages like this is how to select your cards and which pockets to put them in! Because the photos are taken in a dimly lit situation, I knew I wanted to use cards with lots of white space so the layout did not become so visually heavy. I love the white with pops of wonderful color all around the page! The Magic card is part of the Project Mouse Bundle No. 02.
Right Hand Side
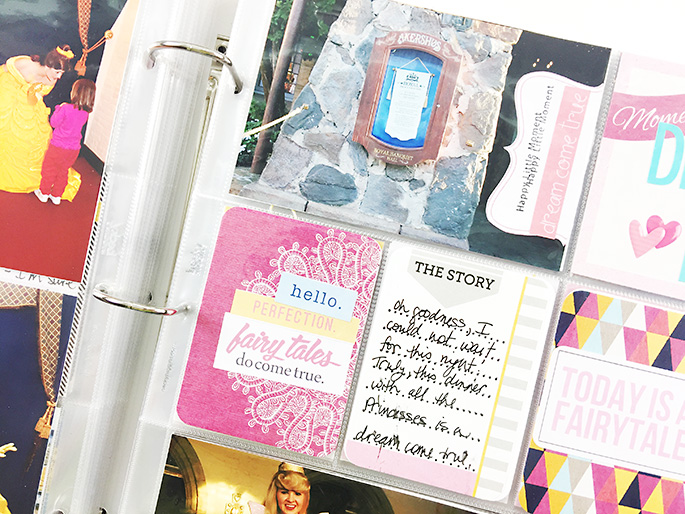
Let’s take a look at the right hand side too! For this side I printed some of the digital elements onto Silhouette brand sticker paper and then used the Print and Cut feature to create stickers. I love this very tactile experience with digital products and Project Mouse is perfect to use with your Silhouette too.
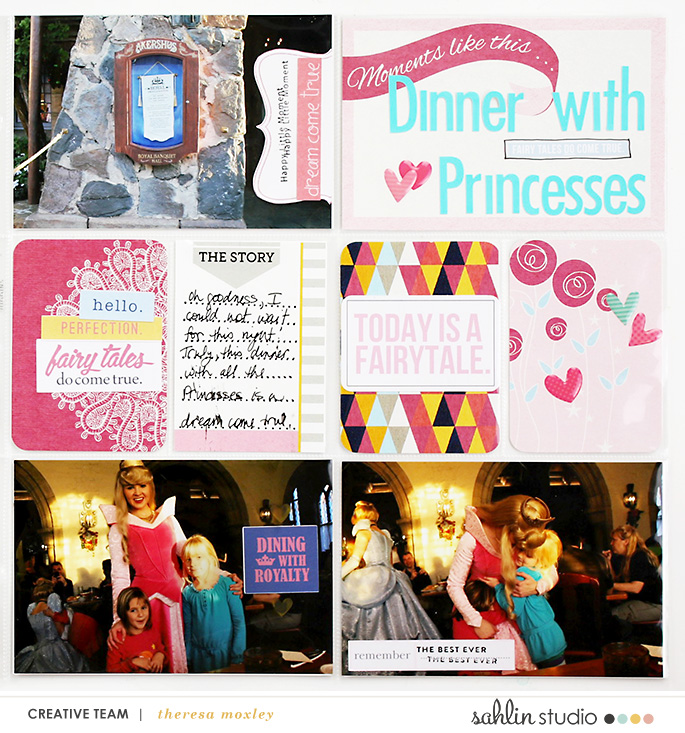
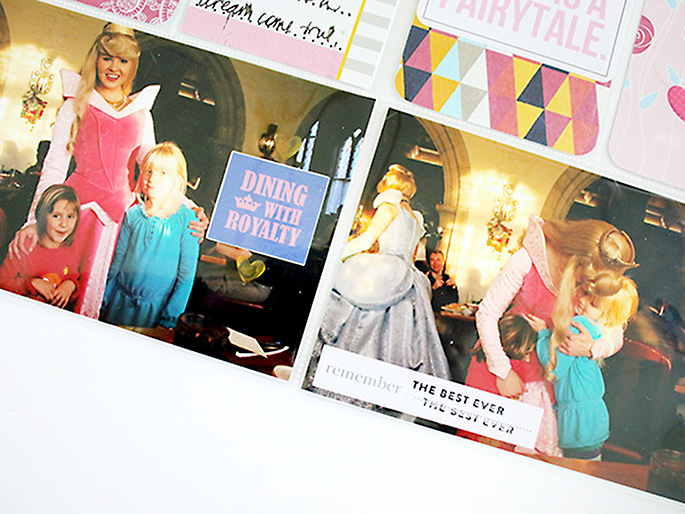
I knew I wanted to use this bracket label, so I layered it over the photo of the Akershus sign and then added a word strip and a stamped sentiment. The stamp I used is the roller stamp from Maggie Holmes/Crate Paper. The pink doily card also makes a great layering card for a few more word strips. Notice the repetition of color on that card and the other cards around the layout.
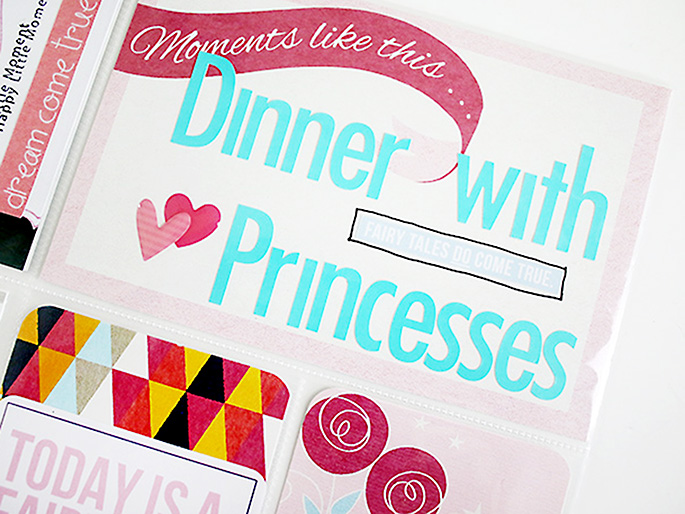
My title card was created with the moments like this card as a lovely base. I used Doodlebug alphabet stickers and enamel heart shapes, and the word strip is another sticker.
PHOTO TIP #101: Cherish the Memory, Let Go of Documenting Perfection
Just the other day I was interacting with another Disney fan online and she stated her frustration that she felt like her Disney photos maybe weren’t quite good enough. She was feeling overwhelmed with feelings of disappointment and didn’t even want to begin her Disney album because of those feelings.
I have to say I felt the exact same way when I began my album, and I still look at these photos and see all the technical errors, the sunlight streaks, and no, these photos are not professional photos! But I also see two girls who are experiencing their dreams coming true. I also see another princess in the background who is making amazing memories with another little girl (and her mom!) Oh you guys, yes, these trips are so amazing and it is easy to get caught up in the fear of not being good enough! But let me encourage you to just start your project, just dive in no matter what those photos look like. You will be so happy you did.
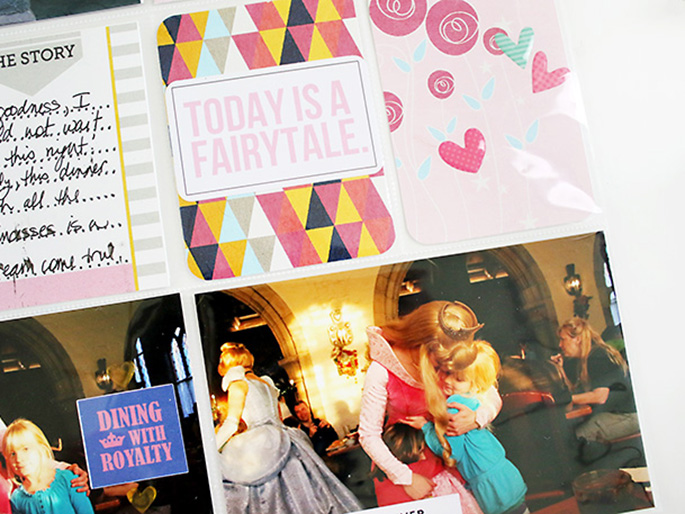
Another of my favorite cards is the triangle card with Today is a Fairytale layered on top. This card serves an important function in tying all the colors together in the layout, but it also is the perfect caption for this entire layout. This dinner was indeed a fairy tale come true and I am thrilled to have it documented!
Products Used In This Layout:
Sahlin Studio Project Mouse: Bundle No. 05 Princess Edition and Bundle No. 02. Other products include: Maggie Holmes (roller word stamp); Doodlebug Designs (turquoise alphabet stickers and heart shaped enamel dots); Becky Higgins Project Life (roller stamp for dotted lines); Gossamer Blue (yellow acrylic hearts, wood veneer rose and love word art): Shimelle Starshine (cardstock die cut).
This layout previously appeared on Theresa’s personal blog and can be viewed here and here. Process videos can also be viewed here and here.
Hi, I’m Theresa of Larkindesign from Kernersville, NC where I live with my four kids, one awesome husband, two cats, a dog, and a bunny. And occasionally our cat brings us pet salamanders. When I am not calming chaos I am in my studio, playing with photos and colors and embellishments. This scrapbooking thing is my passion and I love inspiring others to feel the same way!
