Creating Clusters on Your Project Life Pages
Posted on under Hybrid Projects, Project Life
Today I want to talk to you a little bit about creating clustering on your cards with both digital and traditional elements. Clusters are an arrangement of several elements, word arts, wood veneers, stickers, etc to draw your eye to the subject and to contribute to design. It’s often done with 12 x 12″ scrapboooking, but you can easily bring this technique to your 3×4″, 4×6″ pockets as well.

Choosing Photos and Journal Cards
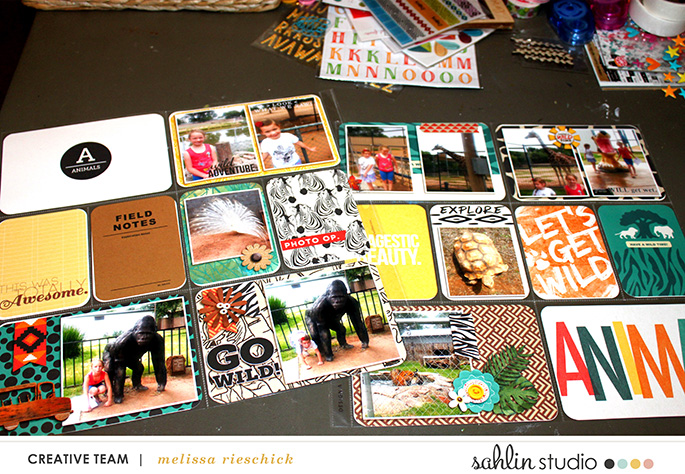
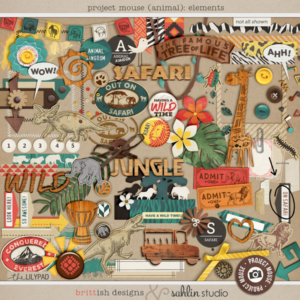
Here is what my pages looked like before I added any physical embellishments. I am using the Project Mouse: Animal collection. I worked at balancing the colors across the spread. I didn’t want too much of one color bunched together. Also, you can see where I added the digital elements, in some cases creating a cluster. I will use these as a base for adding the traditional embellishments.
DIGITAL CLUSTER TIP: Feel free to add digital cluster before you print!! You can use these as a base for adding the traditional embellishments on top for a great layered look.
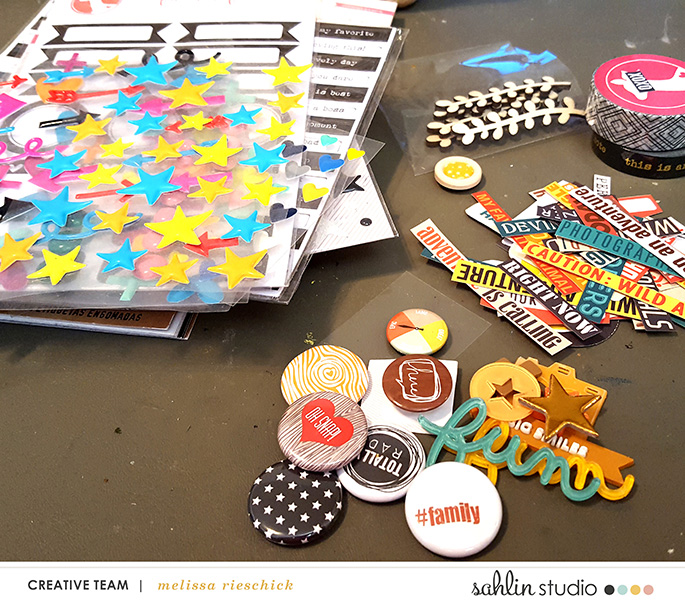
Next, I picked out what embellishments I might use.
I am sure you are looking at that stack of puffy stickers thinking really? She is going to use those? Well let me show you by looking closer:
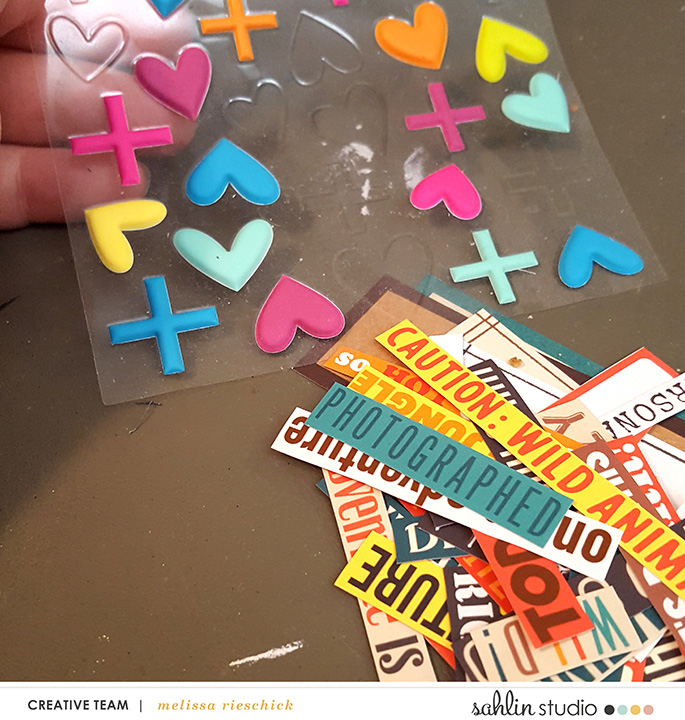
While these brightly colored puffies may have seemed an odd choice for my pages, you can see from this close-up that the yellow and the light teal were going to match very nicely. Whenever you aren’t sure, just lay the cut-out pieces up against what you are considering using to see if it will work. 🙂
Let’s Start CLUSTERING!!
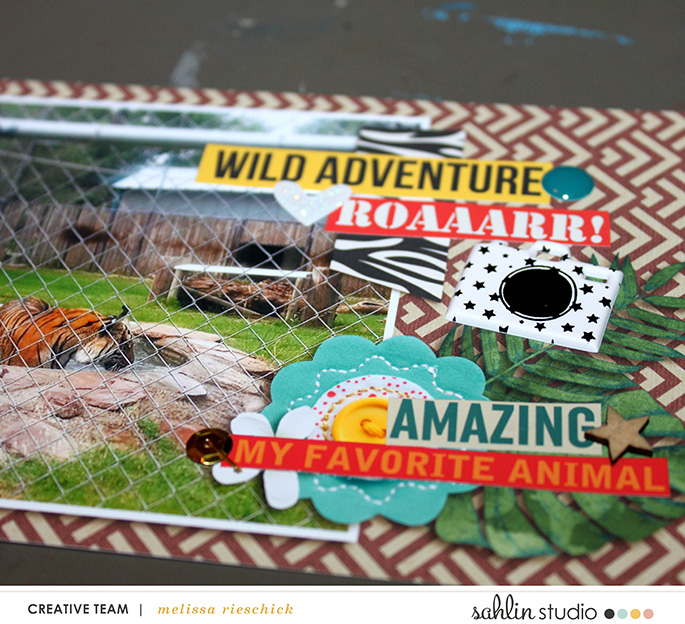
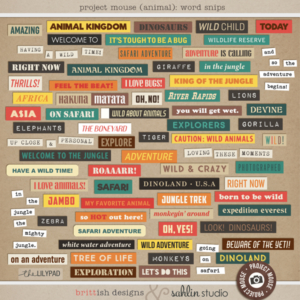
Here are some close-up shots using some of the elements I selected. All word strips used are from Project Mouse – Animal: Word Snips. It’s so easy to clustered printed digital elements with the traditional elements.
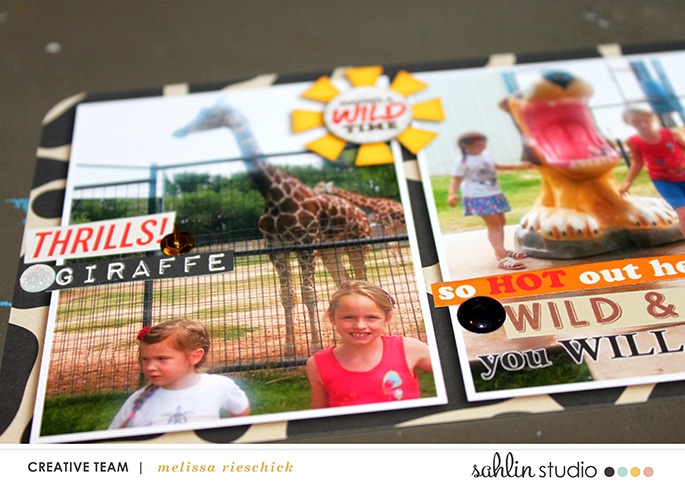
In this pocket, I added a few digital elements right on the photo card before I printed. Can you tell which ones are FLAT printed digital elements? It’s a great way to add alot more to your cluster without the bulk of all of the physical elements. Then I layered word strips and anchored with an puffy camera sticker, enamel dot and heart, wood veneer star and stapled a sequin.
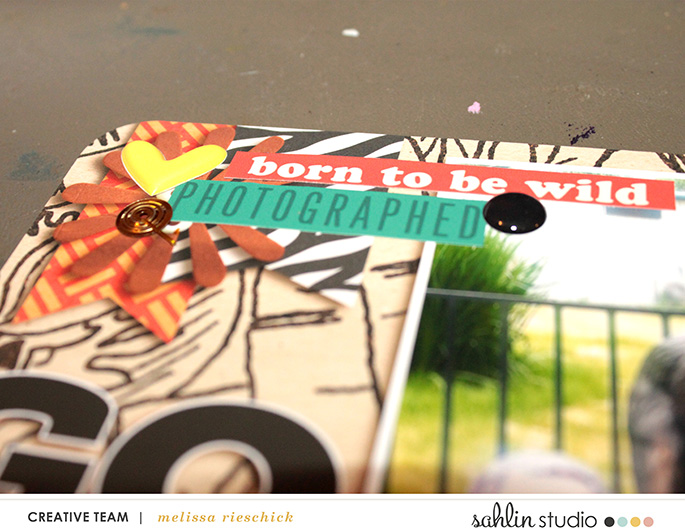
In this pocket, the paper flags, cardboard flower and word strips are printed digital elements. Then I added a puffy heart, enamel dot and a stapled gold sequin.
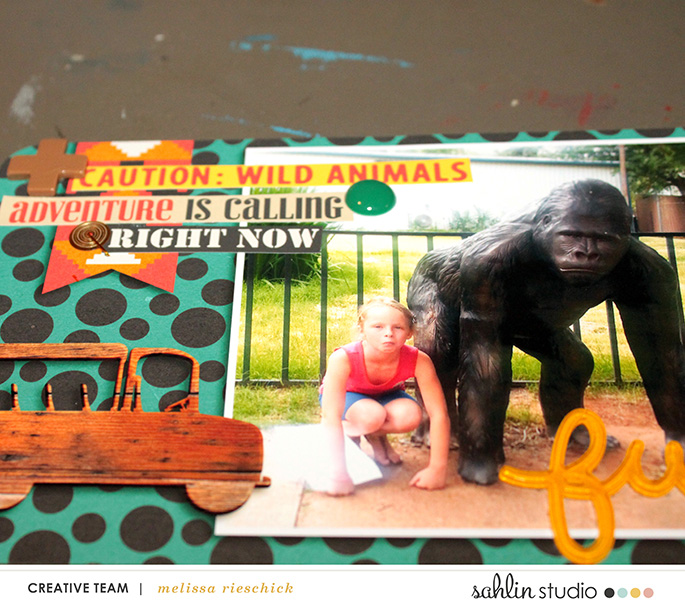
Finally, on this card pocket I used many printed digital elements in the cluster, including the wood veneer truck. Isn’t it so realistic?? Add a few physical items like the plus sign, teal enamel dot and a gold stapled sequin.
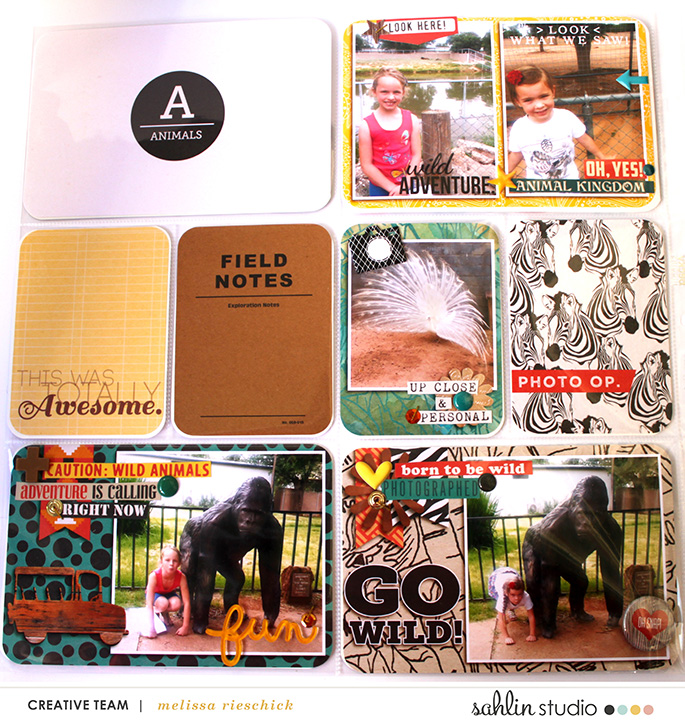
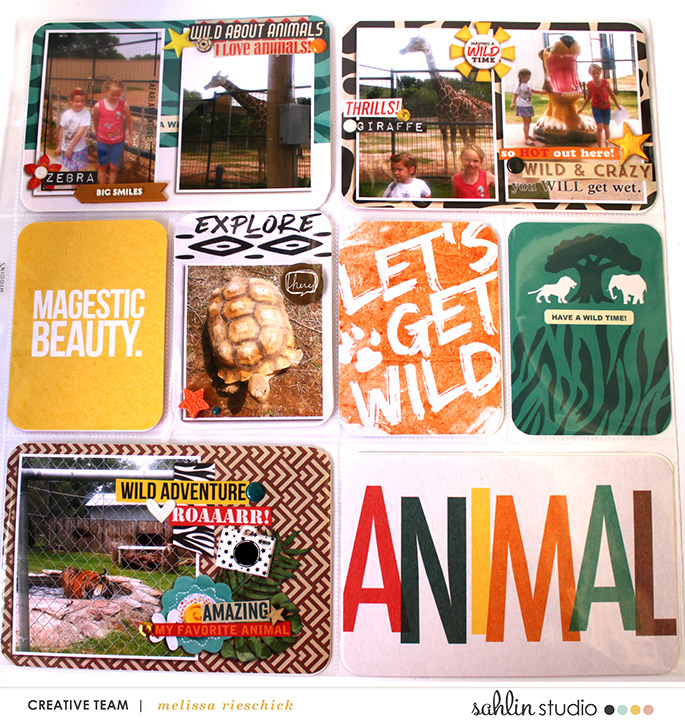
Final Pages
And the close-ups:
I love how everything flows so perfectly together! I hope I’ve inspired you to do your own creative clustering!
Product Credits:
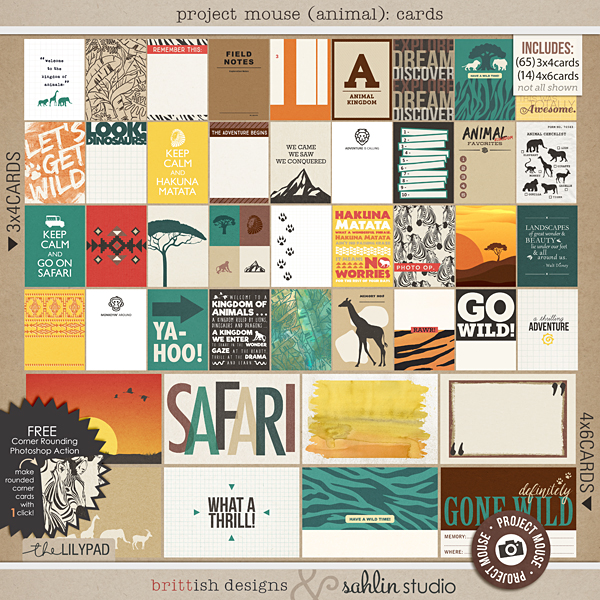 Project Mouse: Animal Collection
Sahlin Studio: Project Mouse: Animal Other Products: o finish I added a puffy camera sticker. Freckled Fawn, heart and puffy camera; Studio Calico, wood veneer star; My Mind’s Eye, enamel dot
I live on the Texas Gulf Coast with my boyfriend of 10 years, our chihuahua Zoe, and our cat Morgan. I work full time and when I am not working I like to watch shows on Netflix and scrap. I also love to read and read a book in about 2 or 3 days since I only read a couple hours in the evening. My passion in scrapping is Project Life pages, in particular hybrid Project Life.

November 2, 2016 at 7:02 pm
Kellie Fite Turner says:
Love it!