Birthday Snipettes – Print Them Off
Posted on under TUTORIALS

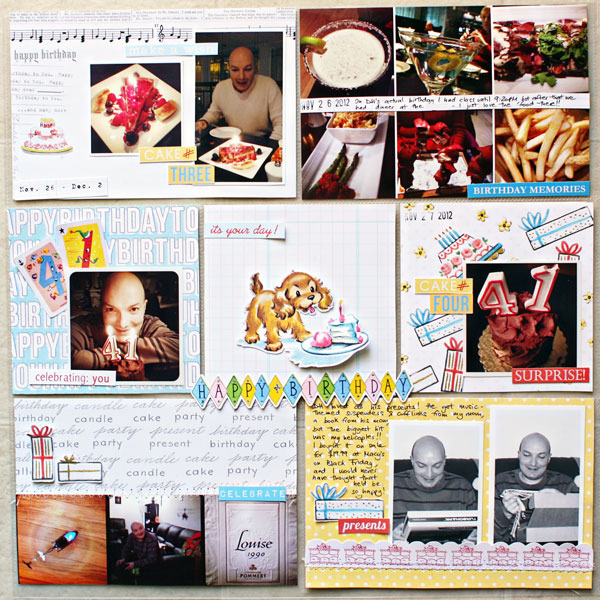
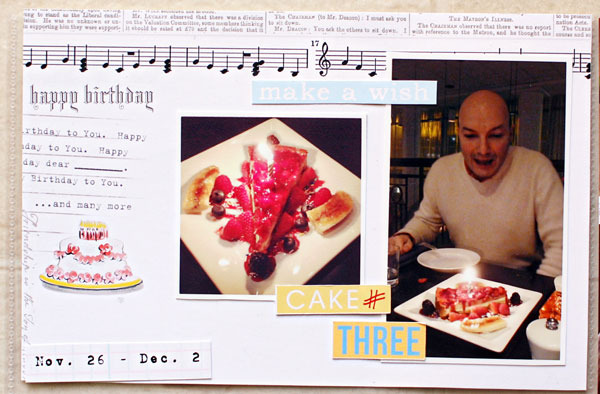
Hi everyone! Cristina here to show you how I used the gorgeous birthday collection to create a page for my Project Life album. In particular, I want to show you how easy it is to print out the Birthday Cake Snipettes and incorporate them in your project – be it a paper LO, a Project Life spread, a mini album, or a card. Here’s a look at how my page turned out.
Print Them Off
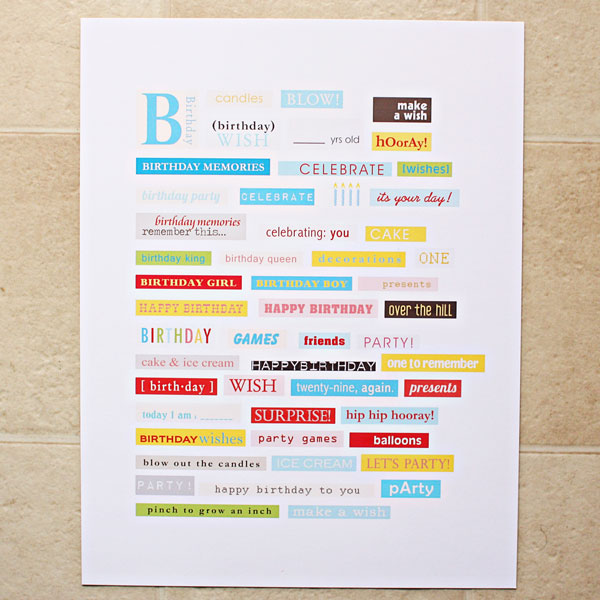
The first step is to print out the snipettes. I used my 5+ year old home printer, and Canon matte photo paper. The colors turn out so vibrant on this paper! Once the snipettes are printed out, take a pair of scissors and cut them all out. This will only take a few minutes.
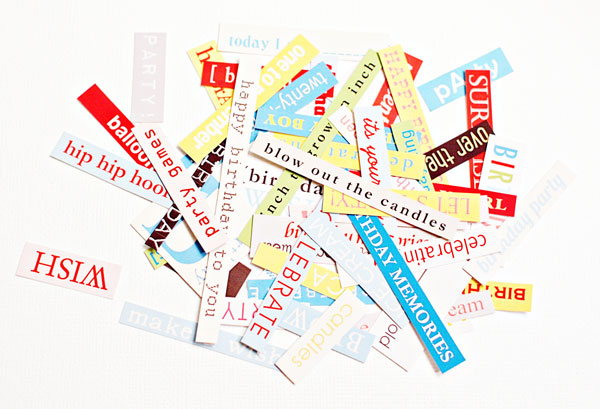
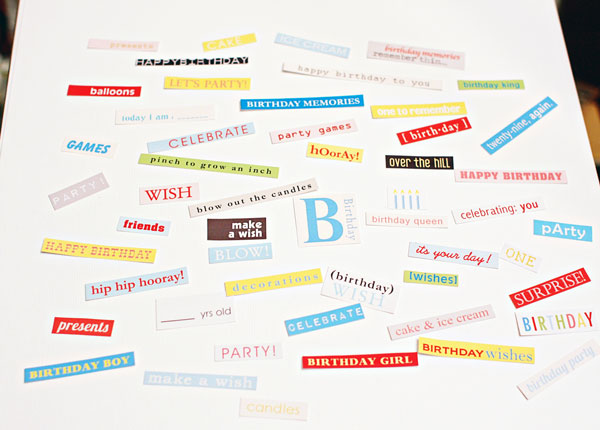
When I was planning my Project Life spread, I knew I would be using several snipettes, but hadn’t decided which ones in particular. I just knew I wanted to print them all out because I will be using them in other projects. So once I had my snipettes cut out, I spread them all out and picked which ones to use. I love how the snipettes help tell a story!
To adhere the snipettes on my project I used a Martha Stewart glue pen, since it has a fine point that is perfect for these little snipettes. Another option would be to print the snipettes on sticker paper, if you have it handy, so that they are ready to use without having to add adhesive.
Here’s a close up look at how I used the snipettes in one of the pockets of my Project Life spread.
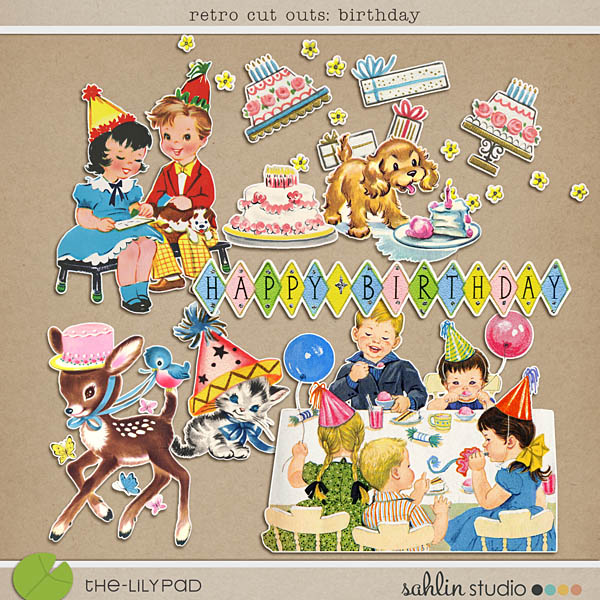
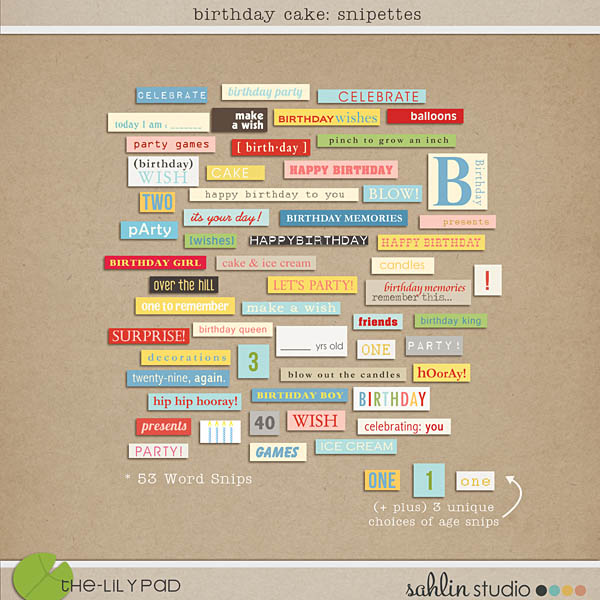
I hope this quick tutorial has inspired you to print out some of the Salhin Studio snipettes and play with them! Here are all the snipettes and word bits that would be fun to print!
Products Used
If you make a project, do share it in the gallery at The Lilypad – I’d love to see what you create!
