Learn How To Easily Change Colors in Photoshop
Posted on under Photoshop Tutorials, TUTORIALS
Have you ever wished your your scrapbooking products were a different color? Let’s talk about how easy it is and find out how I about doing this. I especially love this technique for a couple reasons #1) Sometimes, I simply want to get more use out of a collections. #2) Sometimes, it is because the colors don’t go with my photos #3) Other times, it’s just because I like to play in Photoshop.
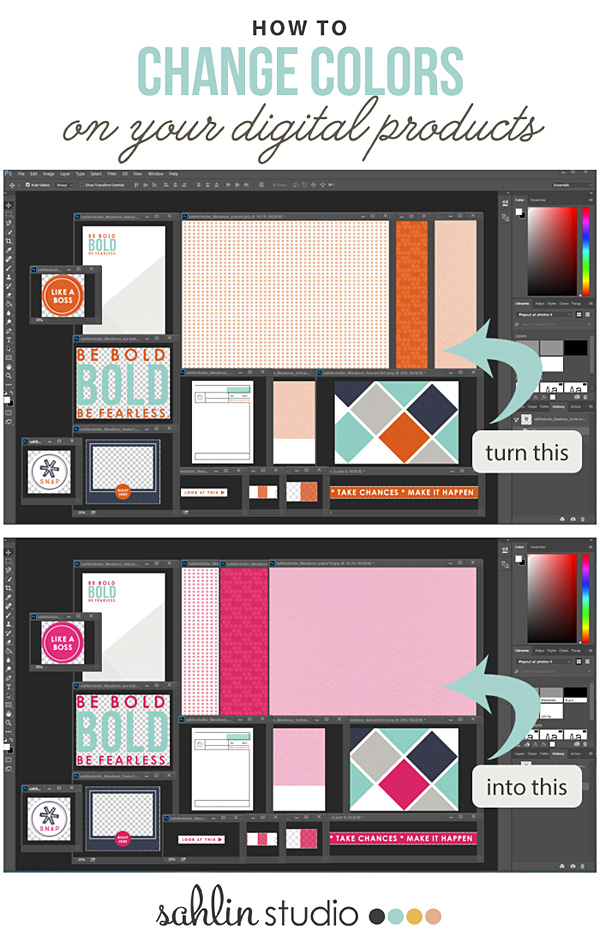
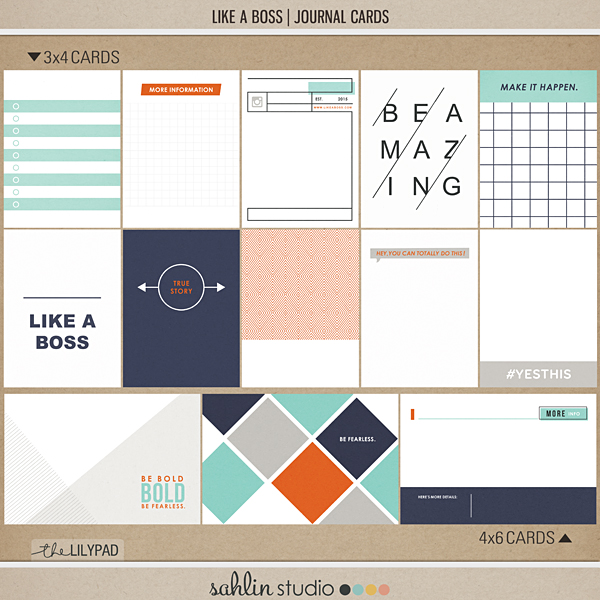
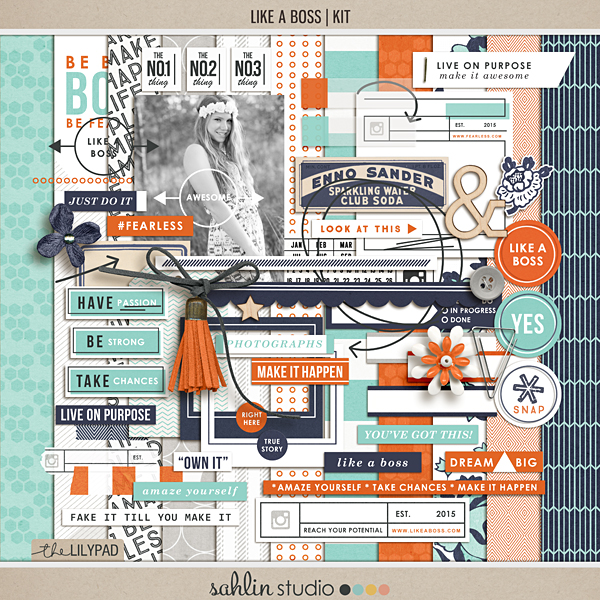
BEFORE AND AFTER
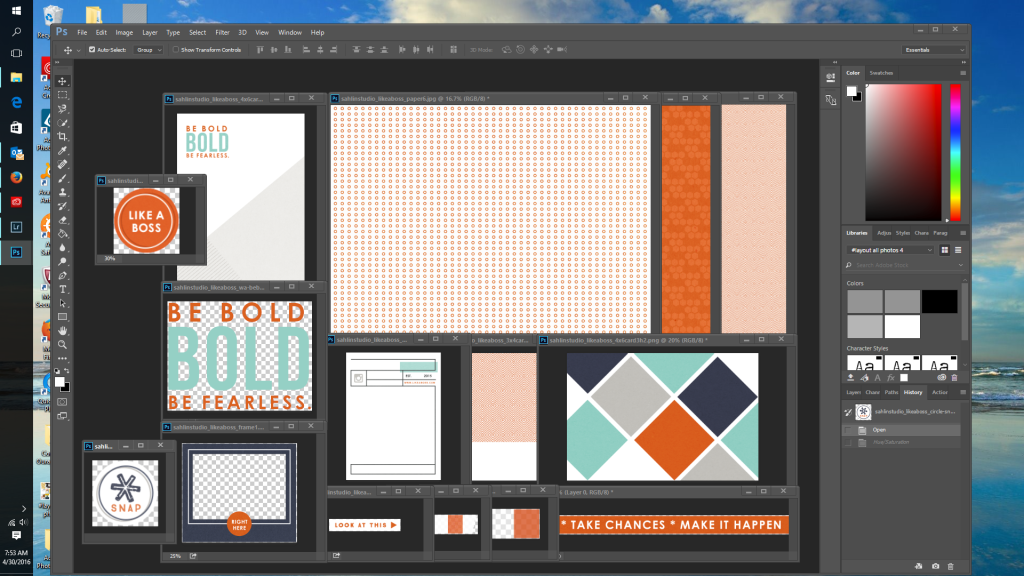
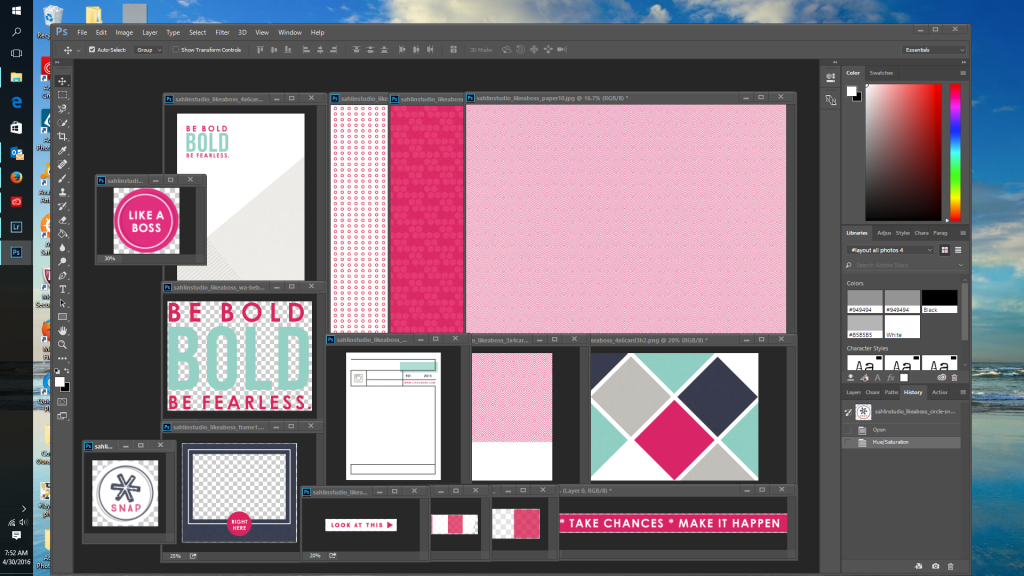
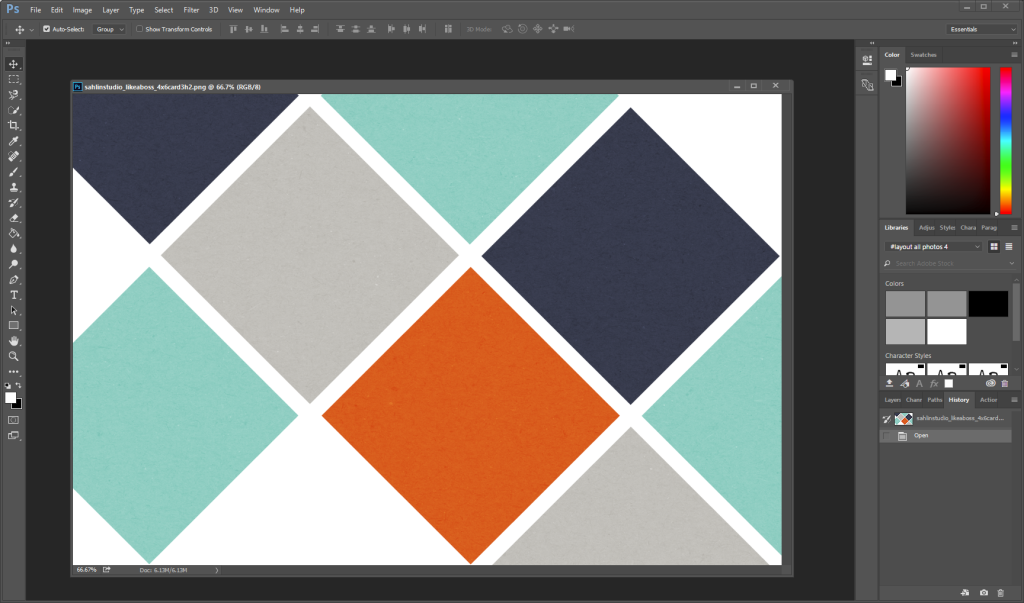
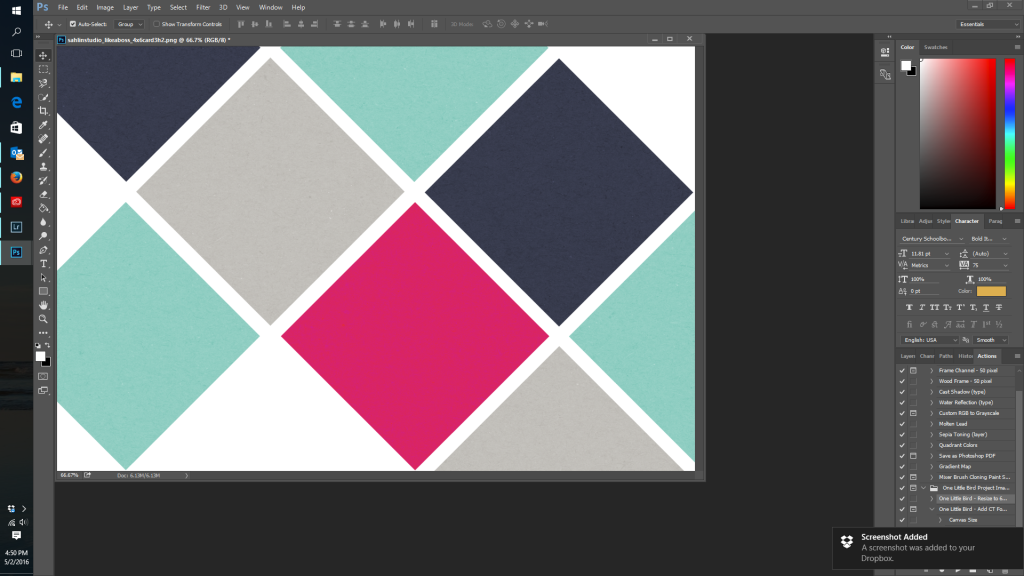
I pulled up a the designs I wanted to use in Photoshop. Here is the before and after screenshots of how they turned out.
And the before photo…
And the after photo…
The only shade that I changed was the reddish orange color to a bright pink color. I love both combinations, but thought that pink would be fun with the photos I wanted to work with. It really is super simple to just change one shade like this. Ready for me to show you how?
How To Change Colors on Your Digital Products
1. Open the file you want to use (do one at a time).
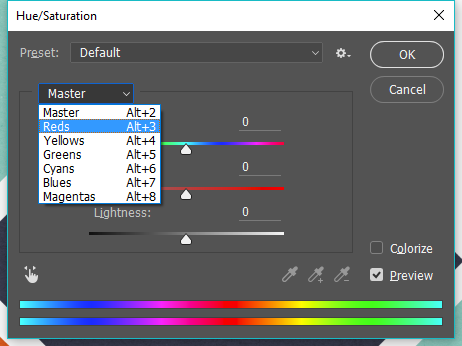
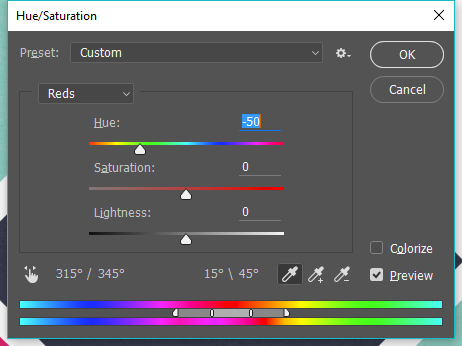
2. Go to the top left side of Photoshop and click on (3rd menu choice) Image – Adjustments – Hue/Saturation. You will get a screen pop up that looks like this…
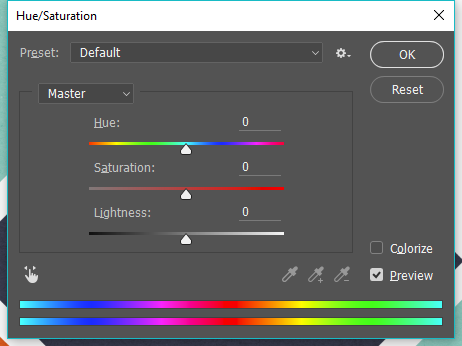
***After you have mastered changing one shade (red, yellow, green and so on), try adjusting the sliders with the “Master” selected. Wait to see how many different color options there are!***
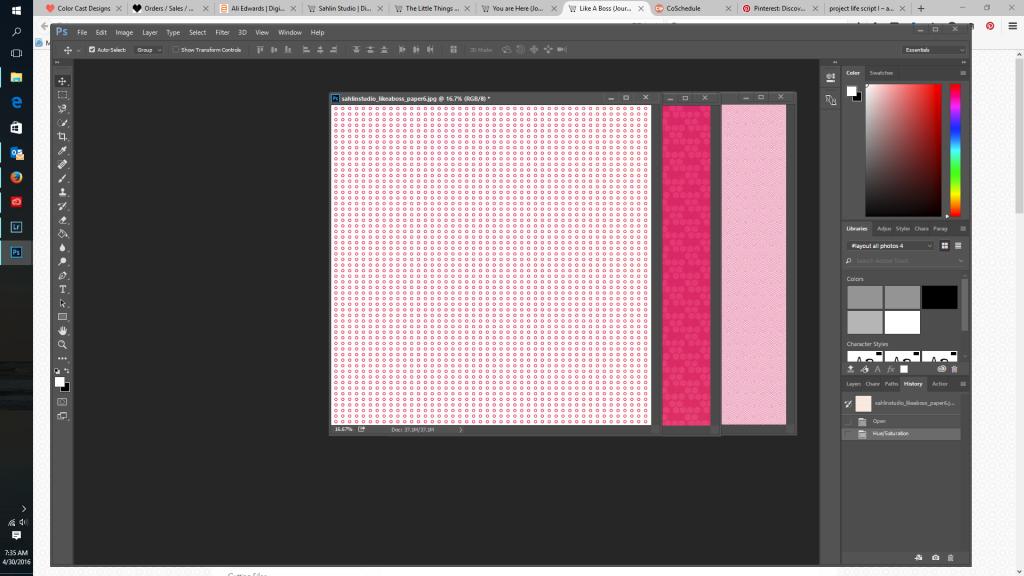
And this is what I ended up with!
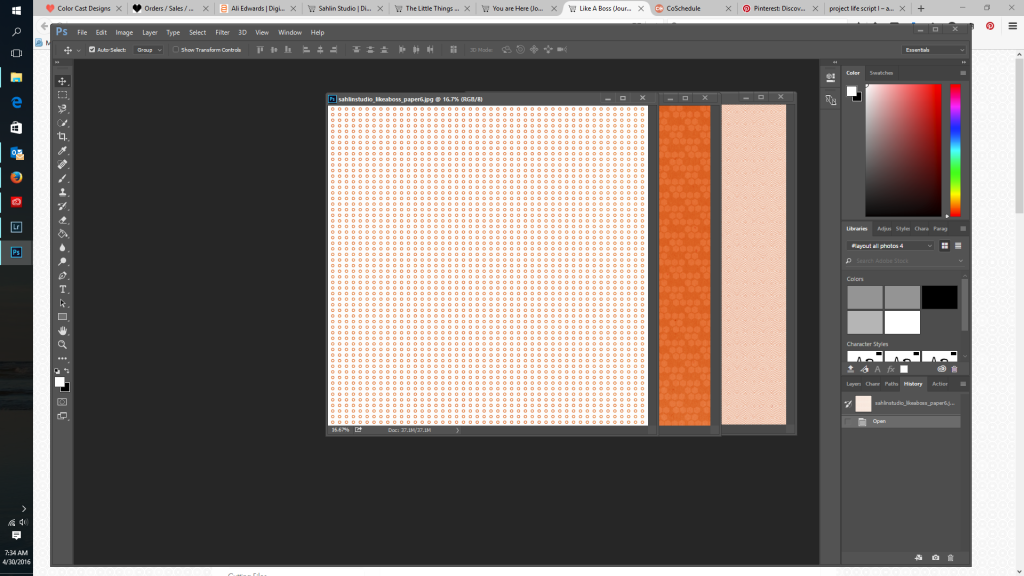
I went from these color of patterned paper…
to these…
So fun, right?!
Let’s See These in Action!!
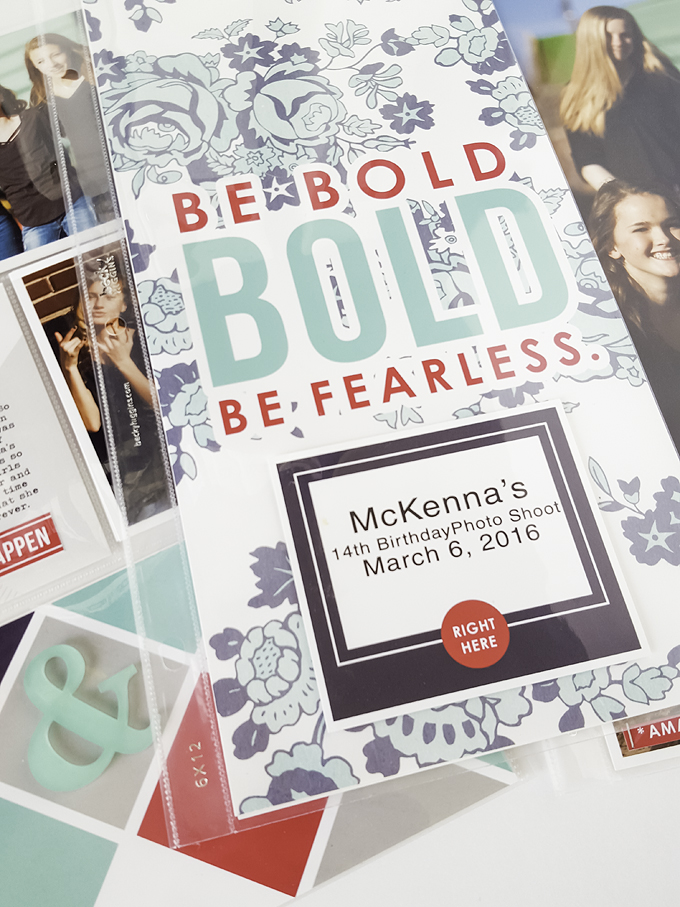
So I kept changing the Hue on all of the products I wanted to use and then made this multi page insert for my album with photos from my daughter’s 14th Birthday party photo shoot.
I hope that you enjoyed my post and learned something new! Please let me know if you have any questions!
I am married to my very best friend, Keith. We reside in Colorado and have 3 kiddos (McKenna 13, Riley 12 and Kiefer 5). I started scrapbooking 13 years ago and now do mostly Project Life, with the occasional layout thrown in my Project Life album. I love crafting and DIY projects and filling my home with these projects. I am passionate about preserving our history in a fun and creative way. I feel so blessed to be contributing to such an awesome hobby.




May 26, 2016 at 10:52 am
Donna Espiritu says:
This is really helpful! Thank you for sharing. And your PL spreads are awesome!
June 6, 2016 at 8:22 am
Jessica Upton says:
Thank you so much Donna!
May 26, 2016 at 12:48 pm
Candice says:
You just changed my world! Thank you so much for the tutorial – keep em coming!
PS – in PSE it is pretty much the same workflow, however I had to click “Enhance” first then “adjust color” and so on….
June 6, 2016 at 8:23 am
Jessica Upton says:
Aww, thank you Candice! I am so glad this was helpful! And that is great to know about PSE!
June 1, 2016 at 7:52 am
Amy M says:
What a darling idea . . . a birthday party “photo shoot” where all the kids are dressed alike! Mind if I steal it? Thanks for the super helpful tip on how to make a kit ‘my own’.
June 6, 2016 at 8:24 am
Jessica Upton says:
Thank you Amy! and yes, please borrow this idea. It was so fun and kept them busy for a long time!
June 4, 2016 at 9:07 am
Donna says:
Thank you so much for sharing this! I will use this all this time. I mix and match Project Mouse elements for my Disney albums and this will make it even easier to coordinate colors. Fantastic!!!
June 6, 2016 at 8:25 am
Jessica Upton says:
Yeah, so glad you found some good tips Donna!!! I love mixing and matching my digital products so much!
June 8, 2016 at 1:12 pm
KAREN says:
So do you make a copy of everything and change only the copy, so you still have your original to use?
karen