Using Text in Your Page Design
Posted on under Hybrid Layouts, INSPIRATION
When you think about it, text is such a large component of scrapbooking! Most of us immediately think, text = journaling and I hate journaling! Well for all you journaling-haters out there, have you ever tried considering incorporating text into the design of your page?
There are so many options out there! I mean, there’s the traditional journaling block which I did include. For me, there’s always a story to tell and I want to be able to look back in years to come and remember some of the details. Some of the other ways you can incorporate text into your layout are pre-designed elements, acrylics, stamping, and a quick sentence within a design.
The one below is my favorite. I saw the coffee stain element and loved all the white space around it. I turned it into a journal card and used the Ellipse tool and Text tool in Photoshop to type along a circular path following the stain. It was a quick one sentence thought that I could tuck into a card without interfering with the overall design. And it’s a fun way to mix up the look of your pages!

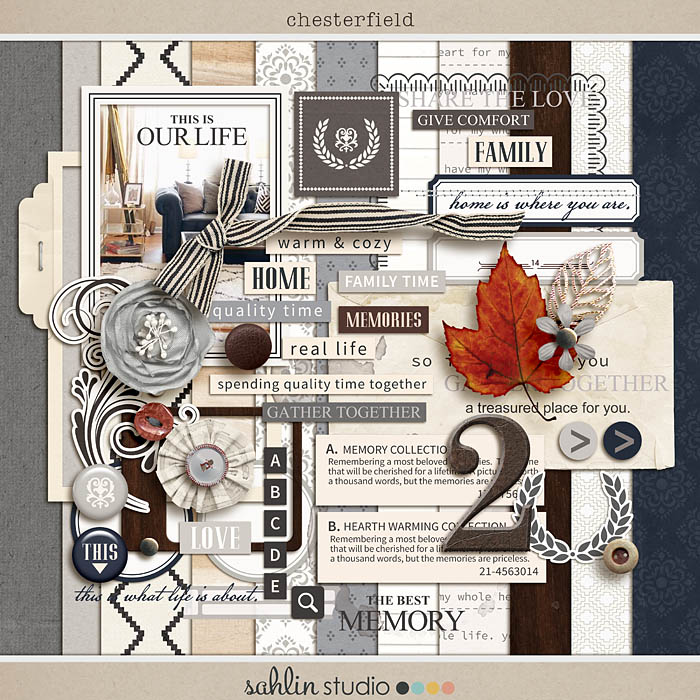
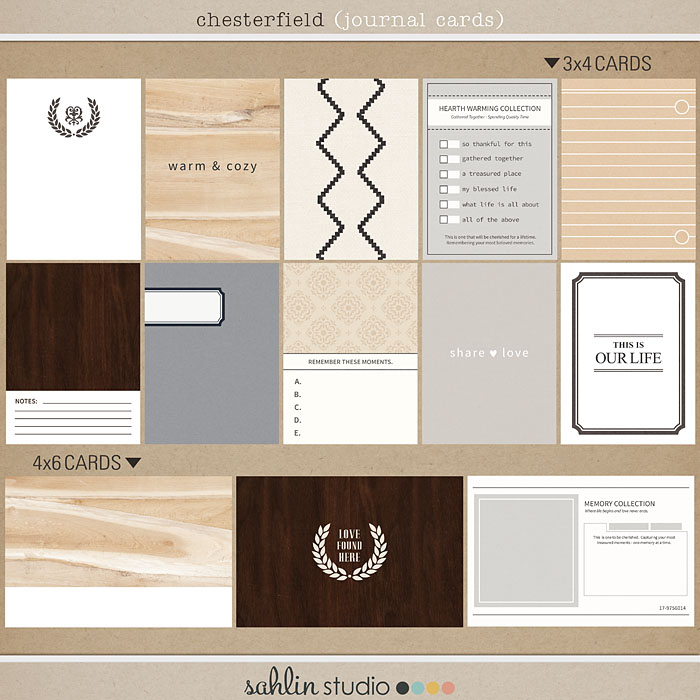
The “This, Real Life” card, from the Chesterfield (Journal Cards) below and elements from the Chesterfield (Kit) to stack on top of each other and create a small text cluster which makes the design of the card! The photo above this card I printed out another element from the Chesterfield Kit to express what I was feeling about this moment. Again, it’s already typed out for you but can capture the feel if you prefer not to journal.
Lastly I printed out a label from the Chesterfield Kit and stamped “Delicious” on it. The “eat” word is an acrylic that I layered above the label. Overall these simple pre-made words create a card design which helps to balance the layout, visually add to it, and remind myself of what I did a lot of on this trip!
Thanks so much for stopping by to take a peek.
I hope this gave you some ideas of how to mix up your next Project Life spread!
Products Used:
I started scrapbooking in 2000 as a result of a family trip to Europe. I create traditional 12×12 layouts and am a sucker for a good sketch. Last year I started Project Life and have been hooked on pocket pages ever since. I grew up in St. Louis, MO, but moved out to Northern California 10 years ago, where I work as a Process Engineer at a bio-pharmaceutical plant. I enjoy baking, cooking, brunching, exploring the coast, and loving on my boyfriend (Derek) and 3 fur kids (Beer, Gracie, and Winston)


January 12, 2016 at 11:01 am
LauraM says:
Hello! Do you have a tutorial on how you created the journaling on the coffee stain card? Thanks!
February 4, 2016 at 4:18 pm
Jen C. says:
Hi Laura,
Sorry just saw your comment! I don’t have a tutorial, but can try and explain it. Click on the Ellipse Tool in Photoshop. In my key, it is right above the hand tool, but may be different for yours. The icon looks like a circle flattened slightly in the middle. After clicking on it, click on your background and drag your mouse to create a circle. Next click on the text tool (capital T icon). When you move your mouse right up near the circle you just drew, a curved line will pop up perpendicular to your arrow. When this happens, click and start typing your text! It will follow the curve of the circle. Hope that helps! Let me know if you have any problems 🙂