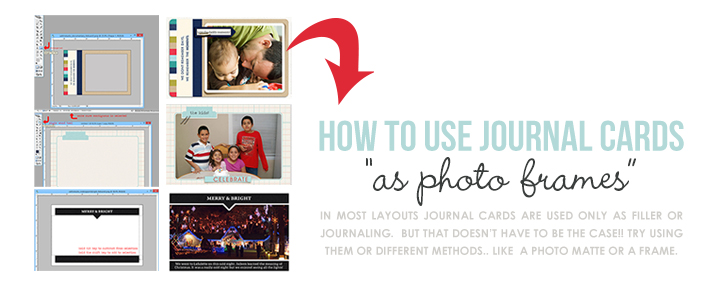
Hello everyone, Maribel here to talk about how I go about using journal cards on my pocket pages. In most layouts or Project Life spreads journal cards are mostly used as a filler or for journaling, but that doesn’t always have to be the case!! I love using as many journal cards on my pages, and in as possible ways. One of my favorite methods is to use them to mat or frame my photos.
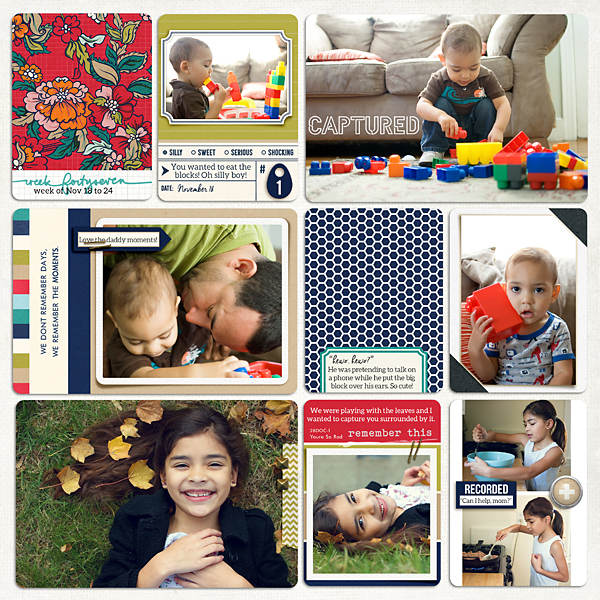
When I start my pages the most important thing is the photos. I always start with roughly placing my photos in the pockets I want them to be in. I like to leave one or two empty spaces for a filler or journal card. I think that this helps me balance out the page.
Using Journal Cards as a Photo Mat:
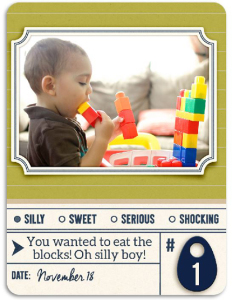
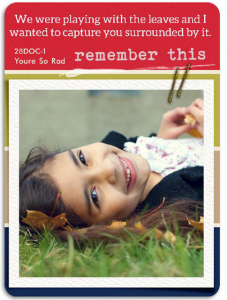
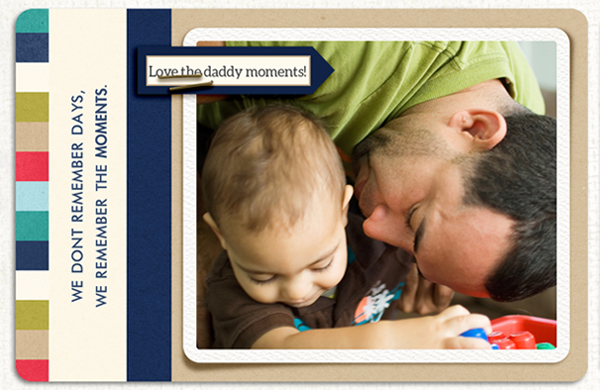
(credits: Documentary (Kit) & (Journal Cards) by Sahlin Studio)These cards (enlarged cards below) shows how you can use a journal card
as a photo mat for your photographs. And, it’s SUPER easy to achieve this.Take a closer look.
 How To Do This? Creating a Photo Mat
Creating a photo matte with journal cards is pretty simple. 1) Open up your journal card in Photoshop 2) Use the rectangle tool to make the shape of the photo 3) Clip the photo to the rectangle “mask” (just like a template) That’s it!!
 How To Do This? Adding a White StrokeOptional: Adding a White Stroke Around the Photo
 – 1) Click the Layer Style Button and select Stoke 2) Change the Color to White 3) Position to either Outside or Inside ( I chose Position Outside which made the outer stroke rounded. If you choose inside it will add the stroke inside the shape and the corners will be straight. 4) Choose the size of the stroke, by moving the size slider until you’re happy with how it looks.
 EASY, YES!??
Check out another example (below)
Using the Shape on the Journal Card as a Frame:
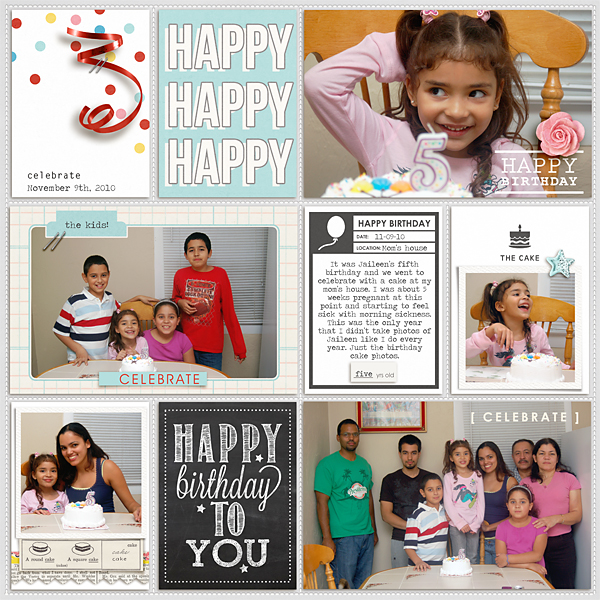
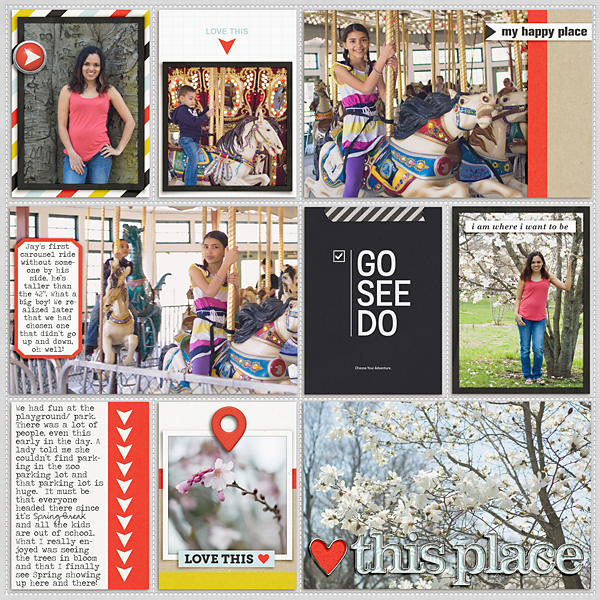
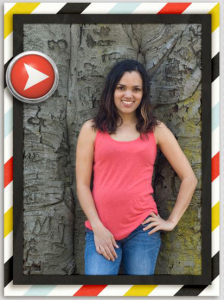
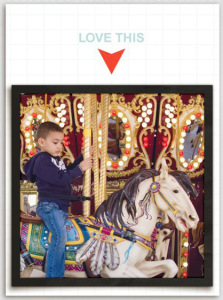
(credits: Birthday Cake (Kit) & (Journal Cards) by Sahlin Studio)Sometimes you will have a journal card with a great shape. Perfect for using as a FRAME!! That’s what happened here. One of these cards has a great empty space in the card where I wanted to place my photo. So the photo took on the shape of the journaling space.
Here’ is the card in which I did this technique.
 How To Do This? Creating a Selection of Empty Shape
To do a selection of the space on the card for your “shape”… Use the magic wand to select the white space. Since this journal card has a good solid color, it will be easy to select. (Just make sure contiguous is checked so it won’t select all of the beige)

After your “shape” is selected, you will want a little bit of space between the photo and the blue line. To do this > Click Select >> Modify >> and Contract and contracted the selection by 10.

Click on “Solid Color” to create your Photo Mask. Then clip your photo to it. DONE!!
 Want to see another example of using journal card shapes?
(credits: Making Spirits Bright (Kit) & (Journal Cards) by Sahlin Studio)In this layout, I wanted to put a photo right in between the black portions of this fun card.
 How To Do This? Creating a Selection of Empty Shape
This photo was a little bit more complicated than the previous one, but still using some of the similar techniques. 1) Use the magic wand to select all the white 2) Do the Select >> Modify >> Contract >> 10 as previous example. ** 3) After this, use the rectangular marquee tool to “deselect” the parts of the selection you don’t want. Be sure you press the ALT key while deselecting. 4) Select “Solid Color” fill layer and clip your photo to it.
 One last example showing both techniques: Using Journal Cards as Photo Mats & Journal Card Shapes as Frames
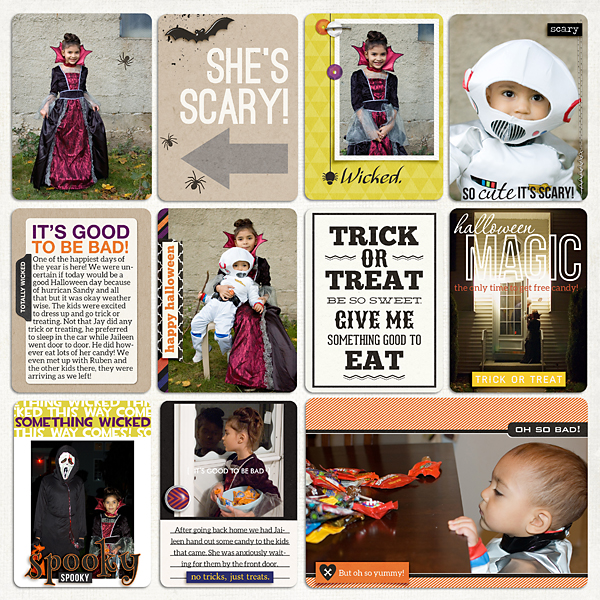
This is just a peek inside what I do to use the journal cards to the max. I am always finding ways to add photos, embellishments and also a bit of journaling together in one pocket! I hope i have inspired you to try using more journal cards on your pocket pages.
Save
Save


November 12, 2015 at 12:54 am
CraftCrave | DigiFree | CraftCrave says:
[…] How to Use Journal Cards to Frame Photos – 1 freebie(s)? […]
November 13, 2015 at 11:19 am
Anna says:
I was looking for something like this! I have a wonderful aunt who would love this sort of album no end and pore over it regularly 🙂 Thanks so much for the inspiration!
November 13, 2015 at 2:27 pm
Krista says:
So glad you enjoyed the article! Albums are always so wonderful to pore over!!
November 13, 2015 at 2:23 pm
Kellie Salmon says:
Love this Tut! Shared it on FB and now I am off to give it a whirl. Thanks for the ideas!
November 13, 2015 at 2:26 pm
Krista says:
So glad you liked it!! Thanks for the share!!
November 21, 2015 at 2:17 pm
Mary Wilde says:
What great ideas! Definitely gets me looking at journal cards in a whole new light!