How to Add More Stories to Your Photos
Posted on under Hybrid Projects, Project Life
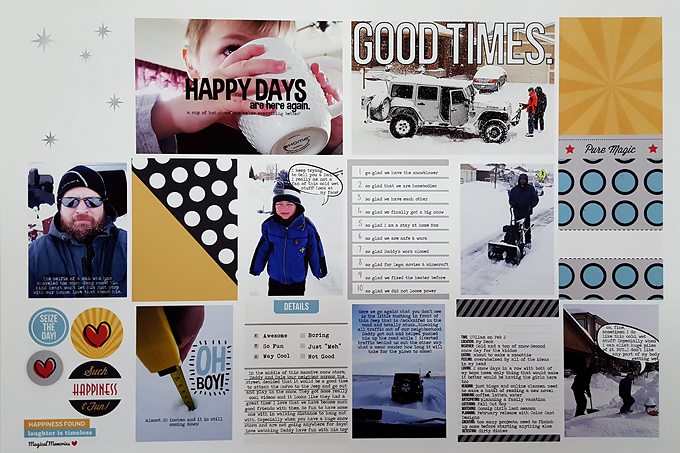
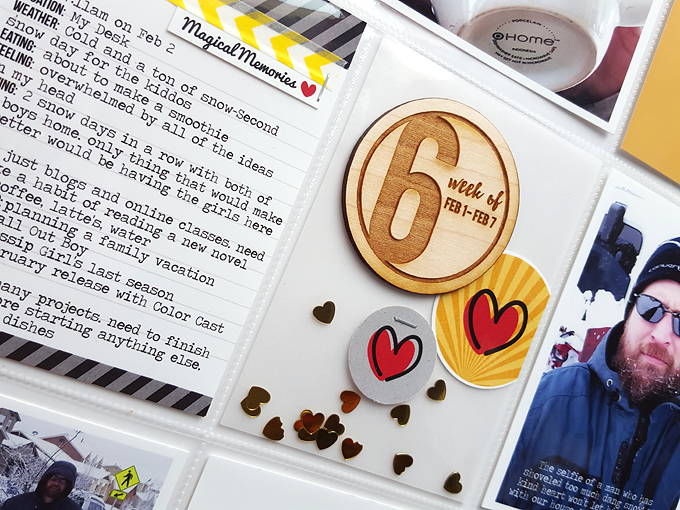
Jessica Upton here to share my Week 6 of my project life album. Today, I am going to focus on a few tips to help you tell more of your stories. One of the main reasons we document is to tell stories… Stories of what happened in the week, stories of what “he said”, stories of the everyday in our lives. There are a number of ways we can tell stories our on scrapbook pages or Project Life spreads. We put in the action photos to give a snapshot of the moment, we use embellishments to draw the eye around the page or to focus on something and we use words to tell the details of what happened. Most of the time we use journal cards or the canvas area to display our journaling. But today, I am going to show you how to add more of the story, right to your photos!!
Using Your Photos for Storytelling:
There are many ways you can add stories to your photos. Try these:
1) Type directly on your photos
2) Add Digital Word Art on Your Photos (Before Printing)
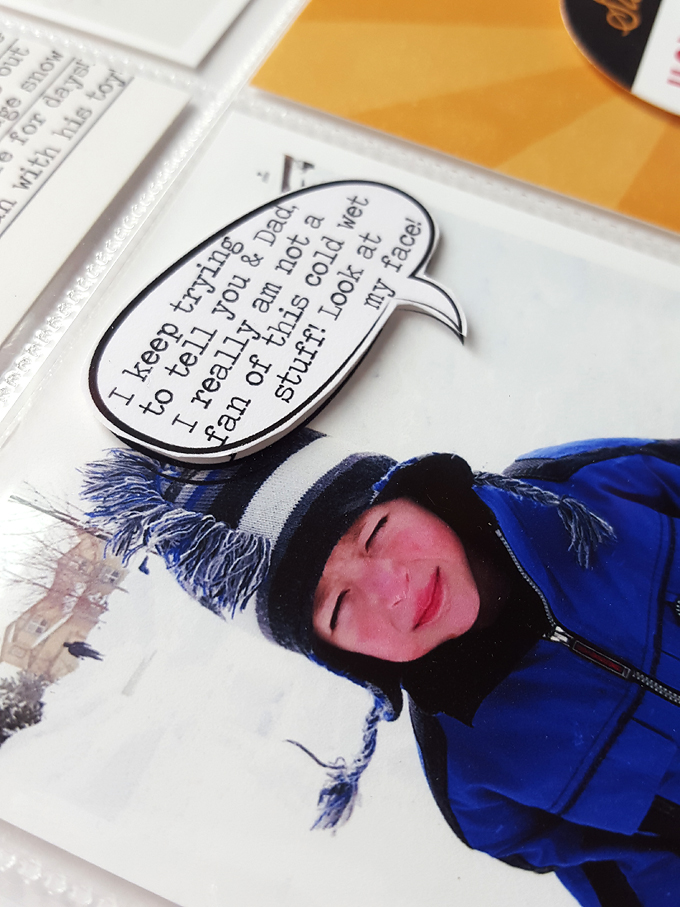
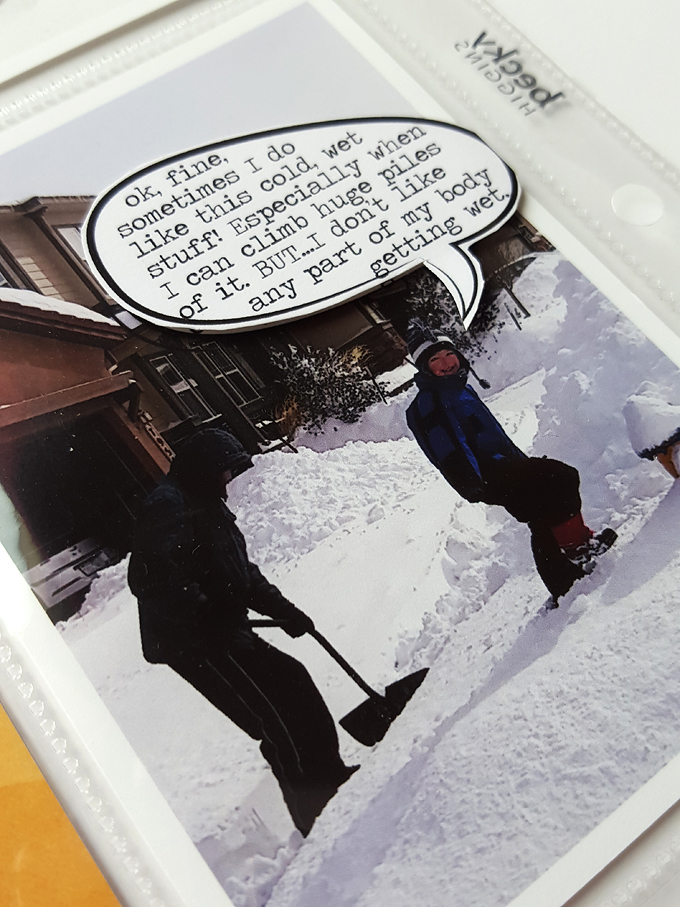
3) Use an Embellishment to Write On (i.e. a label, sticker, speech bubble)
My Process:
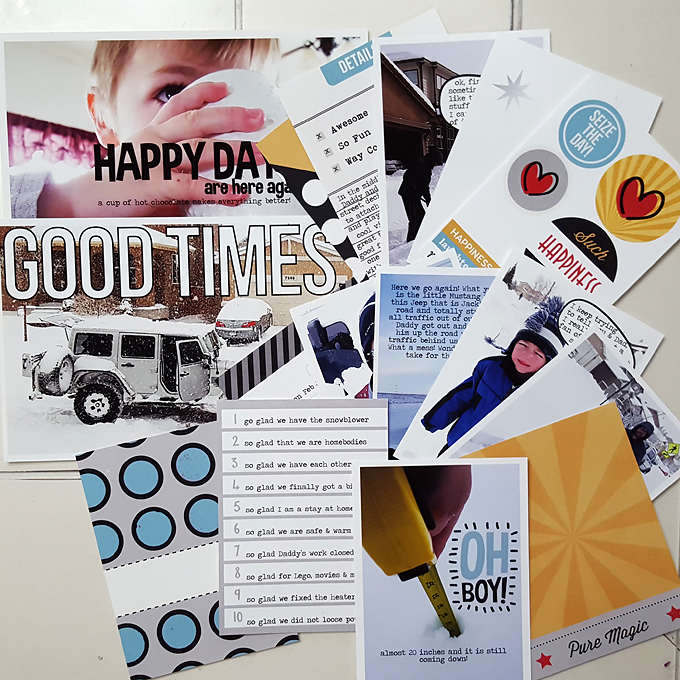
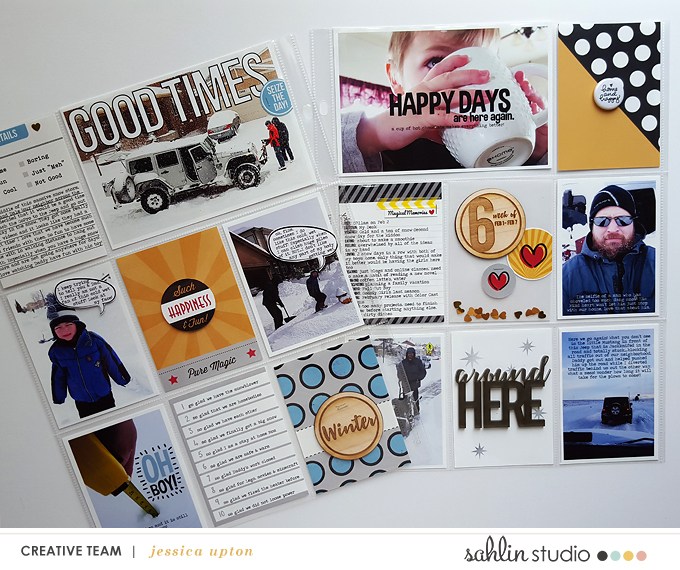
First, lets take a look at my process. I do alot of the storytelling BEFORE I print!! I start every spread by opening a 13×19 document in Photoshop… I use this to add all of my photos, journal cards and embellishments. Then I add the digital word art to my photos, I add my verbiage directly onto my photos and journal cards, and lastly I add my embellishments to be printed. Then I use my Epson Stylus Photo R2880 printer to print off the whole sheet. This is what my spread looks like straight off of the printer (below).
Take a look at what the cards look like all cut up and ready to be embellished. I just love this pile of happiness!
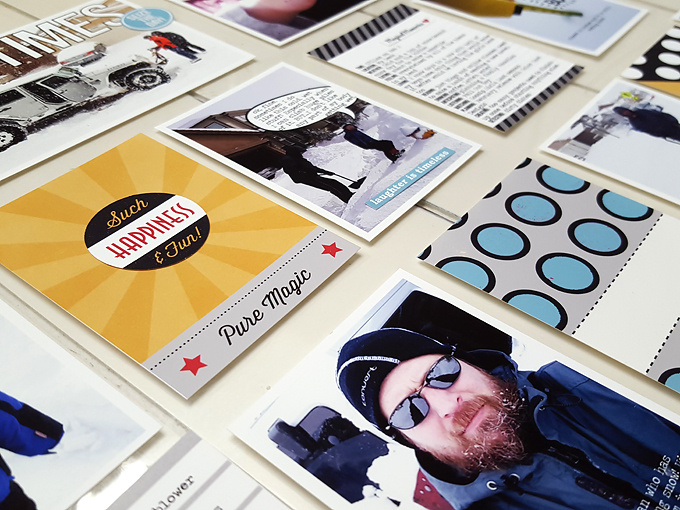
Let’s take a look at some of the details:
1) Type directly on your photos (and journaling cards)
2) Add Digital Word Art on Your Photo (Before Printing)
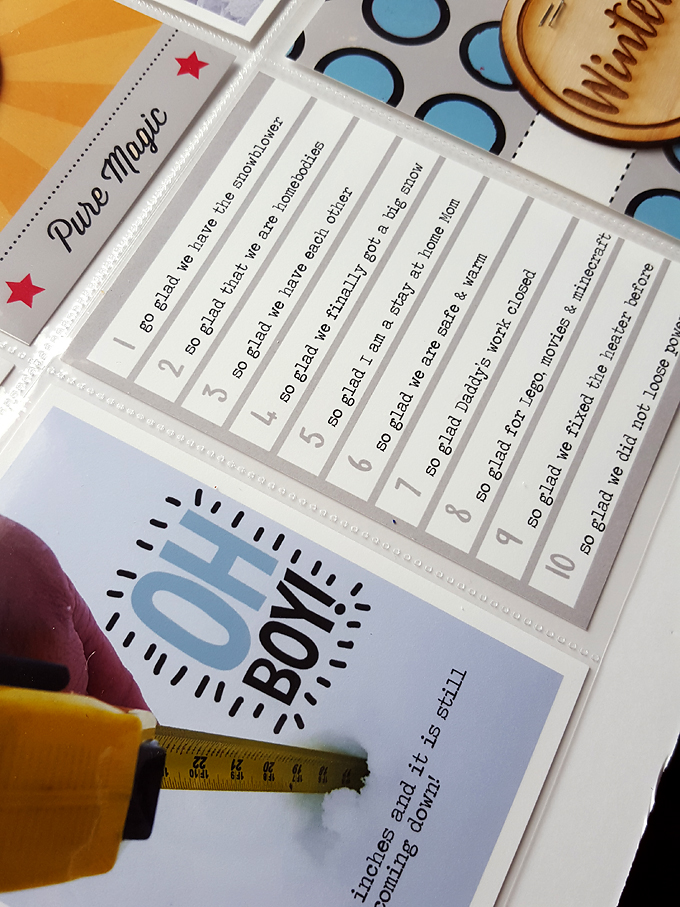
I love using digital stamps on my photos and journal cards. Here I used the “oh boy” word art for sharing how deep the snow got with this storm. It adds so much, don’t you think?
3) Use an Embellishment to Write On (i.e. a label, sticker, speech bubble)
I loved using the speech bubbles for sharing the story about my son in the snow.
Here’s a Look at the Finished Pages!
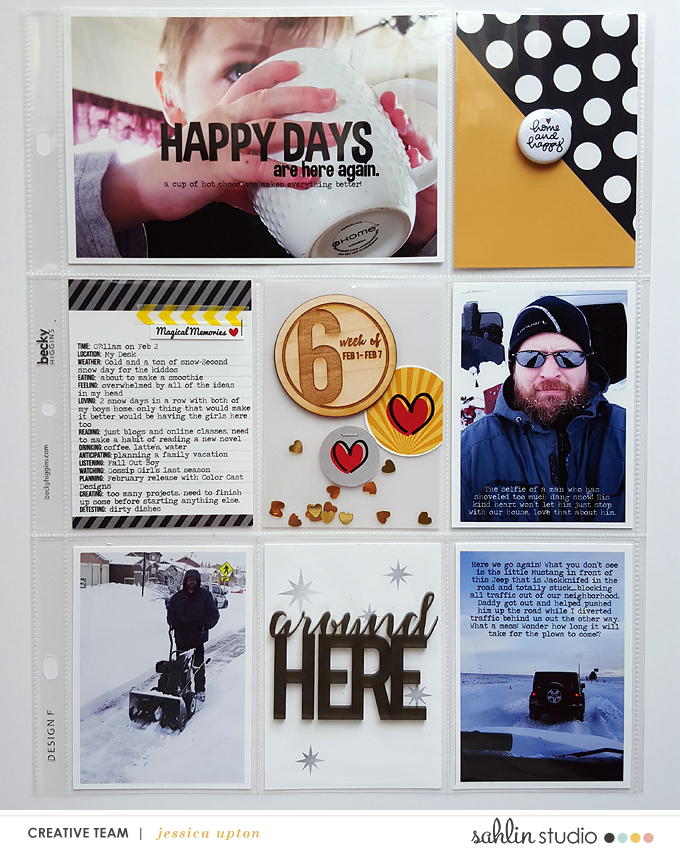
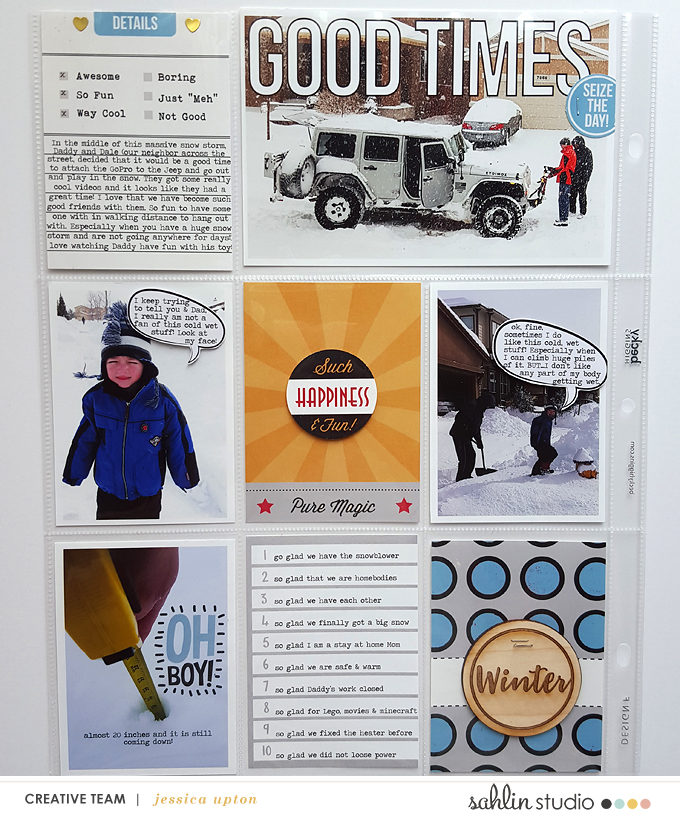
Product Credits:
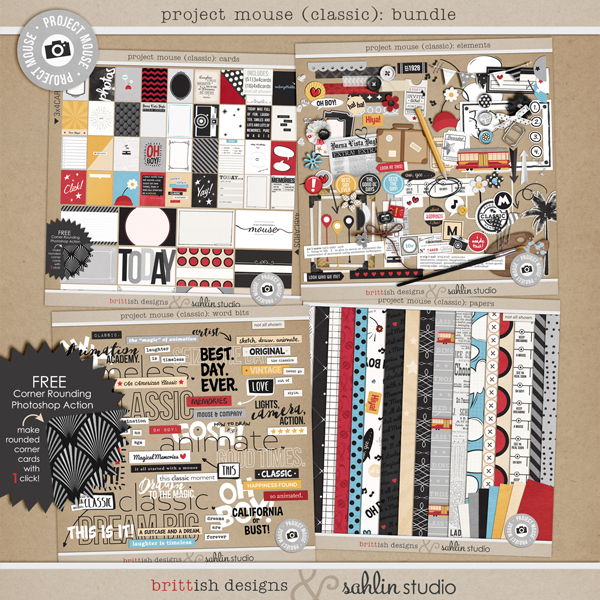
Sahlin Studio: Project Mouse (Classic);
Other products used: Color Cast Designs – wood veneers
I hope that you enjoyed my tips and tricks! Thank you for stopping by.
I am married to my very best friend, Keith. We reside in Colorado and have 3 kiddos (McKenna 13, Riley 12 and Kiefer 5). I started scrapbooking 13 years ago and now do mostly Project Life, with the occasional layout thrown in my Project Life album. I love crafting and DIY projects and filling my home with these projects. I am passionate about preserving our history in a fun and creative way. I feel so blessed to be contributing to such an awesome hobby.

December 22, 2016 at 6:25 am
CraftCrave | DigiFree | CraftCrave says:
[…] How to Add More Stories to Your Photos – 1 freebie(s)? […]
January 6, 2017 at 7:41 pm
Blurooferika says:
Love your layout, Jessica. It really brings out the personality of your kids. I love to use word art, etc on my PL layouts, too, but I’m too impatient to print out my photos and do it hybrid, though. I just use my phone to scrap it with the Project Life app and then add in the wonderful digi supplies via Dropbox and the Over app. Happy scrapping!