An Easy Way to Use Your Stash of Journal Cards
Posted on under Hybrid Projects
We ALL have them, that ever growing stash of Journal or Pocket Cards!! They are so useful for our Project Life albums, pocket scrapbook or digital scrapbook layouts. But today I am going to show you ANOTHER super easy way for you to use some of those journal cards. How?? Creating GREETING CARDS!! Yup, I’m going to show you how to create a few greeting cards.
I looooove making cards, and I especially love giving those cards out. There is always a reason to give a card to someone whether it’s a the traditional “Happy Birthday”, “Happy Anniversary”, “Welcome Baby” or other more sentimental reasons like encouraging someone when they are going through a rough time or just to say “I love you!” We have turned into such a “digital” generation. Not that all digital is bad, obviously, I’m not sure I could do without digital scrapbooking and hybrid crafting. BUT……taking time to send a card to someone instead of Facebooking them or sending them an email is such a more meaningful way to communicate. So with all that said, let’s get started.
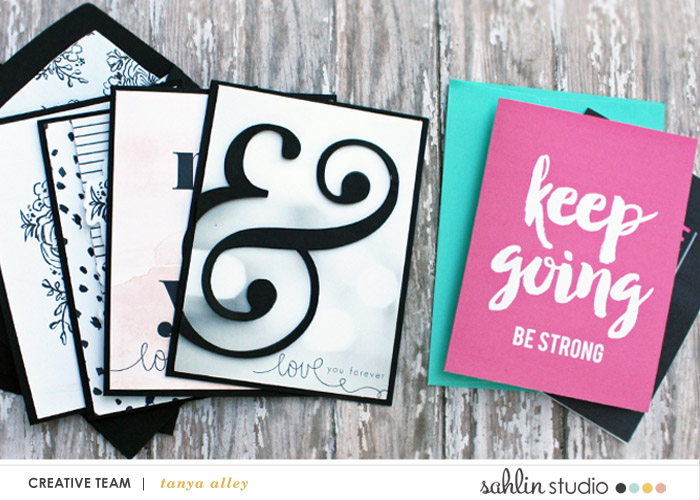
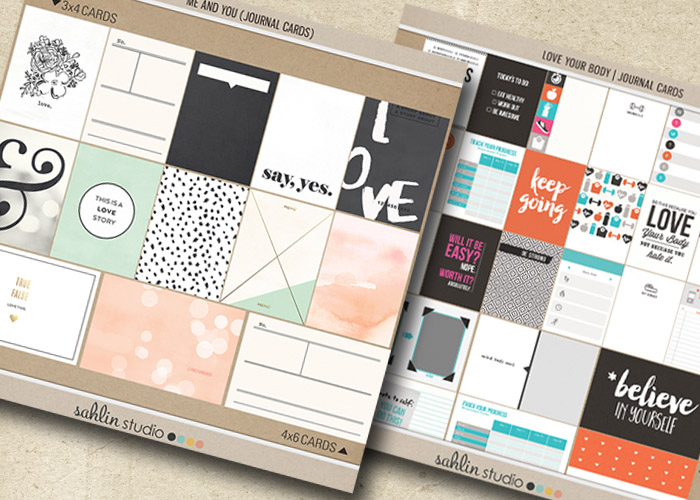
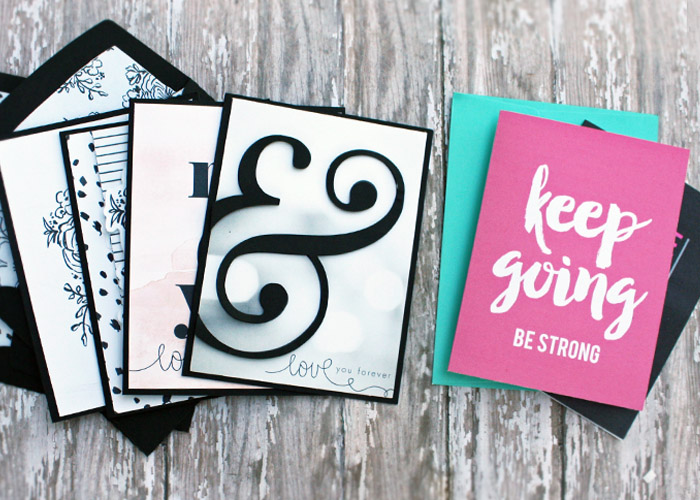
I used the following sets of journal cards, Me and You and Love Your Body to create these cards.
Using Journal Cards to Create Greeting Cards
There are a few ways to create your cards, I’ll be showing you a couple of those. The first way I will show you is to have several fronts printed and ready to add to card bases. Another way I will show you is to add two cards to a page, send to printer and cut with your paper trimmer.
Greeting Card – Style #1
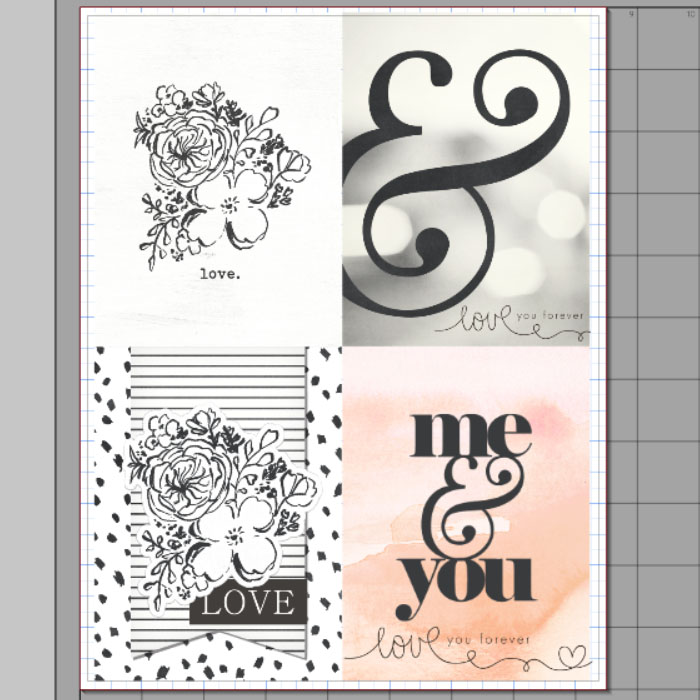
To start off I found Four journal cards from Me and You that I thought would make pretty cards to say “I LOVE YOU”. I used the Silhouette Studio Designer Edition program to put Four cards to a page. You can simply use Microsoft Word or any photo editing program to do this. I do a lot of print and cuts on my Silhouette Cameo and have started using it almost exclusively, even for the simpler things. I open the Four cards side by side and then clicked on all of them and drug it out to the size of 8 1/2 x 11.
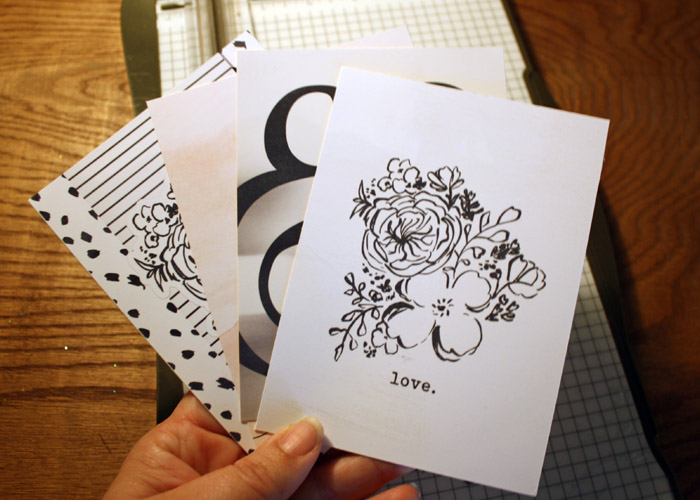
Next, send them to print and then cut with your paper trimmer or a pair of scissors.
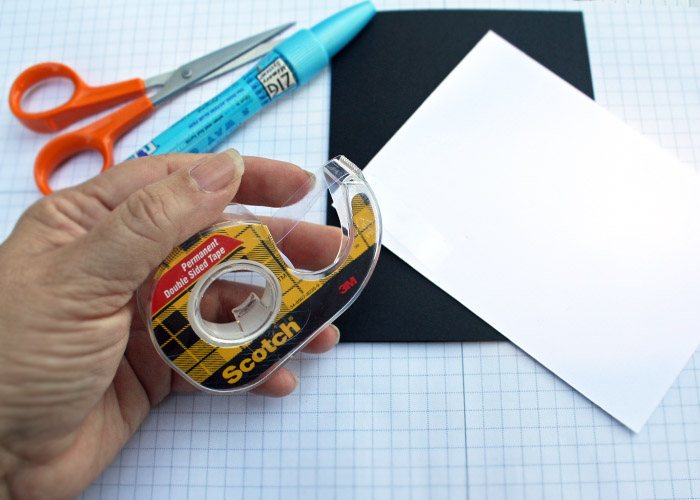
Now you take colored cardstock and create your card base. Cut the 8 1/2 x 11 card into half and then score those halves at the center. Adhere your journal card to the base with double sided tape or the adhesive of your choice. I’ve been using double side tape because I got a great deal at the after Christmas sale.
Greeting Card – Style #2
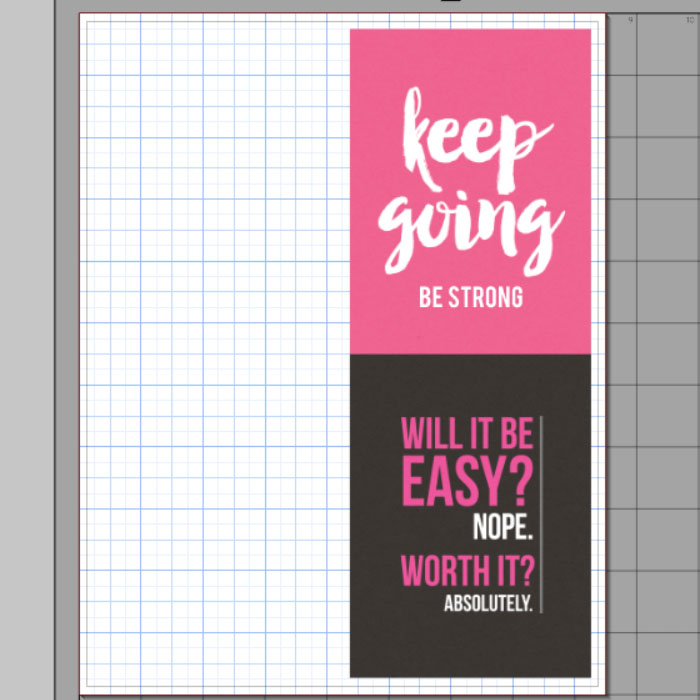
To make my next cards, I took two of the journal cards from Love Your Body and positioned them to the right of my mat so that I would get two cards per print. I made these cards to give to a friend that needed a little encouragement. I think she will like them.
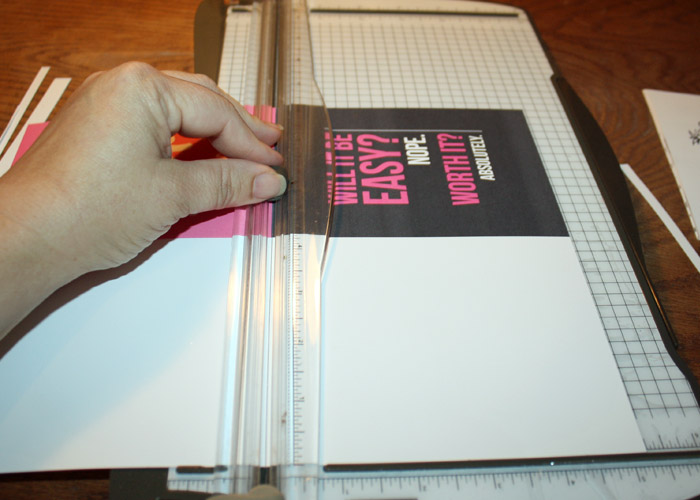
Now send to print and cut with your paper trimmer where the cards meet.
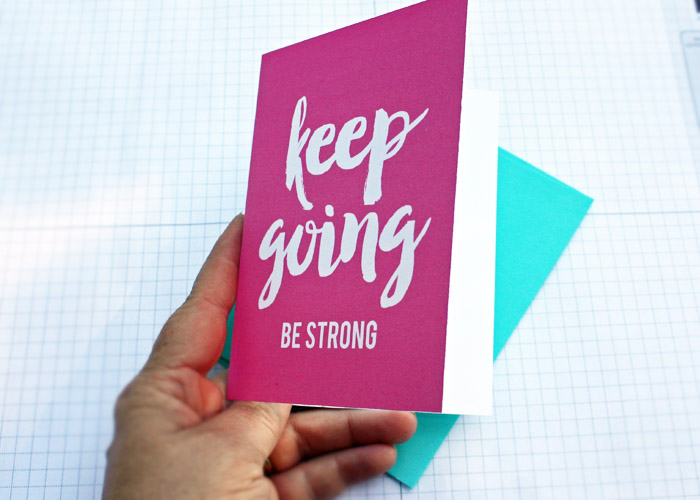
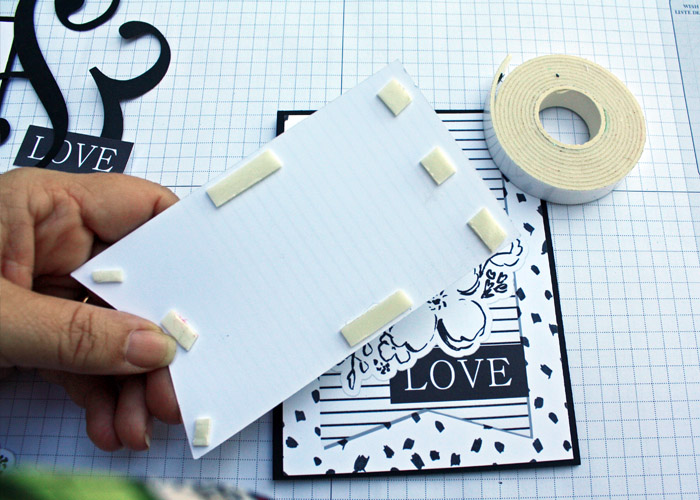
Most trimmers have a scoring blade. If you are not using a paper trimmer, you can simply use an old gift card or credit card to get a crisp fold line. For this card you can stop here and that would be just fine…..OR…..you can back it with a colored piece of cardstock for some dimension.
Adding Dimension and Embellishments to Your Cards
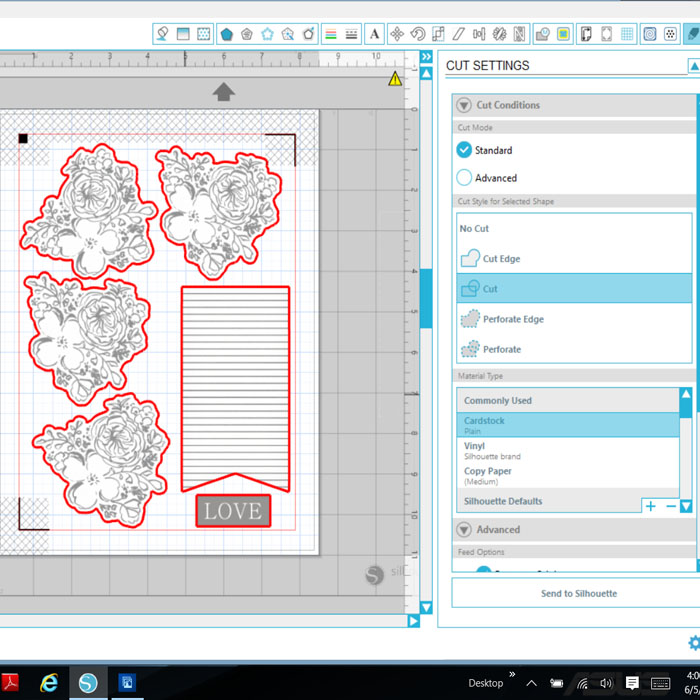
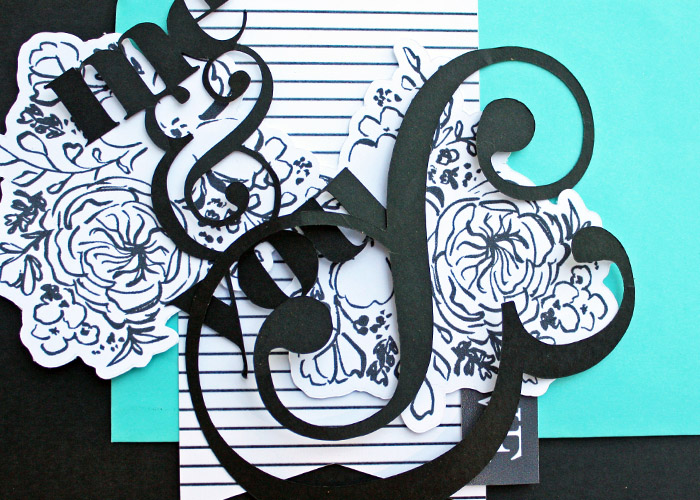
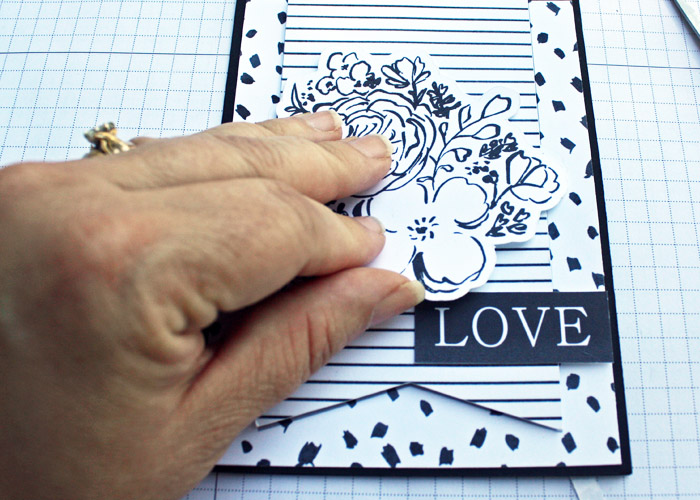
Another thing that I like to do is give my cards dimension by cutting out extra pieces and layering them on top. To do this I did a print and cut in SSDE with the embellishments from the kit You and Me.
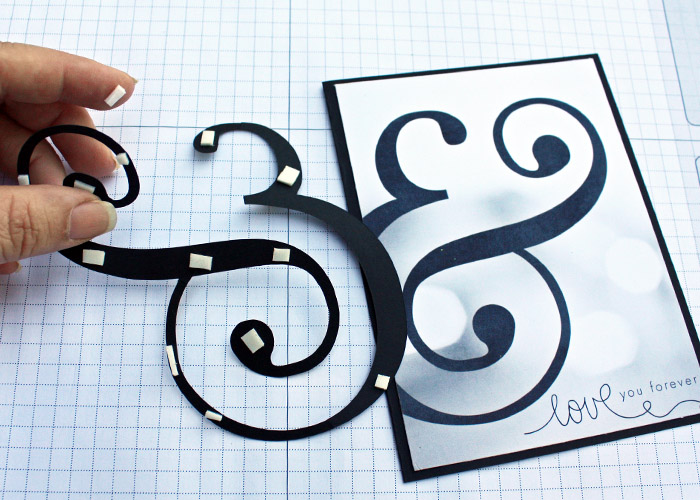
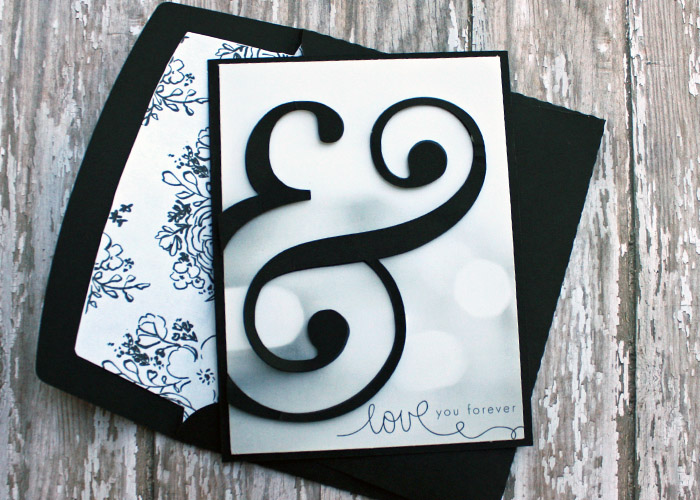
I also cut some elements from the same kit in black cardstock for some of my cards.
After sending them through my Cameo, I adhered them with double sided tape.
I continued to do this until I got the desired look I was wanting. These extra steps are not necessary, but I tend to do it because I like the final result.
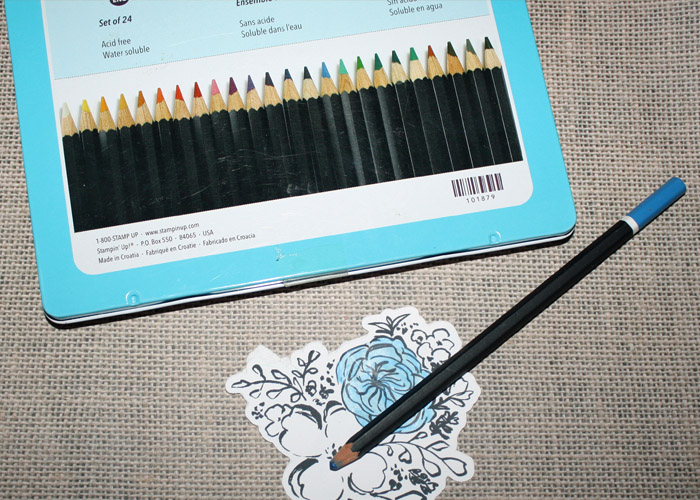
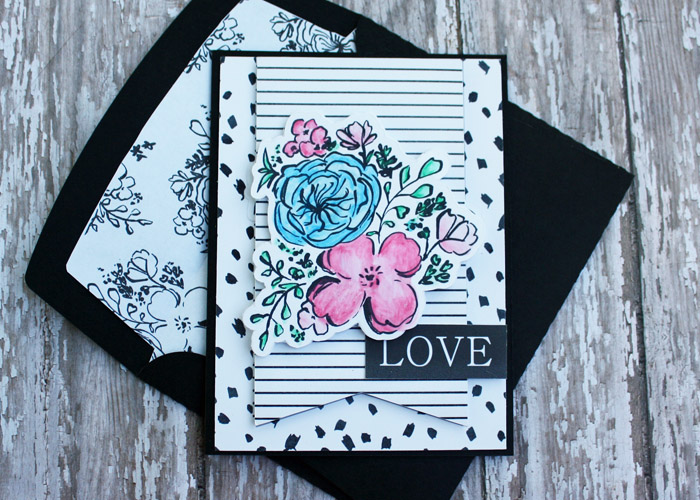
I went a step further and used my watercolor pencils to add some color to my card.
Just adding a little color goes a long way. I know exactly who I’m going to give this card to.
I love the look of this card. It’s so soft and elegant looking. I think this could be a pretty wedding card.
I have had so much fun creating these cards and can’t wait to find more time to create more to add to my stash of cards.
I hope that you have enjoyed this tutorial. I would love to see what your create with your stash of journal cards. Hybrid crafting is my passion and if you ever thought you would like to give it a try, this is an easy project to get you on your way to the wonderful world of hybrid crafting.
Hugs, Tanya
Tanya has been hybrid crafting for about 10 years. She discovered digital scrapbooking when her children were young and had no space for crafting. With some online surfing she came across digital scrapbooking and later hybrid crafting. She loves creating and sharing those creations with you. Tanya’s all time favorite tool in her craft room is her Silhouette Cameo. Silhouette combined with digital kits makes for some really great projects.


July 13, 2016 at 11:27 am
blurooferika says:
Such lovely cards, Tanya. I love using my dig supplies to make cards, too, especially knowing you can make multiples of your favorite designs. Thanks for sharing!
September 7, 2016 at 8:06 pm
Tanya says:
So glad you like them! That sure is a plus with using digi 🙂
August 16, 2016 at 10:38 am
Su Hall says:
Cool ideas!
Just a heads up, though. The links in the newsletter do not come here. They only go to an image for this post. Thought I’d let you know.
Then, I’m gonna go try to play around with the ideas you gave us!
Thank you!
Su
August 17, 2016 at 10:08 am
Krista says:
Oops, Sorry!! Human error on that one. Glad you found it. 🙂
September 7, 2016 at 8:08 pm
Tanya says:
Thanks…looks like Krista fixed it. Have fun, love to see your creations.