Creating Foiled Framed Art
Posted on under Hybrid Projects
Hello everyone!! It’s Tanya, hybrid gal for Sahlin Studio. Are you ready for Thanksgiving? It’s all happening way too fast for me but it seems like no matter what, I’m always behind. I’m working on that. Thanksgiving is a time to gather with friends and family, share good food and memories, to be grateful for those friends and family and so much more. We have so much to be thankful for. Sometimes we get caught up in the hustle and bustle of the holidays that we forget what it’s all about. I am so thankful for my family and can’t wait to see my boys during the holidays. What are you thankful for?
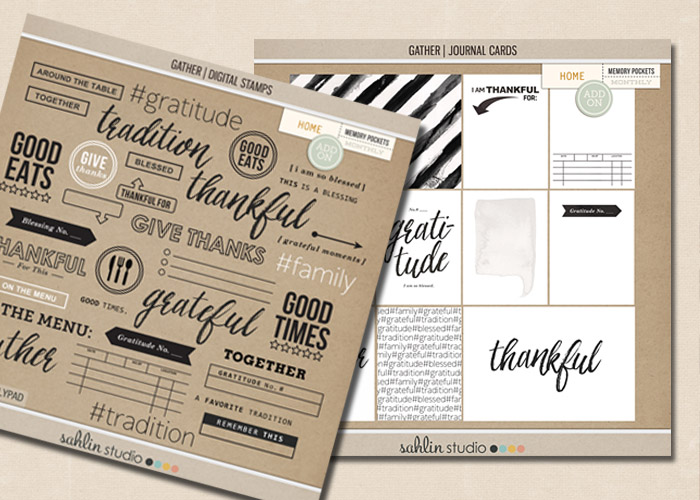
To help celebrate Thanksgiving, I decided to create some new decorations. When I saw the new Gather (Journal Cards) and Gather (Digital Stamps), I new what I was going to do.
I’m sure you have heard of the Minc Foil Machine by Heidi Swapp. I love the ideal of the foil, but not of the price of the machine. I already had a laminator machine (Fellowes brand), which essentially is what the Minc machine is. I really wanted the machine, but thought I would give my laminator a try first. I was so happy when it worked. You also have to have (for this project) both an ink jet and a laser jet printer. The foil will NOT stick to ink jet.
I used Silhouette Studio Designer Edition v3 to create this project, but you can do it in any photo editing program. I also used the Gather Journal Cards and the Gather Digital Stamps.
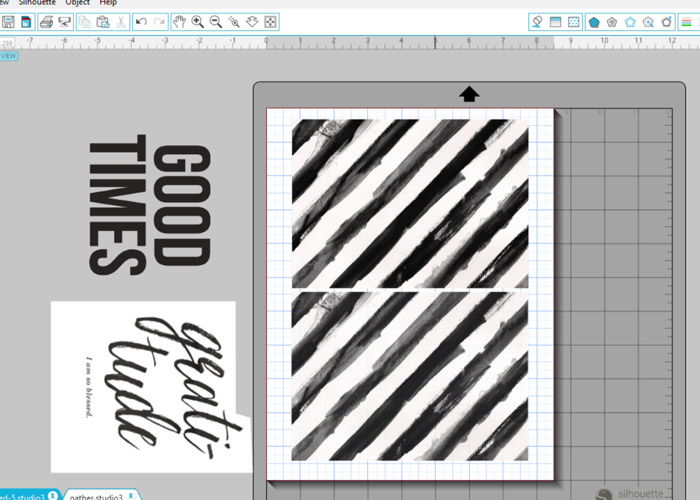
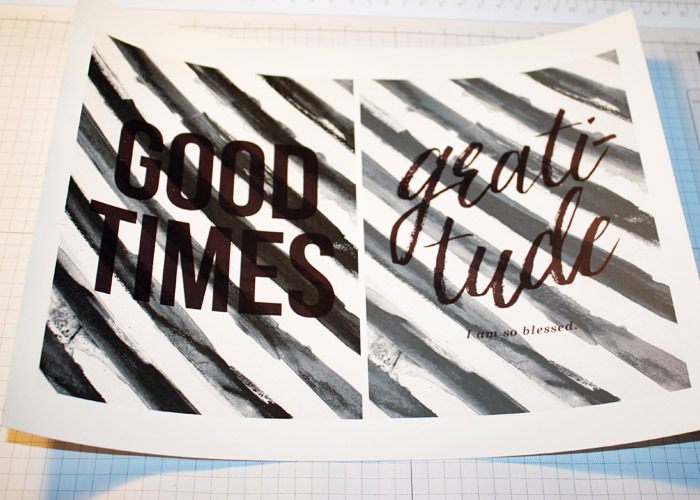
The first thing I did was to open the watercolor stripes from the Gather Journal Cards. I resized it to 5 x 7 and turned it on its side so that I could fit two to the page. Once this is done I printed on white cardstock on my inkjet printer.
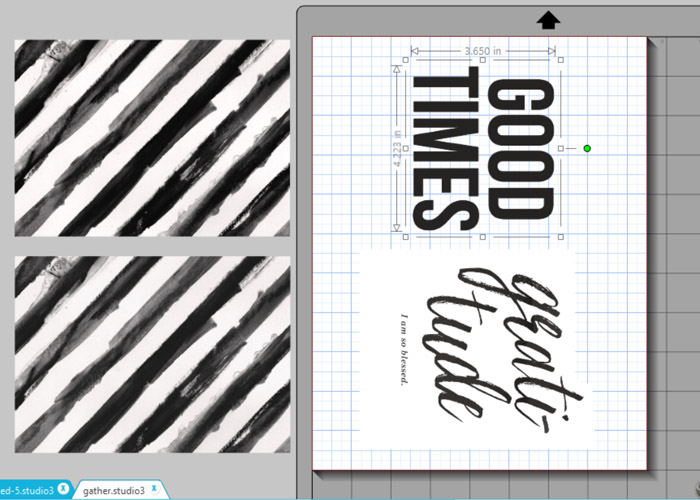
Next I opened the sayings that I wanted to use. I resized and centered to the cards.

After I got the wording where I wanted, I moved the stripes off to the side. You will print a second time but this time it has to be with a Laser Jet printer. This is what the foil adheres to.
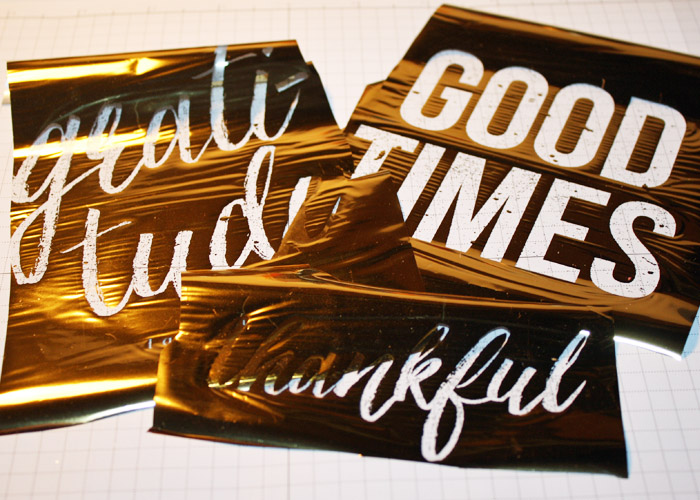
Here is what it looks like after printing both times. You can see a difference in the two printers.
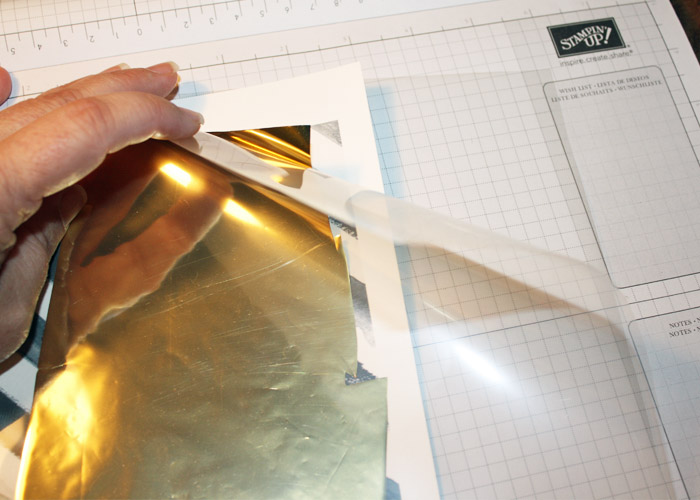
After printing the second time, you will cut the foil big enough to go over the sayings. I used Minc foil that I purchased at Hobby Lobby. Put the printout and foil in the carrier sheet and send through the laminator.
Load to the front of the machine. On my machine I picked 5 mil.
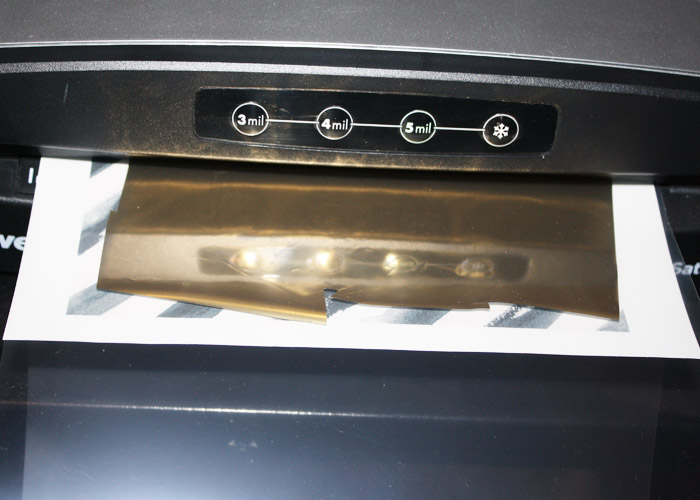
You can see as it is coming out of the back of the laminator that the foil has adhered to the saying.
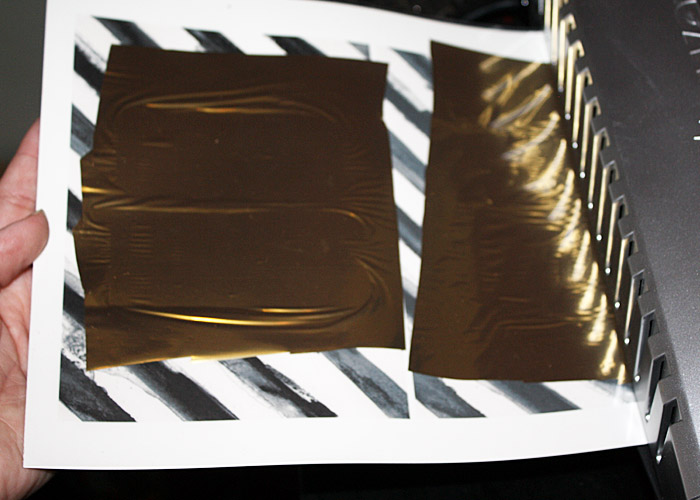
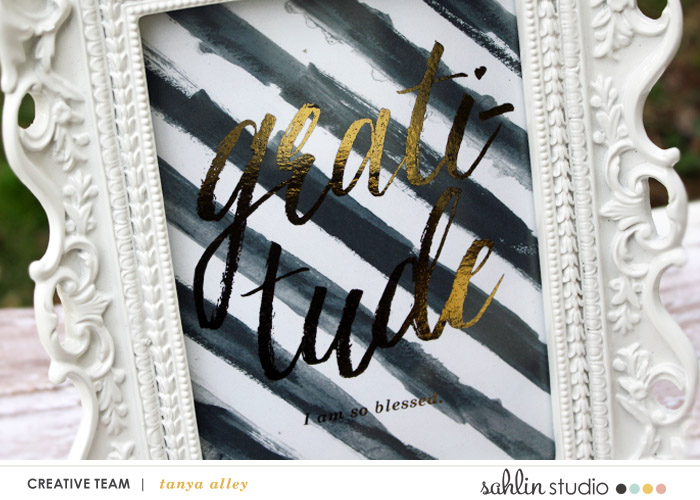
Now remove from carrier sheet and remove the foil. It’s hard to get the right angle when photographing, but you can see that the “Good Times” image is gold. The gratitude is too, but harder to see in the photo.
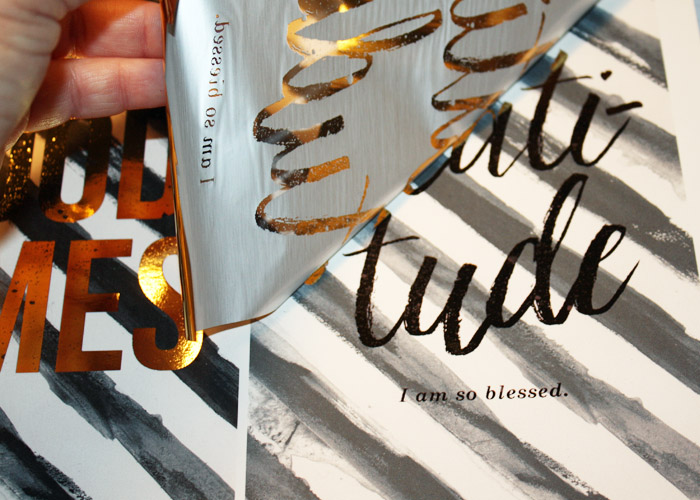
You can see here where the foil is missing. That is the part that stuck to the part that was run through my laser jet printer.

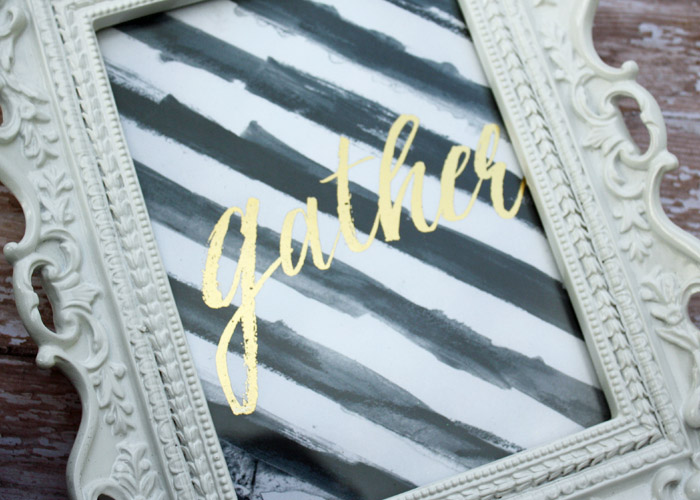
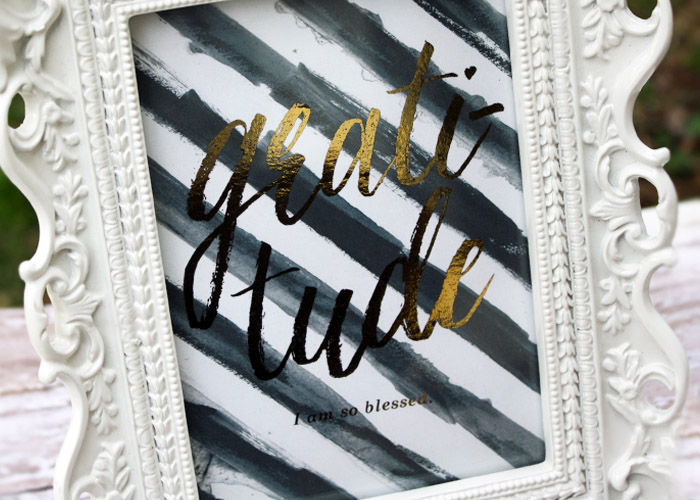
Now all you have to do is frame it and put it on display.

I hope that I have inspired you to create something. Thanks for stopping by….I love sharing my creations with you!
Happy Thanksgiving and be safe!
xoxo, Tanya
Tanya has been hybrid crafting for about 10 years. She discovered digital scrapbooking when her children were young and had no space for crafting. With some online surfing she came across digital scrapbooking and later hybrid crafting. She loves creating and sharing those creations with you. Tanya’s all time favorite tool in her craft room is her Silhouette Cameo. Silhouette combined with digital kits makes for some really great projects.
