Halloween Candy Cone
Posted on under INSPIRATION
Sometimes you need to get a little creative with paper and glue.
Check out what what my Creative Team Member, Jenny, made… It’s a cute Halloween cone, filled with yummy treats. Want to make one yourself? Check out this fun tutorial (below) to find out how to make a Halloween cone.

I used the Retro Mod Kit and the Mansion Masquerade Kit


1. Start by printing out 8×11 on white card stock.

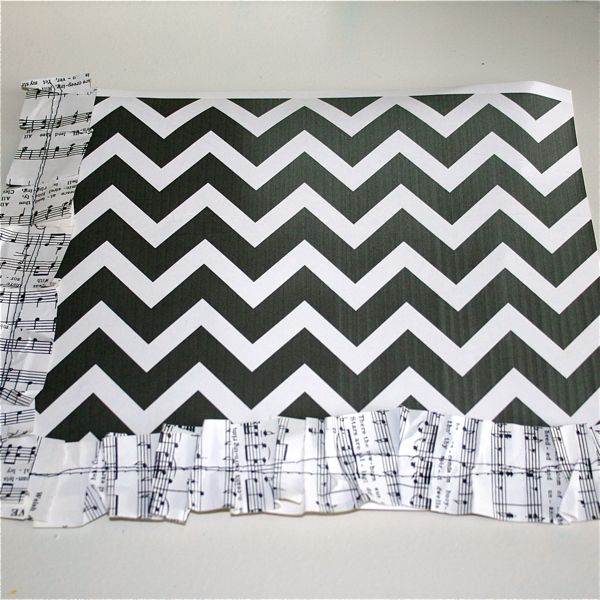
2. Use book paper to create a gathered ribbon look. To do this cut 2 inch strips of book paper and run them through the sewing machine. I set my stitch length to the longest setting and fed my paper through the sewing machine, crunching the paper as I fed it through. Attach ribbon paper to two edges of the Black and White Chevron paper by running it through the sewing machine.
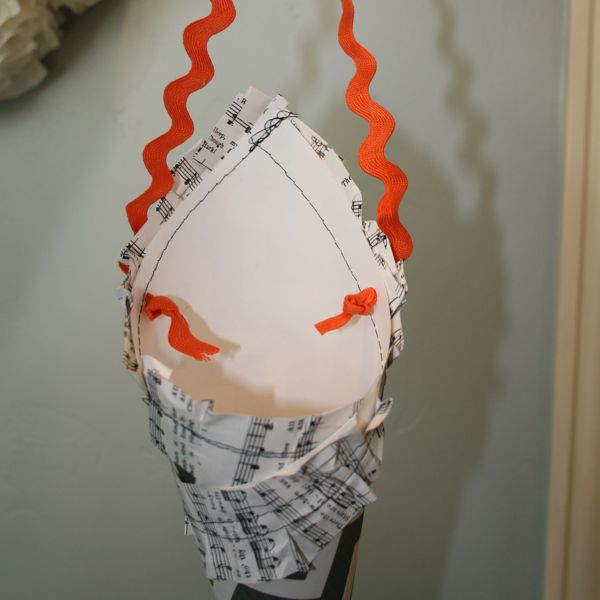
3. Form a cone from the Black and White Chevron paper, use a hot glue gun along the out side of the cone to hold it together. 4. Punch two holes on either side. I chose orange rick rack and attached with a knot on both sides.
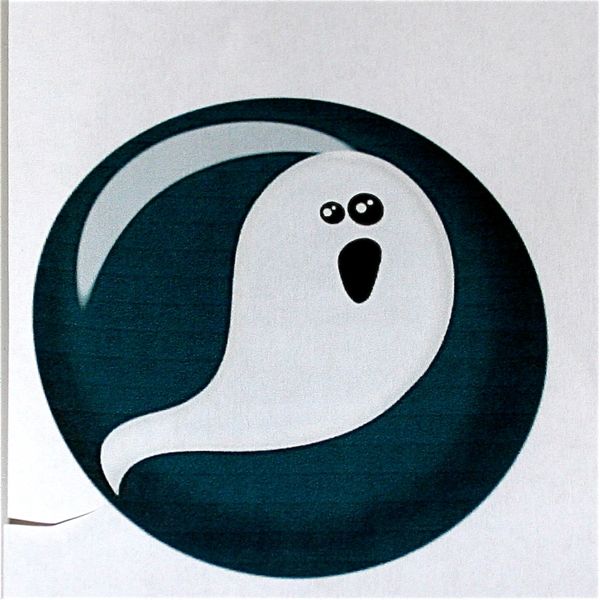
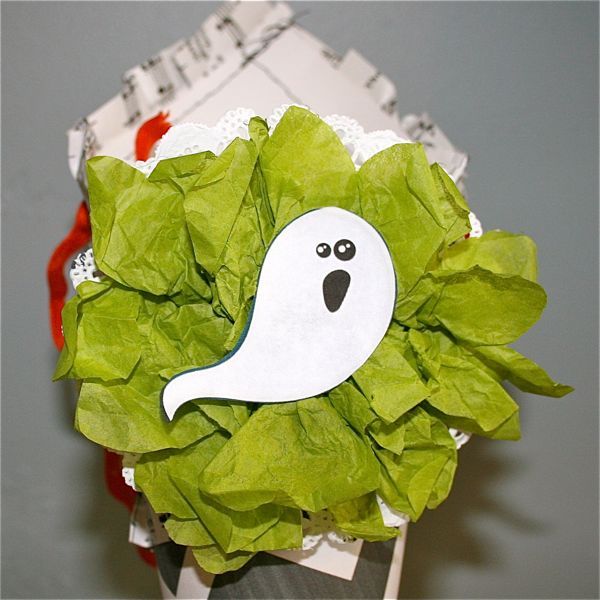
5. Let’s add a little interest, to create a tag on the outside… use green tissue paper. I hot glued the tissue flower to a white paper doily for support. 6. Print out a ghost from Mansion Masquerade Kit. Cut ghost out.

7. Glue ghost to green tissue flower.
8. Hot glue button onto cone.
9. LASTLY… the best part – fill the cone up with some yummy treats.

Hope you enjoyed learning to make a Hybrid Halloween Cone!! There are endless color combinations you could use in making a Halloween cone. Hope you all enjoy Halloween!

October 24, 2012 at 5:45 pm
jg says:
this is awesome, and such a great idea. i may have to try it. thanks for sharing how you did it.