POCKET THIS / Project Life® Inspiration | Across the Pockets
Posted on under POCKET THIS | Project Life® Inspiration
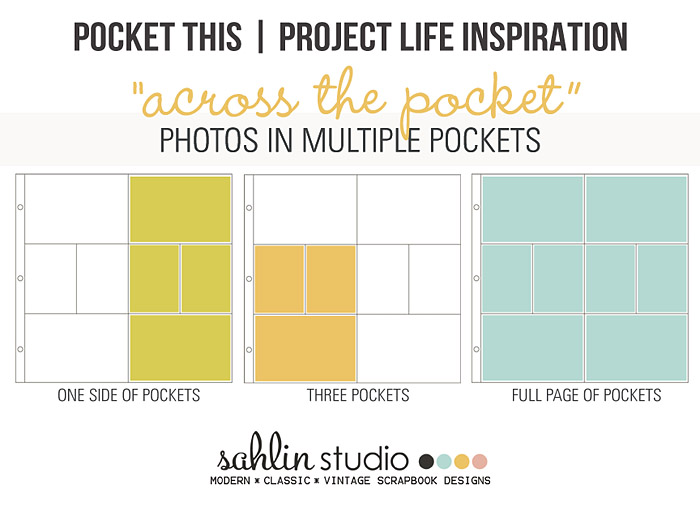
Hello folks! This month’s POCKET THIS is all about spreading items “Across the Pockets“. Many of us think just because pocket scrapbooking is divided into pockets, that we are limited to using only a single pocket for each topic or item. This simply isn’t true. Using more than a single pocket for a photo, card or even a keepsake, can highlight those important moments we all strive to capture in our albums. With this technique in mind, the wonderful POCKETEERS have created the most awe-inspiring inspiration to share with you.
Stand Out Photos
Sometimes a single photo is all you need to capture a magical moment. In this page by POCKETEER RACHEL, she really just wanted to focus on the castle. The grid appearance of the pockets spots really draws up the eye to the photo.
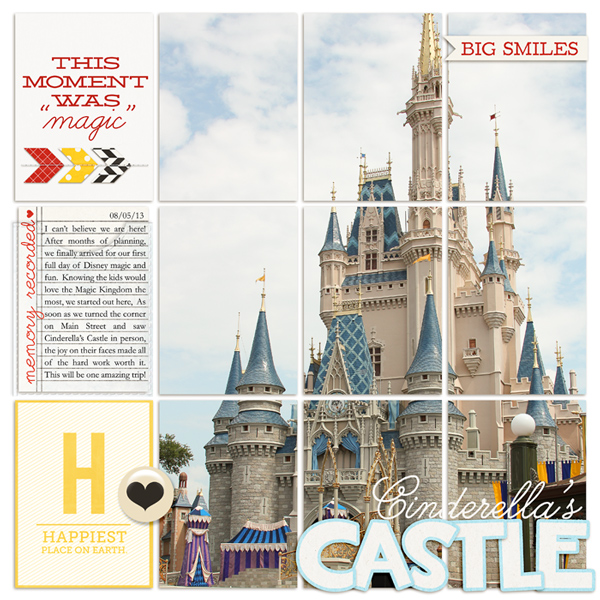
POCKETEER RACHEL tip: Layer masks are your best friend with this technique. Add in your picture and create a layer mask filled with black. Ctrl + click on your “pocket” layers to select the shape and fill the created mask with white to reveal back the image. Keep doing this until you get the look you are after.
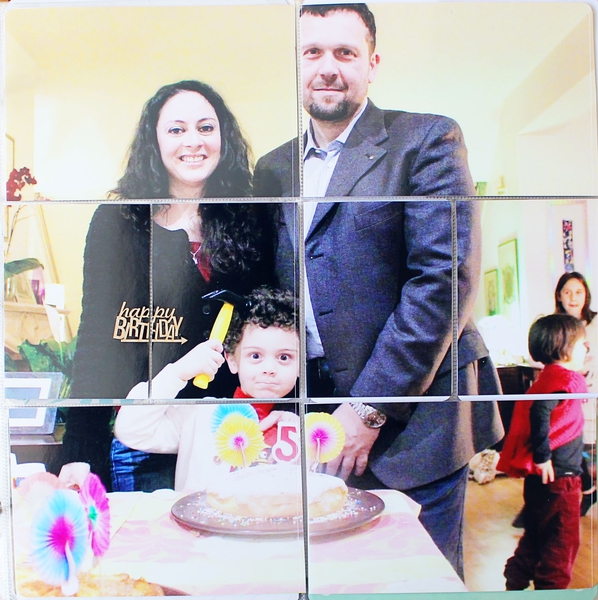
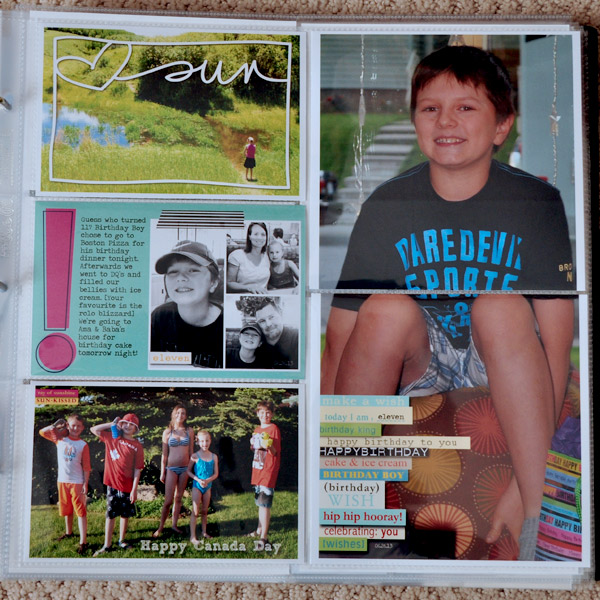
POCKETEER ROSSANA also used this technique to spotlight a single photo – a family photo from her son’s 5th birthday. Rather than distracting from the photo, spreading the photo across a full pocket page really draws attention to the important parts – each family member as well as the yummy cake!
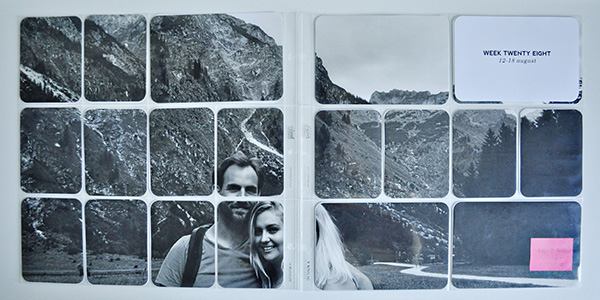
Using a couple (or more) pockets for a special photo can really bring that dramatic feeling to a spread while still spotlighting those fabulous photos. Look at this breathtaking spread by POCKETEER TERESA using a panoramic photo taken with her iPhone.
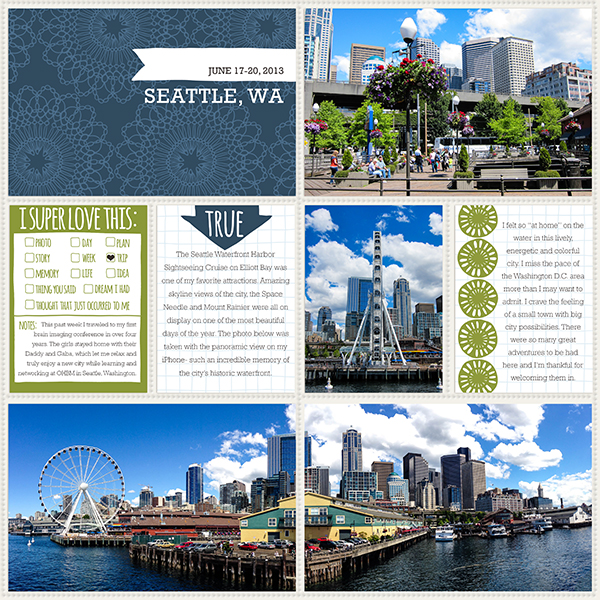
The view is too incredible and immense to capture with a regular shot. She practiced using the panoramic mode to take lots of pictures of the coast that day and to really capture the gorgeous views and make a big impact. By using two of the 4×6 pockets for this gorgeous photo, it really showcases the details of the water front.
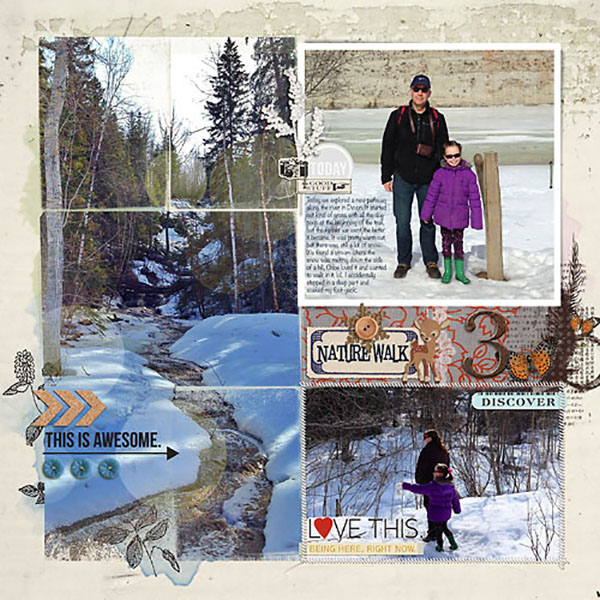
POCKETEER HEATHER used this technique to really bring out the beautiful nature photo especially by using the three vertical spots to give a feeling of the height of the scene.
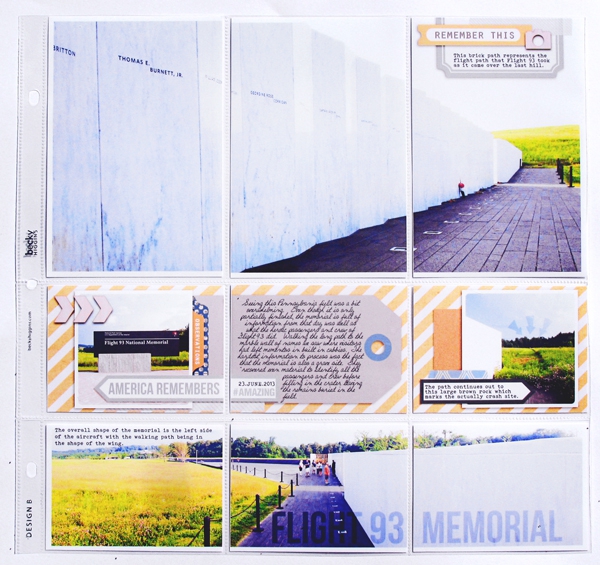
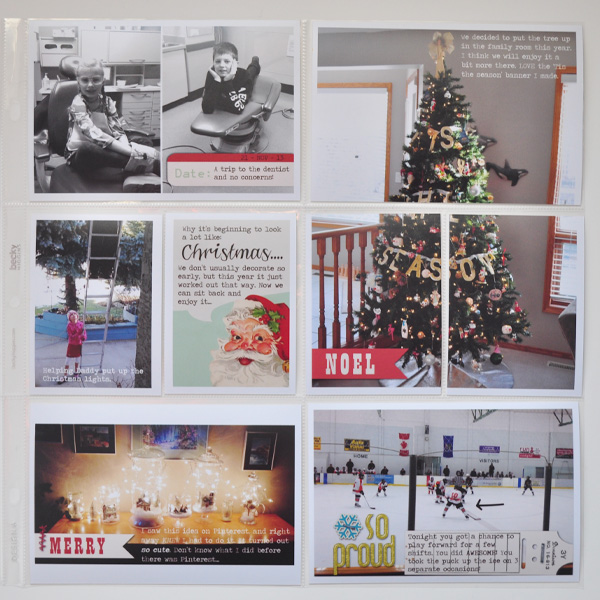
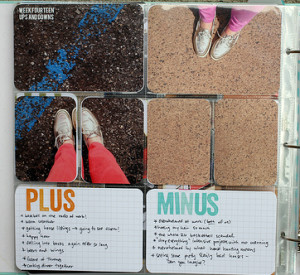
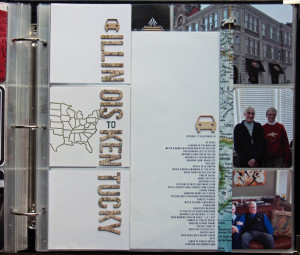
This spread by POCKETEER TASHA really uses the pockets emphasize portions of the photos, journaling and the title by dividing them among different pockets. With the top photo divided among three pockets, not only does the brick path stand out but the marble wall as well. The bottom panoramic photo catches the whole scene while the pockets emphasize the story the memorial tells. This spread also uses this technique with the middle journaling by carrying over the tag from one pocket to another as well as dividing the title among two pockets on the bottom photo to keep your eyes moving across the spread.
Everyday Photos
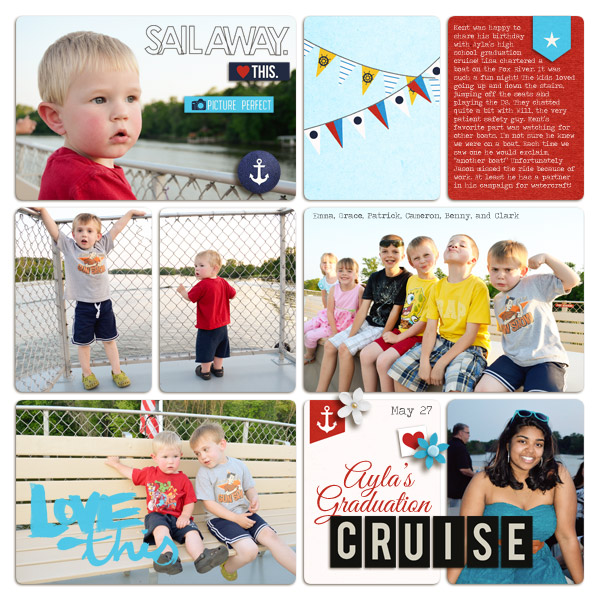
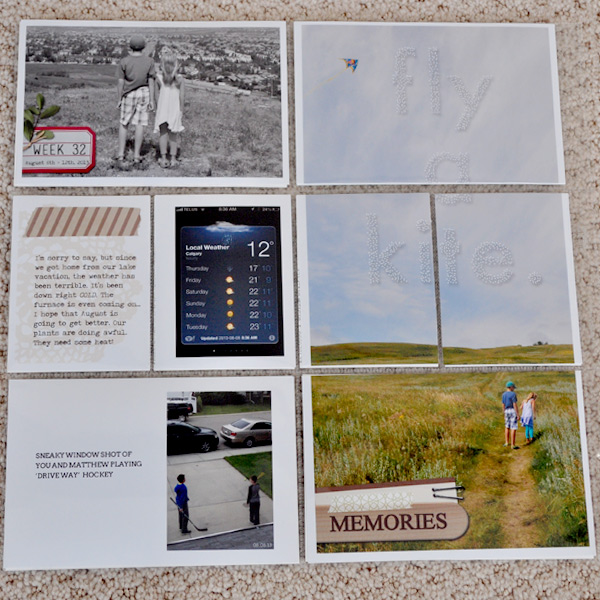
Spreading items across the pockets isn’t just for special photos. You can use this technique in your everyday memory keeping as well. Often when working on a digital spread, we feel the urge to not divide up photos but rather tweak the pocket spots to create a larger space. POCKETEER MARY resisted the urge when she used two of the 3×4 pockets with the photo of the boys in front of the fence.
Mary’s first thought was to use the photo in question whole in she spread. Upon placing the photo, she just felt that it seemed unbalanced and didn’t work very well in the spread. Next she turned to splitting the photo into two and couldn’t believe how much better it was. Splitting the photo up allows for a dual focus on both of the boys.
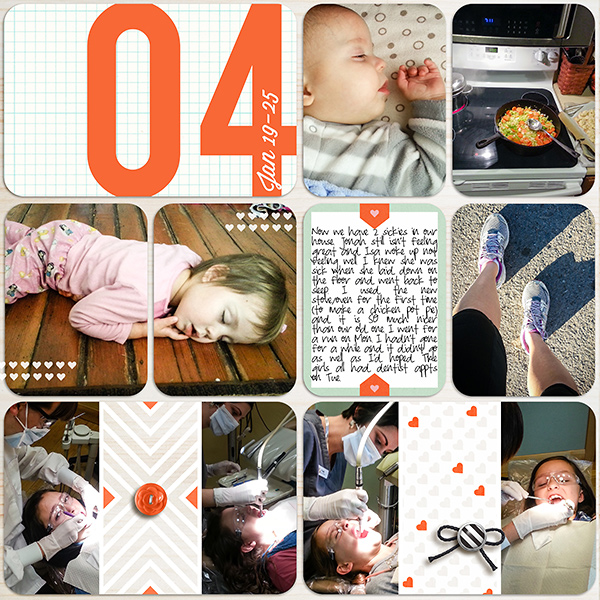
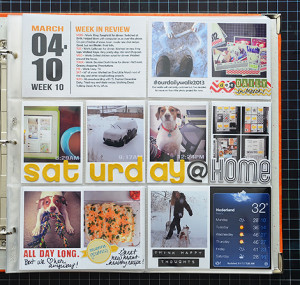
POCKETEER KATHLEEN also used this technique to divide up the photo of her daughter sleeping. The use of two pockets for this photo moves your eye to the inner photo and her daughter’s adorable face as she sleeps.
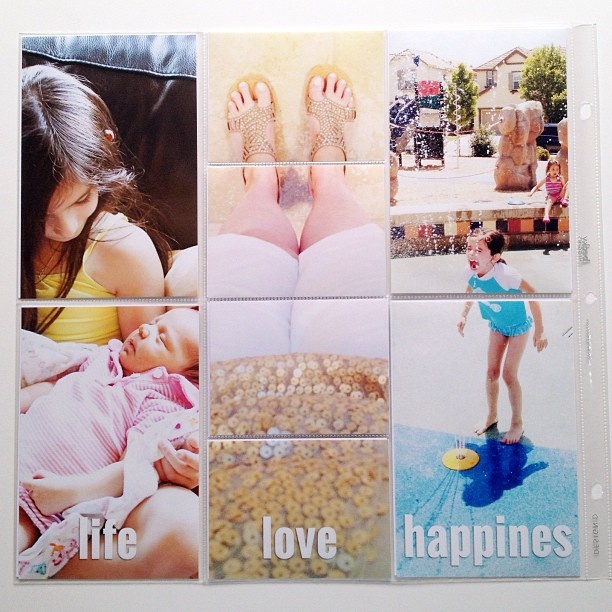
POCKETEER CANDY has really embraced the “across the pockets” technique. From special moments to everyday activities, look at all these lovely spreads she’s created with this technique.

Looking for some additional inspiration? Here’s some examples that caught our eye:
Multiple Photos
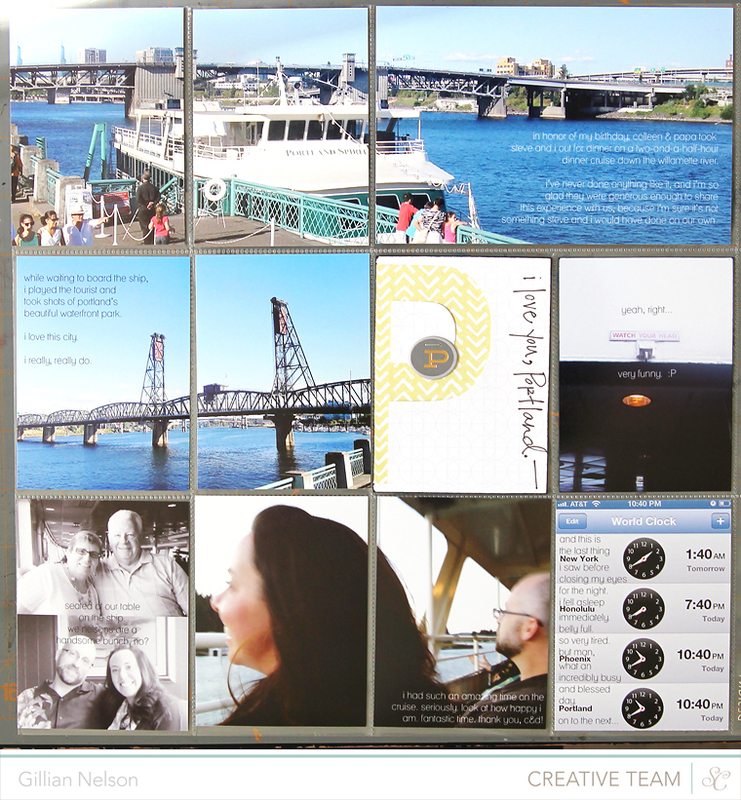
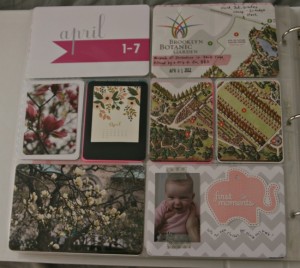
Aren’t these spreads featuring several photos spread over more than one pocket awesome!?! This is perfect for those weeks you are lite on photos or you’re capturing your vacation or other special memories.
Memorabilia
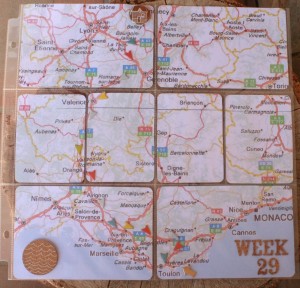
Our memories aren’t always photos. Memorabilia also plays a large part. Look at theses maps and brochures spread over several pockets – they ROCK! These examples are physical items but this would work just as well for a digital album just by taking a photo or scanning the material. 
Papers
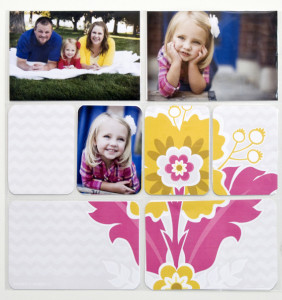
Don’t be afraid to spot light that fabulous paper from your collection! This would be perfect for title pages or even a photo-lite spread.
Titles
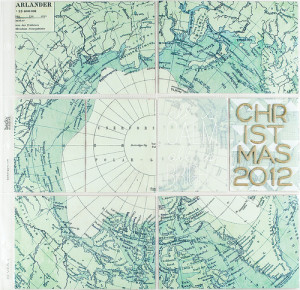
Photos and memorabilia aren’t the only things you can spread across the pockets. Spreading title work across the pockets is a good way to draw attention to the title.
Video Tutorial
Are you interested in giving this technique a try? Make sure to watch this video for physical or hybrid albums – DIVIDING UP A 12×12 FOR PRINTING AT HOME by Elise Blaha For digital albums using or creating a template is key for this technique. Once you’ve picked your template and photo you want to use, determine the pocket areas you want the photo spread over. Merge those pockets together. Using the merged pockets as a layering mask, “clip” the photo down to them and adjust as needed.
Other Tutorials
Here are a couple other tutorials on placing a photo over multiple pockets.
http://easypocketscrapbooking.weebly.com/photo-over-several-pockets.html
http://www.christinecid.com.au/one-photo-over-two-6×4-pockets/
http://myedeleon.com/project-life-tutorial-less-photos/
I hope you all found a ton of inspiration. Make sure to come back and hook up with links to spreads you make using this technique!

June 17, 2014 at 11:14 am
Robyn says:
Great post. I love this look and I never think to do it on my own pages. Need to try!!
June 17, 2014 at 11:35 am
Maribel says:
Out of all the pl pages I’ve done I think I’ve only done this once. Great post and I need to do this more often! Love all the examples!
December 22, 2015 at 1:53 am
5 Inspiring Tutorials to Kick Start Your Pocket Scrapping | Traci Reed Designs says:
[…] First, a blog post from Sahlin Studio that grabbed my attention this week. I don’t know why I don’t do this MORE! I guess I get so focused on fitting photos into those slots that I never think to go that BIG. It’s definitely a goal for my upcoming pages. […]